Save & Resume allows form users to save their progress and finish an incomplete entry at a later date. When enabled, a user will be provided a link to their in-progress entry upon saving their form. They can return to this link as many times as needed to complete their entry within your chosen timeframe (or until the entry status is no longer Incomplete).
Upon saving, form users can copy the link directly or email it to themselves. Once a user saves their form for the first time, you can review the entry audit log to see when it was saved, along with all subsequent saves at least one hour apart.
Enabling Save & Resume
The authentication settings for public links also apply to Save & Resume links. Learn more about Authenticated Forms.
To enable Save & Resume:
- Open the Workflow menu at the top of your form’s Build page.
- Toggle Save & Resume to On. Once toggled, a Save button will be added to the bottom of your form.
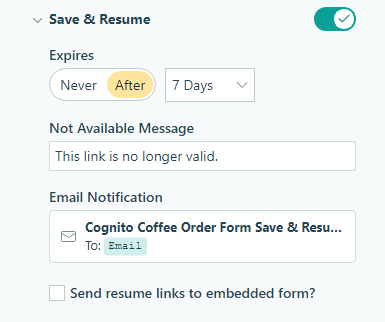
- Choose between two expiration options:
- The Save & Resume link should Never expire (until the entry status is no longer Incomplete).
- The Save & Resume link should expire After a select amount of days (up to 28 days from the initial save time) or until the entry status is no longer Incomplete.
- Customize the Not Available Message that displays when the Save & Resume link is no longer valid. Use the formatting toolbar to insert hyperlinks/images and change the formatting of selected text. Please note that values from protected fields cannot be inserted into the Not Available Message.
- Check the box next to Send resume links to embedded forms if you have an embedded form and want to redirect people to your website.
Saving multi-page forms
When you enable Save & Resume on forms with multiple pages, the form user’s progress is automatically saved as they navigate from page to page.
Save & Resume Email
You can customize the email notification that sends a Save & Resume link under Save & Resume settings.
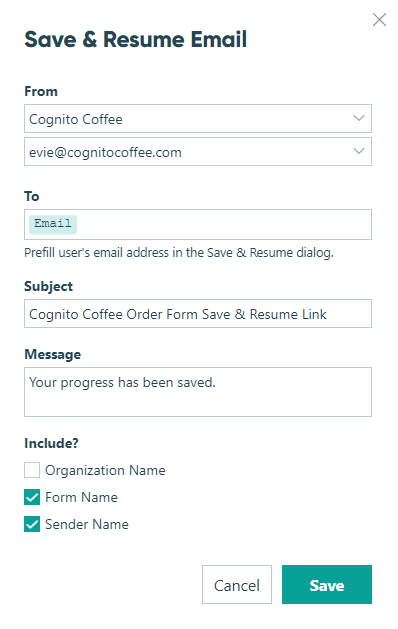
From
In the top field, input the display name you’d like the email to be from. In the bottom field, input the email address you’d like the email to be sent from. Click into a field to use the Insert Field option to populate a value from your form.
To
You have two options regarding the form user’s email address. You can leave this field blank so the form user can input an email address of their choosing. You can also use the Insert Field option to populate an email address from an existing email field on your form.
Subject
Create a subject line for your email. You can click into the Subject field to open the Insert Field option to populate data from the form’s entry if preferred.
Message
Input the message for your email here. Click into the Message field to access formatting options, include images or links, or include entry data using the Insert Field option.
Include
Check the box next to Org & Form Name to include your organization and form name within the email.
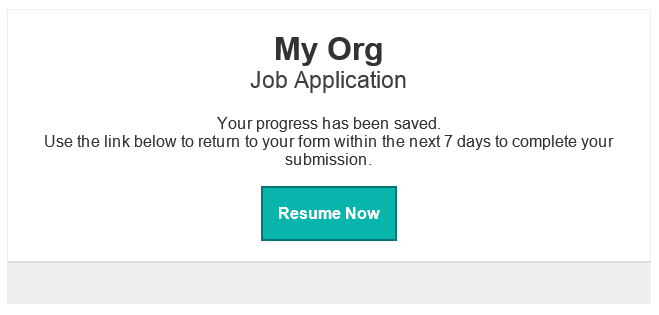
If someone chooses to send a Save & Resume link to themselves, here’s an example of what they’ll see:
Sending Save & Resume links for Incomplete entries
As a form builder, you can manually send a form user a Save & Resume link from the Entries page as needed. A Save & Resume link will always take on a Public role.
To manually send a Save & Resume link from the Entries page:
- Click the Incomplete entry you’d like to send a Save & Resume link for.
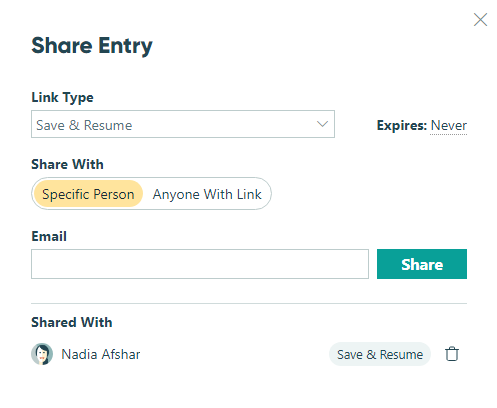
- Click Share at the top of the entry view.
- Open the Link Type dropdown field and select Save & Resume.
- Determine who you would like to share the Save & Resume link with:
- Select Specific Person to input one or more email addresses to send the link to. Once inputted, click Share to send the email. (Hint: Separate multiple email addresses by a semi-colon.)
- To copy the Save & Resume link, select Anyone With Link. Click Copy to copy the link and paste it as needed.
- In the Expire field, select the number of days after which you want the link to Expire.