The Manage Document Templates dialog is where you can add, delete, and configure both Standard and Custom document templates.
How to access document templates
You can access the Manage Document Templates dialog from your form’s workflow action settings (including the confirmation message and email notifications) or from the Entries page.
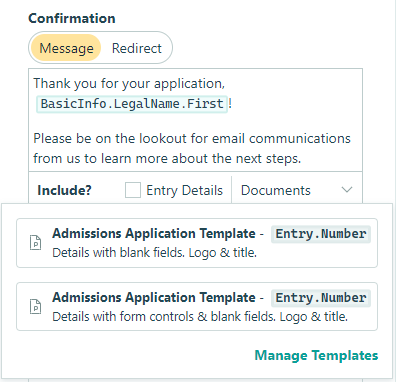
Confirmation message
To access document templates from the confirmation message:
- Open the Workflow menu in the form builder and select the relevant action (Ex: “Submit”).
- Find the Confirmation settings and select Documents.
- Select Manage Templates at the bottom of the dropdown.
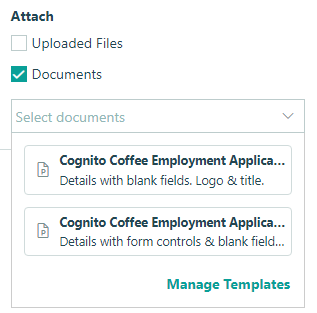
Email notifications
To access document templates from an email notification:
- Open the Workflow menu in the form builder and select the relevant action (Ex: “Submit”).
- Open the email notification you’d like to attach a document to. In the dialog that appears, check the box next to Documents under Attach.
- Click the orange pencil icon to the right of the Documents field.
- Select Manage Templates at the bottom of the dropdown.
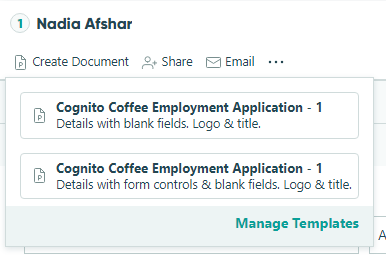
Entries page
To access document templates from the Entries page:
- Click the form name in the sidebar to open the Entries page.
- Open an individual entry and select Create Document.
- Select Manage Templates at the bottom of the dropdown.
Overview
Check each box to set the default details of your basic template, including:
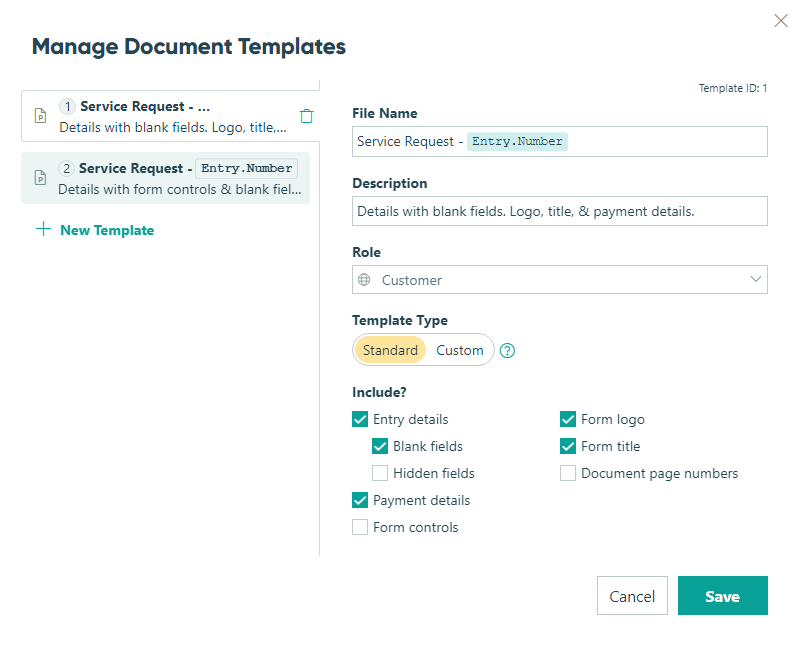
File Name
Specify the default file name and optionally insert field data, such as Name and and Entry Number. This is the name that people will see when they download your document.
Description
Edit the description of your template that appears on your template list. This description is for internal use only and is not visible to anyone except internal Cognito Forms users.
Role
Set a workflow role for the document template. Fields conditionally hidden or shown based on a workflow role will display according to this selection.
Additionally, users with Limited Access permissions can generate only documents set to their assigned workflow role.
Template Type
Documents are generated using one of two types of document templates:
- Standard: You can generate basic PDF files for free using standard document templates. From the Manage Documents dialog, specify what you want to include in the document; such as entry details, receipts, form title, logo, etc.
- Custom: When you need a bit more control, you can customize standard templates by downloading the standard template as a Word document and use our simple and powerful merge syntax to completely customize your generated document. You can also specify whether you want the output to be in Word or PDF format. Learn more about creating custom templates.
Include?
Check each box to include the fields and information that will be included in your document by default:
- Entry details – Include entry fields. Please note that including entry details will display fields based on the status of the entry at the time of viewing. For example, if an entry goes from Incomplete to Submitted, the confirmation message will display fields that are set to show when the status is Submitted.
- Blank fields – Include fields with no responses.
- Hidden fields – Include fields that display under certain conditions.
- Protected fields – Include fields that are protected via data encryption.
- Form controls – Display the document exactly as it appears on your form, with radio buttons/checkboxes/textboxes. See examples of a document with and without form controls enabled.
- Payment details – Include the receipt for a form with payment fields.
- Form logo – Include your logo image.
- Form title – Include the title of your form.
- Page titles – Include the title of each page on your form.
- Page breaks – Display the content from each page on your form at the top of the next page in your document.
- Document page numbers – Include a number at the end of each page.