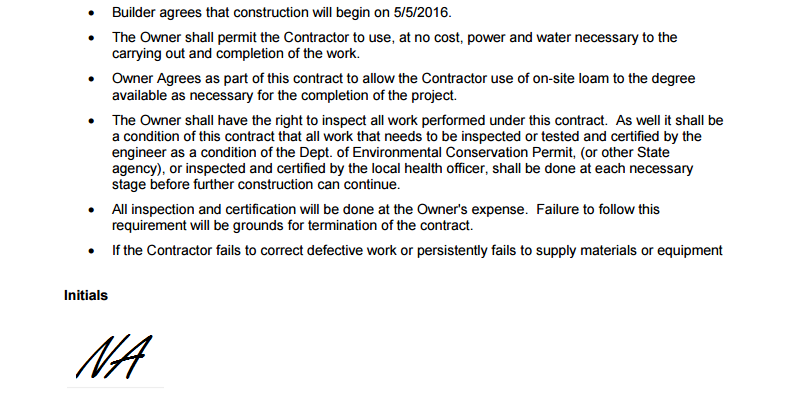
The recent release of our document merging feature introduced endless possibilities for the kinds of documents you can generate from your entries; ranging from invoices and receipts to parade permits and sports tickets. And with the help of the electronic signature field, you can add client initials to your document templates to make your own custom contracts!
Step 1: Create Your Form
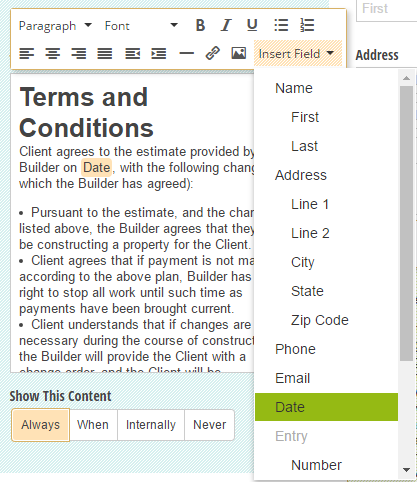
To begin, we’re going to create a (somewhat) basic contract for a construction project; including some contact details, terms and conditions, and a section at the bottom of each page for the client to initial. Hint: When using Content fields, insert field tokens when you want to include specific items like dates and names. After the client fills in their personal info at the beginning, the information automatically appear throughout the rest of the form:
Step 2: Edit Your Template
Head over to your Entries page and select an individual client’s entry to access the Manage Document Templates menu:
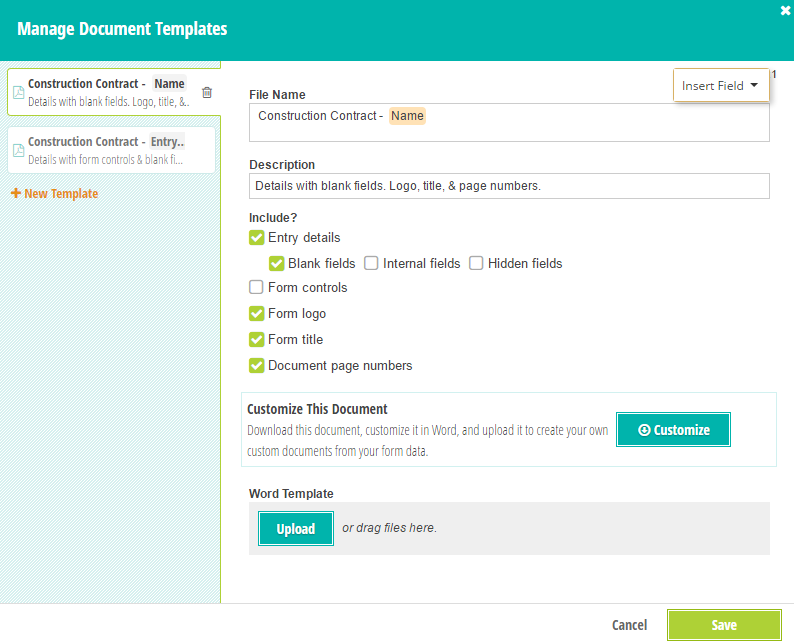
Before you download your template, add a Name field token to the File Name to create a more personalized document, and make sure to include page numbers.
Once you’ve opened your template in Word, you can easily create an initial field by inserting your signature field into the footer and adjusting its size by specifying the height and width (don’t forget to replace “Initials” with the actual name of your signature field):
{Initials, width=1in, height=1in}
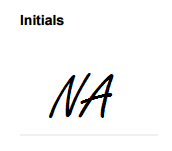
This will make the signature field a shorter and smaller space that better fits initials:
Step 3: Generate Contracts
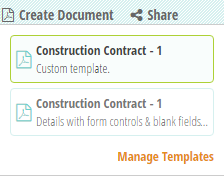
This is the easy part - just click Create Document and select your new custom template from the list:
Then, open up your custom contract with client initials included:
