Add a contact form, booking request, or order form to your Wix site in minutes. Embedding a form on Wix is easy, with no coding experience needed.
Build Time & Skill
10-15 min
Beginner
What you'll learn
How to configure your form's appearance and embed it on any Wix page using the responsive Iframe embed method.
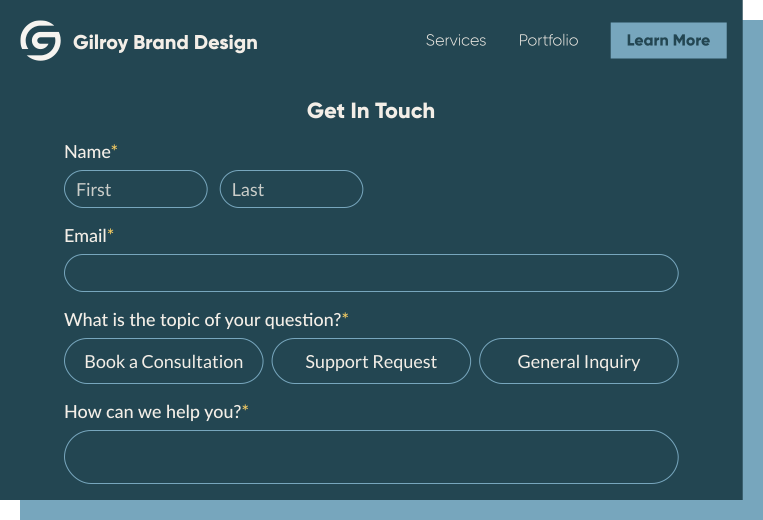
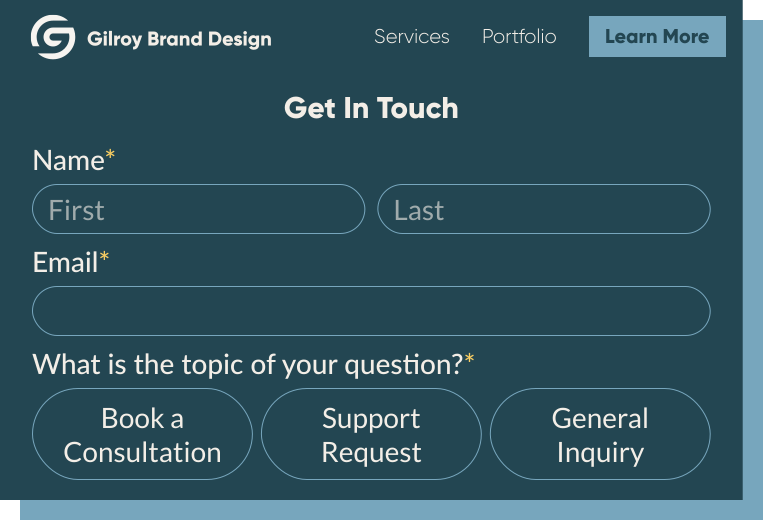
Wix’s built-in form tools cover the basics, but they fall short when you need payment collection, conditional logic, multi-step forms, or automated workflows. When you embed a form you created in Cognito Forms, you have full control over what you collect, how it looks, and what happens after someone submits.
With Cognito Forms embedded on your Wix site, you can:
- Collect payments, signatures, and client intake details in one form. No more duct-taping together separate tools for different parts of the same process.
- Build forms that actually respond to what someone answers. Show or hide fields, change questions, and route submissions based on any response, without writing a line of code.
- Get every submission, every time, with automatic follow-up built in. Confirmation emails, internal alerts, and workflow tasks trigger automatically the moment someone hits submit.
How to Embed a Form on Your Wix Website: Step-by-Step
Follow these three steps to get your form live on any Wix page. You’ll start by adjusting you form’s appearance, copy your embed code, and then add it to your site.
Step 1: Configure how your form appears on your site
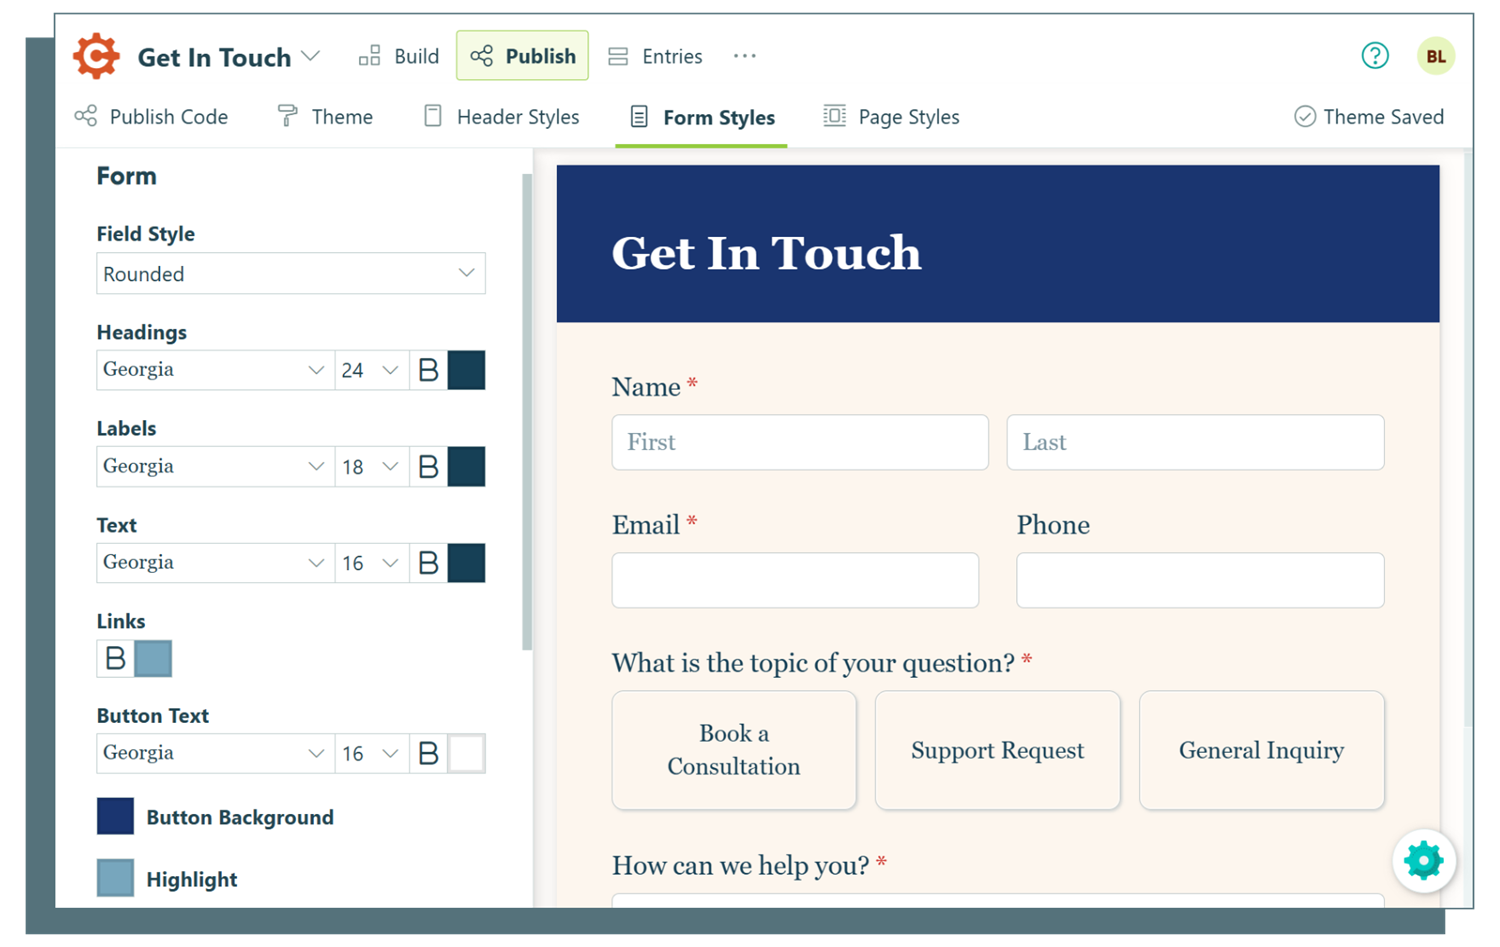
Before finding your form’s embed code, take a second to configure how your embedded form looks. To access these settings, hover over the form name in the Cognito Forms sidebar and select Publish Form.
From the Form Styles tab on the Publish page, you have a few options to get your form looking how you want it to before you add it to your site:
- Customize your form’s style: Change button colors, choose a new font style, add your logo, and more.
- Field styles: This option controls the visual style of your form’s fields. You have several different options that tend to work well for most people.
- Hide form header when embedded: Check this box to hide the logo, title, and description when your form is embedded. These elements will still appear when someone visits the form via a direct URL.
- Adjust embedded form margins: Set the margin around your embedded form anywhere between 0 and 80 pixels to control spacing within your page layout.
Note: If you can’t match your fonts or other styles exactly, you’ll need to use Custom CSS on your Wix site to match your style exactly. See the Custom CSS section below for more information.
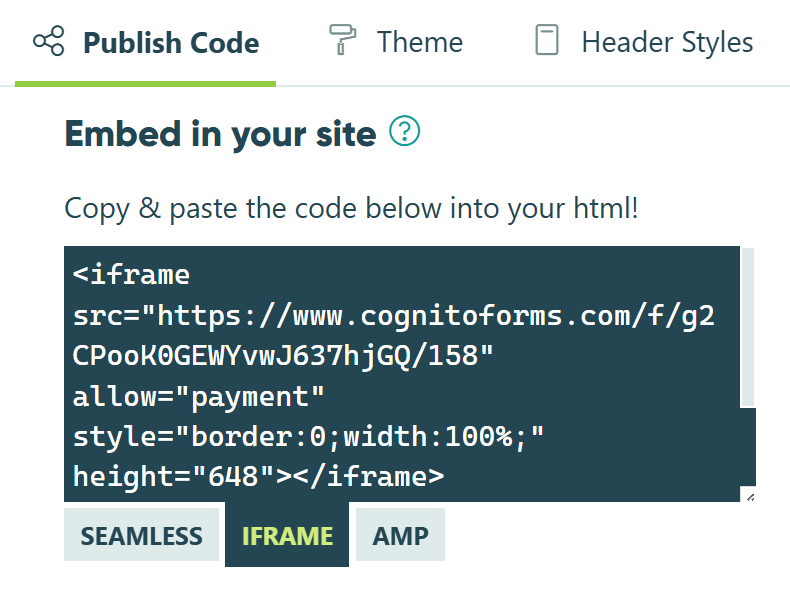
Step 2: Copy your form’s embed code
Once your form is styled and ready, it’s time to grab the code you’ll paste into Wix.
Here’s how:
- From the form’s Publish page, click the Publish Code tab.
- Under Embed in your site, select the Iframe embed code.
- Click inside the code’s text box to copy it to your clipboard. In the next step, you’ll grab part of this code and paste it into the Wix editor.
Note: When embedding a form on Wix, you must use the Iframe embed code option. Seamless embeds do not work on Wix sites.
Step 3: Add your form to Wix
Adding your form to Wix takes two parts: a one-time script added to your site’s Custom Code settings, and your form’s URL added to an HTML widget on the page. The script in your Custom Code settings only needs to be added once
In your site’s custom code setting
In this step, you’ll add some custom code into your site’s advanced settings.

To do this:
- Log in to your Wix account and go to your site’s dashboard.
- Navigate to Settings > Development & Integrations > Custom code.
- Select + Add Custom Code.
- In the Paste the code snippet here section, place the following embed script:
<script src="https://www.cognitoforms.com/f/iframe.js"></script>- Because this embed script is the same for all forms, you can use this script just once on every page – even when you’re embedding different forms on multiple pages.
- Give the code a name (e.g., “Cognito Forms Embed Script”).
- Under Add Code to Pages, select the page(s) where you want to add the embed script. Select Choose specific pages to just include the script on the same page(s) where your form is embedded, or select All pages to load the code on every page.
- Only currently published pages will show as an option in the dropdown. Ensure your site is published prior to adding your form to a page.
- Under Place Code in, select Body - End.
- Click Apply.
On your site’s page
Now you’ll add a specific element onto your site’s page in the Wix Editor.

Here’s how to do this:
- Open your Wix site editor and navigate to the page where you want the form.
- Click Add Elements on the left side of the editor, then click Embed Code.
- Select Embed HTML. The HTML widget will appear on your page.
- Double click the widget, and find the Choose what to embed setting.
- Select Link in the dropdown.
- In Cognito Forms, copy and paste the Iframe embed code into Notepad or another text editor. From your embed code, copy just the url between the quotation marks that follows “
<iframe src=” that looks like this:https://www.cognitoforms.com/f/UUJUeho0SidRnyo38nvA/97 - In Wix, paste the copied url into the Link field.
- Select Apply, then save your changes. You can use Wix’s Preview option to see what your form looks like, but it won’t be live on your site until you Publish with your changes.
Customizing Your Form’s CSS
Custom CSS gives you precise control of specific elements like button colors, input borders, error messages, and fonts using CSS variables or traditional selectors. On Wix, you add custom CSS directly in the Custom Code section.
To add custom CSS to your embedded form in Wix, insert your setCss script directly below the script tag in the Custom Code section. A setCss script that changes the form’s background color would look like this:
Cognito.onload((form) => {
  form.setCss("body { background-color: #AABCBF; }");
});
As you adjust your custom CSS, you can view real-time style changes by going to Preview. You won’t see the form’s changes in the Wix Editor.
After Embedding: Get More Out of Your Embedded Form
Once your form is embedded onto your Wix site, take advantage of features offered by Cognito Forms that turn submissions into a fully automated business process:
- Automate your follow-up with Workflow. Set up multi-step Workflows with task assignments to the right team member, automated approvals, and defined steps for submissions to flow through. This works well for requests or inquiries that require internal review before responding.
- Send confirmation and notification emails immediately after submission. You can automate confirmation emails to the customer or internal alerts to your team, personalized with information from the customer’s submission.
- Automatically generate documents from form submissions. Cognito Forms’ Document Generation creates PDFs or Word documents from submission data, no manual document preparation. This is useful for sending order summaries, quotes, service agreements, or invoices.
- Collect e-signatures directly in your form. Add a Signature field to collect legally binding electronic signatures for contracts, service agreements, or client onboarding documents, without sending files back and forth.
Add a Form to Your Wix Site Today
With Cognito Forms, getting a form live on your Wix site takes just a few minutes. Your form’s embed code paired with Wix’s Custom Code and Embed HTML elements gives you a fully functional form that works for your visitors and your business. From there, layer on workflow automation, email notifications, and payment collection to build a process that runs itself.
Get started in minutes with our fully customizable form templates.
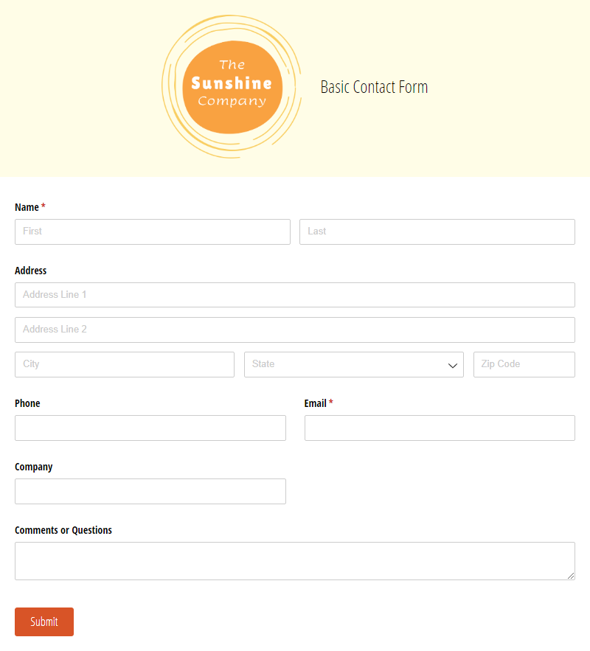
Basic Contact Form
Use our free contact form template to get notified whenever customers, sales leads, media representatives and others reach out online.
Preview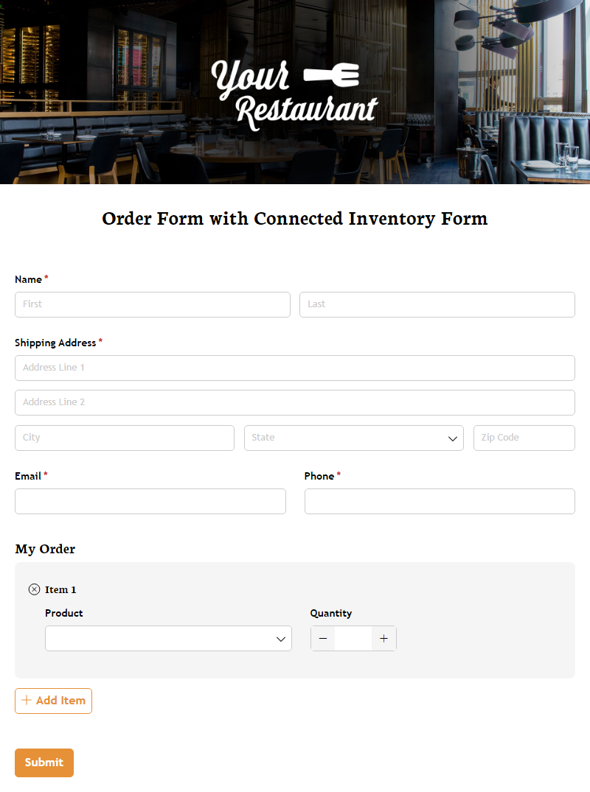
Order Form with Connected Inventory Form
Use our free product inventory form template to limit the number of times a specific product may be selected based on available quantity.
Preview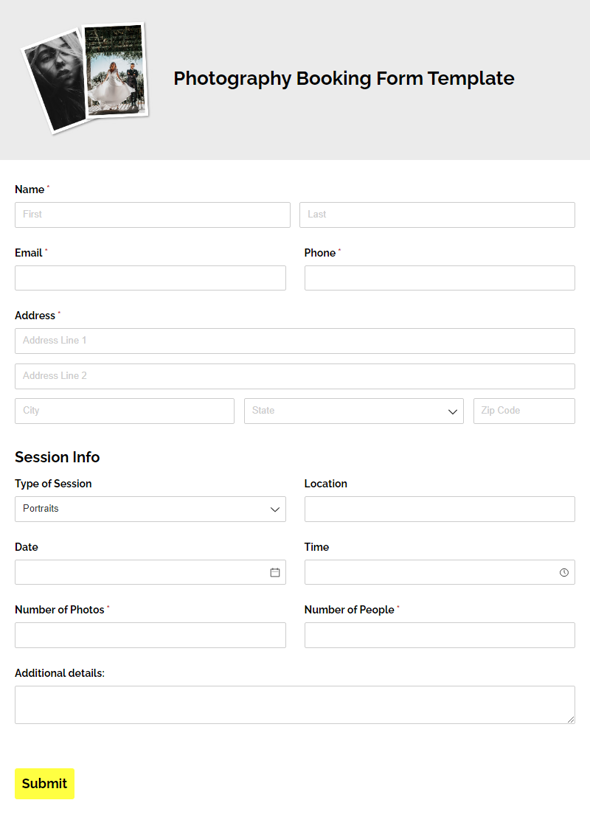
Photography Booking Form Template
Make booking clients easier with our free photography booking form. Collect important session details, including session type, date, location, and more.
Preview