Embed a fully customizable form onto any Blogger page or post in just minutes. Cognito Forms gives you several field types, robust conditional logic, workflow automation, and more.
Build Time & Skill
10-15 min
Beginner
What you'll learn
How to embed a custom form on a Blogger page or post using Cognito Forms' Seamless or Iframe method, with no coding required.
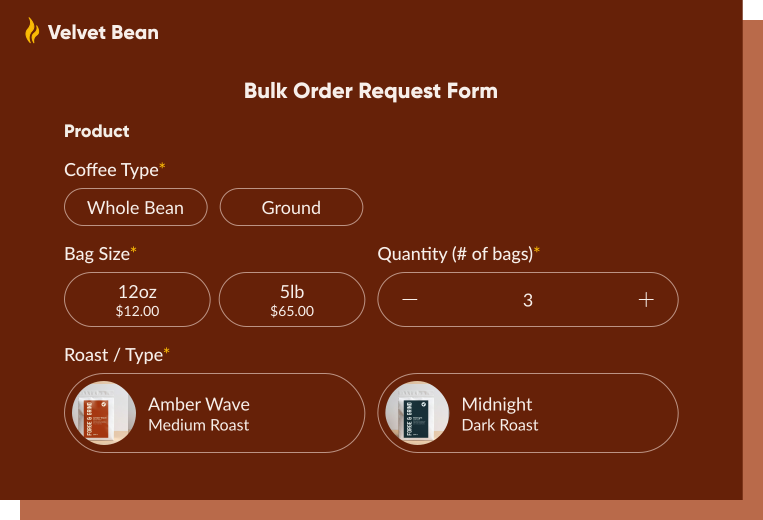
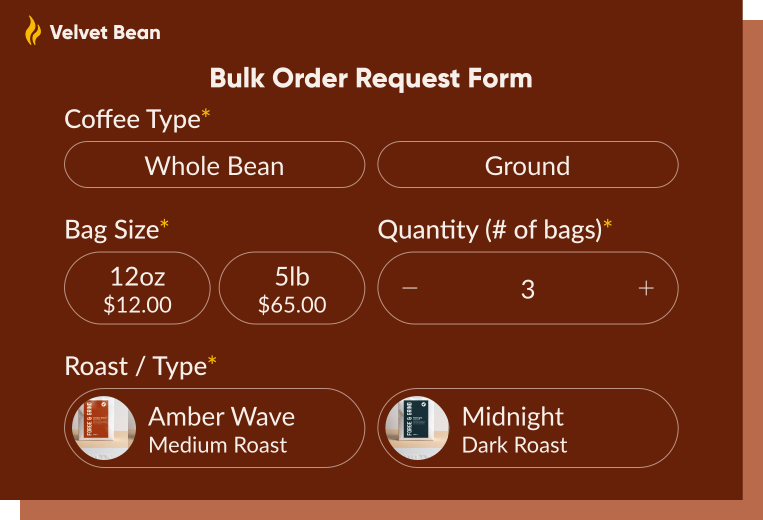
Blogger is Google’s free blogging platform, and while its built-in contact form covers basic inquiries, it doesn’t support file uploads, conditional logic, payment collection, or automated follow-up. Embedding a form built with Cognito Forms onto any Blogger page or post takes just a few steps and unlocks a much wider range of possibilities, like reader surveys, order forms, or event registrations.
When using Cognito Forms to embed a custom form on your Blogger page, you can:
- Put a real form anywhere on your site, not just buried in a sidebar. Blogger’s contact gadget only lives in the sidebar or footer. Cognito Forms embeds cleanly wherever you want it, so your “Contact Us” page actually works like one.
- Stop settling for name, email, message. The default gadget can’t add fields, so all inquiries land in the same inbox with zero context. With conditional logic, you can add a dropdown that routes each inquiry type to exactly the fields you need and skip the ones you don’t.
- Every submission is saved, even if the email isn’t. Blogger’s gadget just fires off a message and hopes it arrives. Cognito Forms logs every entry in a secure dashboard with reliable notifications, so a missed email doesn’t mean a missed client.
- Turn your blog into something that can actually run a business. Once you’re taking bookings, selling services, or collecting client paperwork, a “mailto” box won’t cut it. Cognito Forms adds native payment processing, e-signatures, and file uploads, so the same form that lives on your Blogger page can also close the deal.
How to Embed a Form on Your Blogger Site: Step-by-Step
Follow these three steps to get your form live on any Blogger page or post. The process is the same whether you’re embedding in a page or a post: just switch to HTML view, paste your embed code, and publish.
Step 1: Configure how your form appears on your blog
Before finding your form’s embed code, take a second to configure how your embedded form looks. To access these settings, hover over the form name in the Cognito Forms sidebar and select Publish Form.
From the Form Styles tab on the Publish page, you have a few options to get your form looking how you want it to before you add it to your site:
- Customize your form’s style: Change button colors, choose a new font style, add your logo, and more.
- Field styles: This option controls the visual style of your form’s fields. You have several different options that tend to work well for most people, but you can also select Chameleon to automatically match your site’s fonts and colors. See below for more information on Chameleon mode.
- Hide form header when embedded: Check this box to hide the logo, title, and description when your form is embedded. These elements will still appear when someone visits the form via a direct URL.
- Adjust embedded form margins: Set the margin around your embedded form anywhere between 0 and 80 pixels to control spacing within your page layout.

Chameleon field styles
For the most seamless visual integration, enable Chameleon mode. It automatically adopts the surrounding page’s fonts, colors, and styles, with no CSS knowledge required.
To enable Chameleon mode:
- From the form’s Publish page, select the Form Styles tab.
- Expand the Field Style dropdown and select Chameleon.
- Click Save and your form is now ready to inherit your site’s styling automatically.
Note: Chameleon field styles work only with Seamless embedding. If you plan to use an Iframe embed, see the Custom CSS section below.
Step 2: Copy your form’s embed code
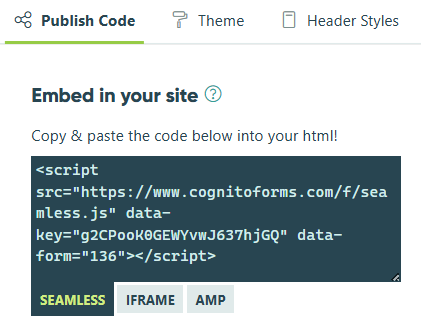
Once your form is styled and ready, it’s time to grab the code you’ll paste into Blogger. Here’s how:
- From the form’s Publish page, click the Publish Code tab.
- Under Embed in your site, select the type of embed code you want to use.
- Click inside the code’s text box to copy it to your clipboard.
Seamless vs. Iframe embedding: Which should you use?
The main difference between the two is how the form interacts with your site’s existing styles. In short, we recommend starting with the Seamless embed for most Blogger sites. If you run into styling conflicts or slow load times, switch to the Iframe embed.
| Seamless Embedding | Iframe Embedding | |
|---|---|---|
| Setup | Integrates the form directly into the page, making it look and feel like a natural part of your site | Loads your form inside a contained frame, keeping it visually separate from the surrounding page |
| When to use this | Recommended as the best option for most sites | Try this as a second option when Seamless embed causes styling conflicts or display issues |
| Styling | Inherits your site’s styles naturally (especially with Chameleon Mode) | Isolated from page styles; requires CSS to match your site’s styles |
Step 3: Add the embed code to Blogger
Whether you’re adding your form to a page or a post, the steps are identical:
- Open the page or post in Blogger where you’d like to embed your form. You can also create a new page or post.
- In the editor, switch to HTML view using the toggle at the top of the text editor.
- Paste your Seamless or Iframe embed code where you’d like the form to appear.
- Save your changes and use the Preview option to see what your form looks like on the page or port.
- When you’re finished making changes, publish or update the page or post.

Customizing Your Form’s CSS
If Chameleon mode doesn’t fully close the gap between your form and your blog’s design, Custom CSS gives you precise control over specific elements, like button colors, fonts, input borders, error messages, and more.
On Blogger, you have two ways to add custom CSS:
- Using Blogger’s built-in CSS editor: Go to your blog’s dashboard and navigate to Theme > Customize > Advanced > Add CSS. Styles added here apply across your entire blog and are a good option if you want consistent form styling site-wide.
- Using a style tag in the HTML editor: Wrap your embed code in a
<div>with a unique ID and add a<style>tag alongside it directly in the page or post’s HTML editor. This approach targets only the specific page where the form is embedded.
As you adjust your custom CSS, save your changes and Preview the page to view updates in real time.
After Embedding: Get More Out of Your Embedded Form
Once your form is embedded onto your Blogger page or post, take advantage of features offered by Cognito Forms that turn submissions into a fully automated business process:
- Automate your follow-up with Workflow. Set up multi-step Workflows with task assignments to the right team member, automated approvals, and defined steps for submissions to flow through. This works well for requests or inquiries that require internal review before responding.
- Send confirmation and notification emails immediately after submission. You can automate confirmation emails to the customer or internal alerts to your team, personalized with information from the customer’s submission.
- Automatically generate documents from form submissions. Cognito Forms’ Document Generation creates PDFs or Word documents from submission data, no manual document preparation. This is useful for sending order summaries, quotes, service agreements, or invoices.
- Collect e-signatures directly in your form. Add a Signature field to collect legally binding electronic signatures for contracts, service agreements, or client onboarding documents, without sending files back and forth.
Add a Form to Blogger Today
Embedding a form built with Cognito Forms onto your Blogger blog takes just minutes. Switch to HTML view, paste your embed code, and publish. Then, your form is live and ready for visitors! From there, layer on automated emails, workflow automation, and payment collection to build a process that keeps working every time someone submits.
Get started in minutes with our fully customizable form templates.
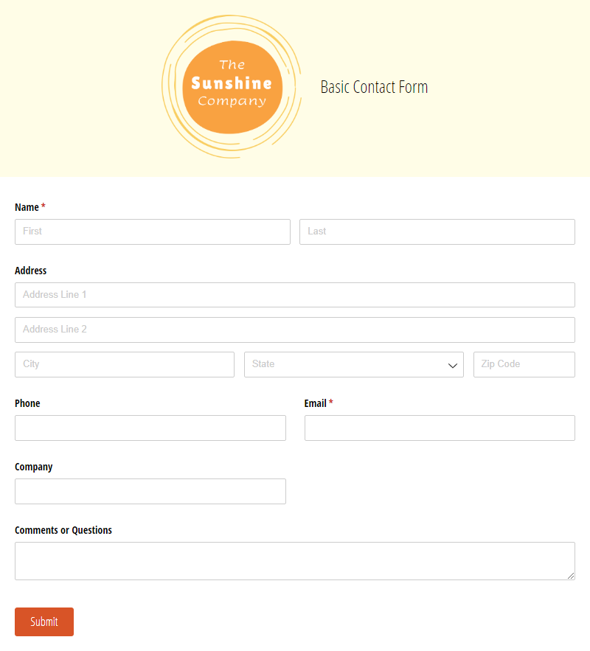
Basic Contact Form
Use our free contact form template to get notified whenever customers, sales leads, media representatives and others reach out online.
Preview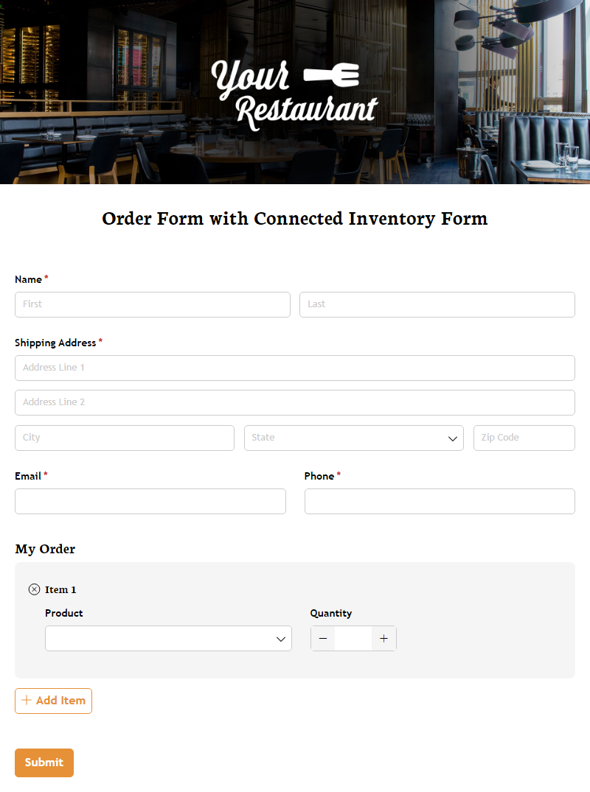
Order Form with Connected Inventory Form
Use our free product inventory form template to limit the number of times a specific product may be selected based on available quantity.
Preview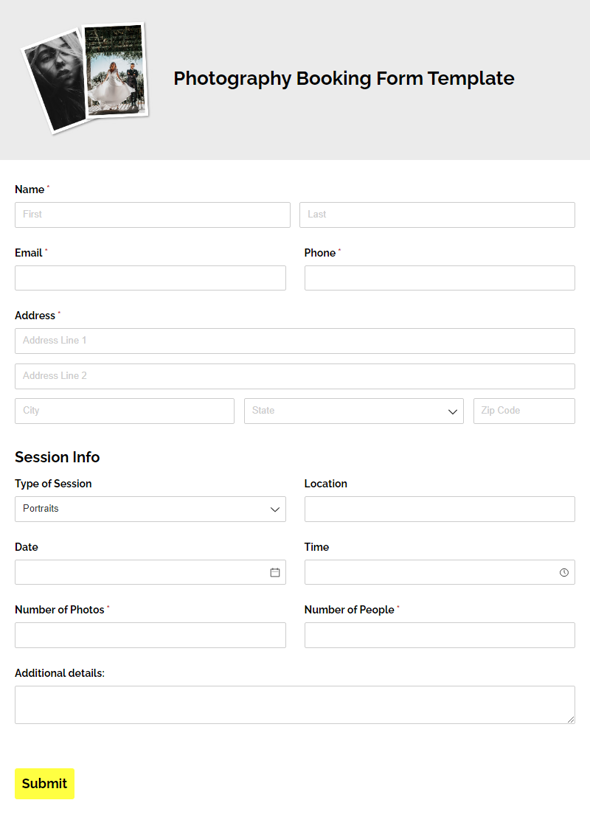
Photography Booking Form Template
Make booking clients easier with our free photography booking form. Collect important session details, including session type, date, location, and more.
Preview