Add an employee survey, service request, or HR intake form to any SharePoint page in just a few steps—no coding required.
Build Time & Skill
5-10 min
Beginner
What you'll learn
How to embed a custom form onto a SharePoint page using Cognito Forms' Iframe method, with no coding required. This guide also covers how to style your form to match your site's design and how to automate your workflow after submission.
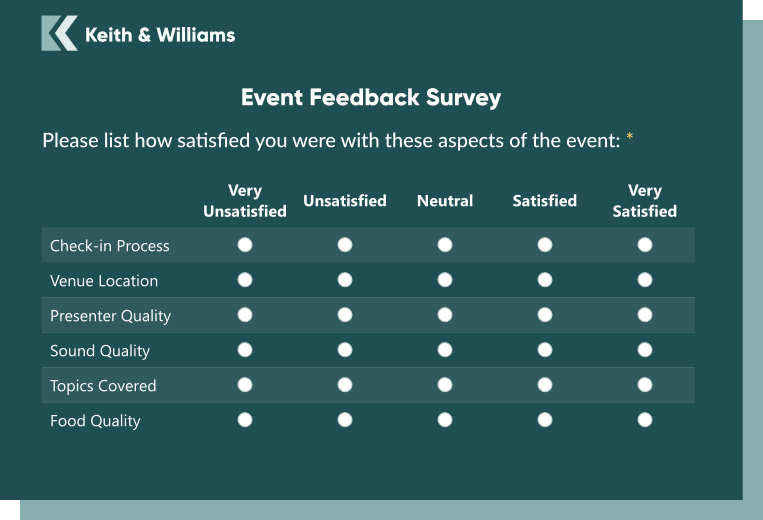
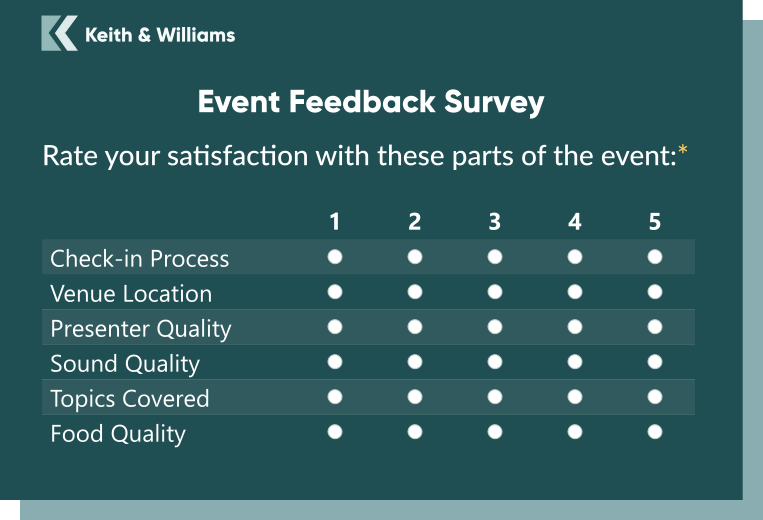
SharePoint is Microsoft’s platform for team collaboration, internal portals, and organizational intranets.
While Microsoft Forms covers basic forms, it doesn’t support complex conditional logic, fully custom workflows, document generation, or e-signature collection. Using Cognito Forms to embed a form into any SharePoint page brings those capabilities directly where your team already works, with no coding required.
Here’s what embedding a form you made in Cognito Forms on SharePoint makes possible for your site:
- Building forms with real conditional logic that handles complex workflows, not just simple surveys. When your intake process has branching paths, calculated fields, repeating sections, or multi-step approvals, Microsoft Forms hits a ceiling fast. Cognito Forms gives non-technical staff the tools to build sophisticated, professional-grade forms that actually reflect how your business works, with no developer needed.
- Collecting payments, signatures, and complex intake data all from the same tool. Microsoft Forms can’t handle payments or e-signatures natively. Cognito Forms embeds cleanly on your SharePoint page and lets your audience complete real business processes from one place, like onboarding, service requests, signed agreements,
- Making your SharePoint site look and work like a professional client-facing platform, not a generic internal tool. Generic Microsoft Forms branding signals “this was easy and free.” Cognito Forms lets you embed fully branded, polished forms that match your business. This is the kind of experience a healthcare practice, law firm, or agency needs when a client’s first interaction with them is filling something out.
How to Embed a Form on Your SharePoint Site: Step-by-Step
Follow these three steps to get your form live on any SharePoint page. You’ll configure your form’s appearance first, copy your Iframe embed code, and then paste it into a SharePoint Embed web part.
Step 1: Configure how your form appears on your site
Before finding your form’s embed code, take a second to configure how your embedded form looks. To access these settings, hover over the form name in the Cognito Forms sidebar and select Publish Form.

From the Form Styles tab on the Publish page, you have a few options to get your form looking how you want it to before you add it to your site:
- Customize your form’s style: Change button colors, choose a new font style, add your logo, and more.
- Field styles: Controls the visual style of your form’s fields. Choose from several preset options to find one that fits your organization’s branding.
- Hide form header when embedded: Check this box to hide the logo, title, and description when your form is embedded. These elements will still appear when someone visits the form via a direct URL.
- Adjust embedded form margins: Set the margin around your embedded form anywhere between 0 and 80 pixels to control spacing within your page layout.
Step 2: Copy your form’s Iframe embed code
Once your form is styled and ready, it’s time to grab the code you’ll paste on your SharePoint page. Here’s how:
- From the form’s Publish page, click the Publish Code tab.
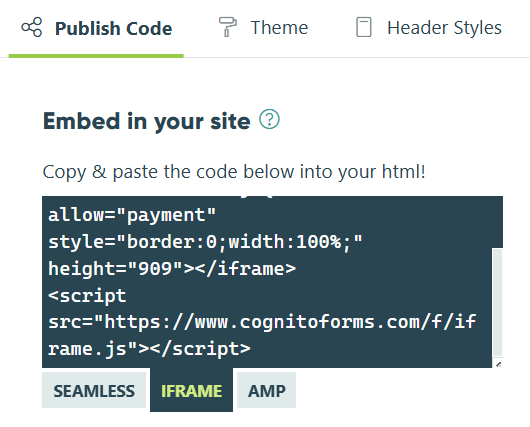
- Under Embed in your site, select the Iframe embed option.
- Click inside the code’s text box to copy it to your clipboard. This is what you’ll paste into SharePoint.
SharePoint’s Embed web part loads external content via Iframe, which ensures your form displays reliably within SharePoint’s security model. The Seamless embed option is not compatible with SharePoint’s Embed web part.
Step 3: Add the embed code to your SharePoint page
With your Iframe embed code copied, add the form to your SharePoint page using the modern page editor:
- Open the page on your SharePoint site where you’d like to add your form using the modern page editor.
- Click Edit to enter editing mode.
- Click the + icon to add a new web part and search for Embed.
- Select the Embed web part to add it to the page.
- In the web part settings panel, paste your Iframe embed code into the Website address or embed code field.
- Ensure Resize to fit the page is enabled—this prevents the form from being cut off at the bottom.
- Click Republish or Publish to save and publish your changes. Your form will now appear on the page.

Customizing Your Form’s CSS
If the built-in Form Styles settings don’t fully match your SharePoint site’s design, you can pass custom CSS directly into the Iframe embed code to control specific elements, like button colors, fonts, input borders, error messages, and more.
In SharePoint, add the Cognito.setCss script after your Iframe embed code in the Embed web part’s Website address or embed code field. Example:
Cognito.onload((form) => {
form.setCss("body { background-color: #AABCBF; }");
});
Save your changes and refresh the page to view updates in real time.
After Embedding: Get More Out of Your Embedded Form
Once your form is live on SharePoint, Cognito Forms gives you tools to turn submissions into structured, automated processes right from within your organization’s existing platform.
- Automate your follow-up with Workflow. Set up multi-step Workflows with task assignments to the right team member, automated approvals, and defined steps for submissions to flow through. This works well for requests or inquiries that require internal review before responding.
- Automatically route uploaded files to SharePoint. With File Sync directly send files to your document libraries (organized by service type, department, or client), without anyone touching them between submission and storage.
- Send confirmation and notification emails immediately after submission. You can automate confirmation emails to the customer or internal alerts to your team, personalized with information from the customer’s submission.
- Automatically generate documents from form submissions. Cognito Forms’ Document Generation creates PDFs or Word documents from submission data, no manual document preparation. This is useful for sending order summaries, quotes, service agreements, or invoices.
Add a Form to Your SharePoint Site Today
Embedding a Cognito Form into SharePoint takes just a few minutes. Paste your Iframe embed code into an Embed web part and your form is live and integrated into the same platform your team already uses every day. From there, add workflow automation, email notifications, e-signatures, and document generation to build end-to-end processes your organization can rely on.
Get started in minutes with our fully customizable form templates.
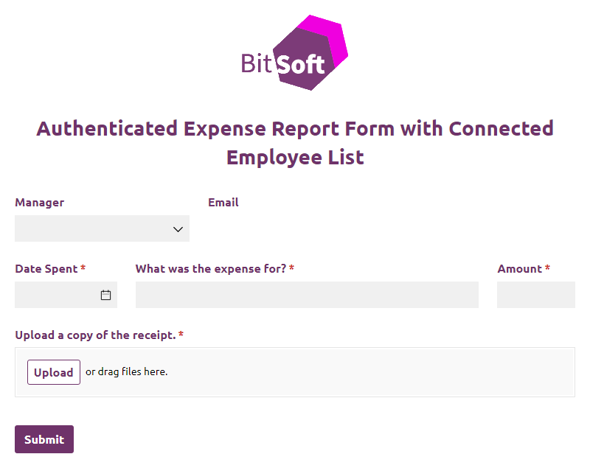
Authenticated Expense Report Form with Connected Employee List
Use our free expense report form template to enable staff members to log business expenses for reimbursement.
Preview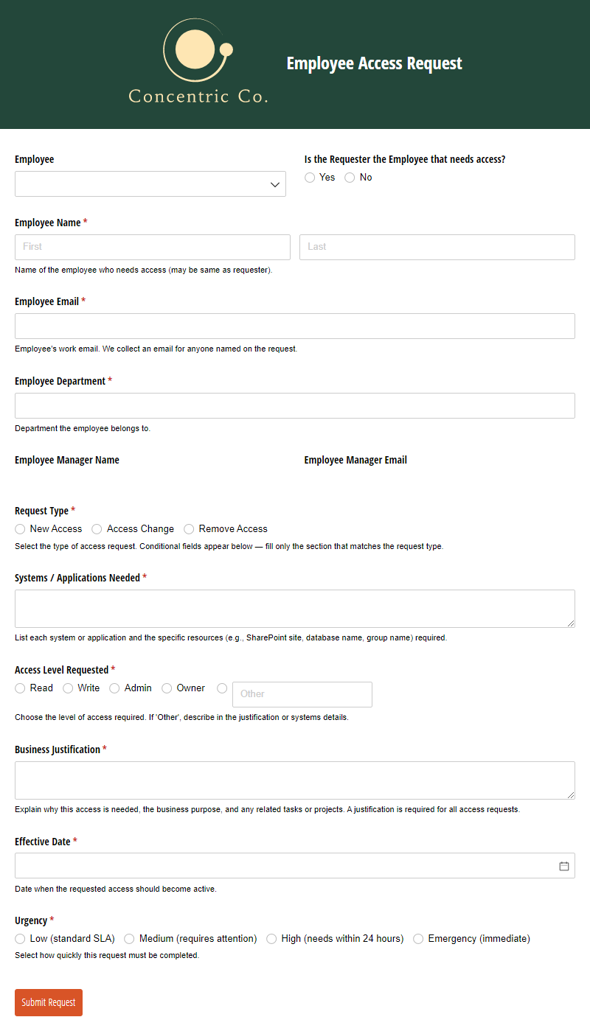
Employee Access Request Form Template
Securely track and approve employee access changes in one workflow.
Preview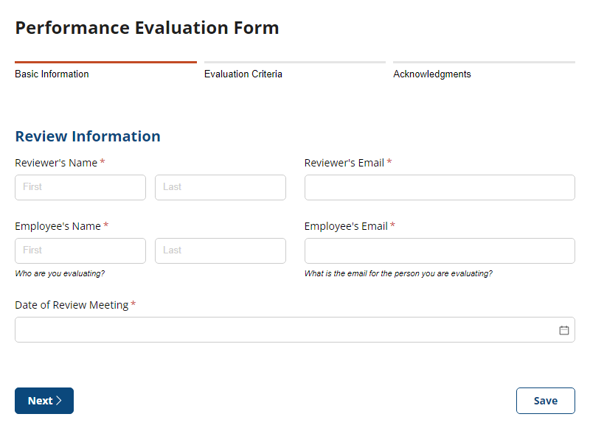
Performance Evaluation Form
Ensure clear, transparent feedback processes with our easy-to-use performance evaluation form and workflow.
Preview