Integrate your forms with Google Maps to automatically suggest addresses as users start typing.
To get started, select an Address field in the form builder and find the Address Autocomplete option. Here, you can edit the connection name/description, enter your Google Maps API Key (see instructions below), and see which forms your Google Maps integration is connected to.
To limit address suggestions to a specific country, select a default country in the Address field settings and then deselect the Country subfield.
![]()
Creating a Google Maps API key
We recommend creating a separate Google Maps API key for each organization you manage. To create a Google Maps API key:
-
Create or sign in to your Google account and then go to Google Cloud.
-
Select the projects dropdown in the top toolbar to create a new project or select an existing project.

-
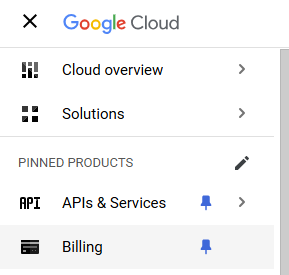
Open the menu in the top left and select Billing. Follow the steps to set up billing information for your account. If this is your first time setting up billing and creating a key, a series of modals will appear, introducing you to the product and generating an API key for you. You may close these modals as we will walk through the individual setup steps later.
-
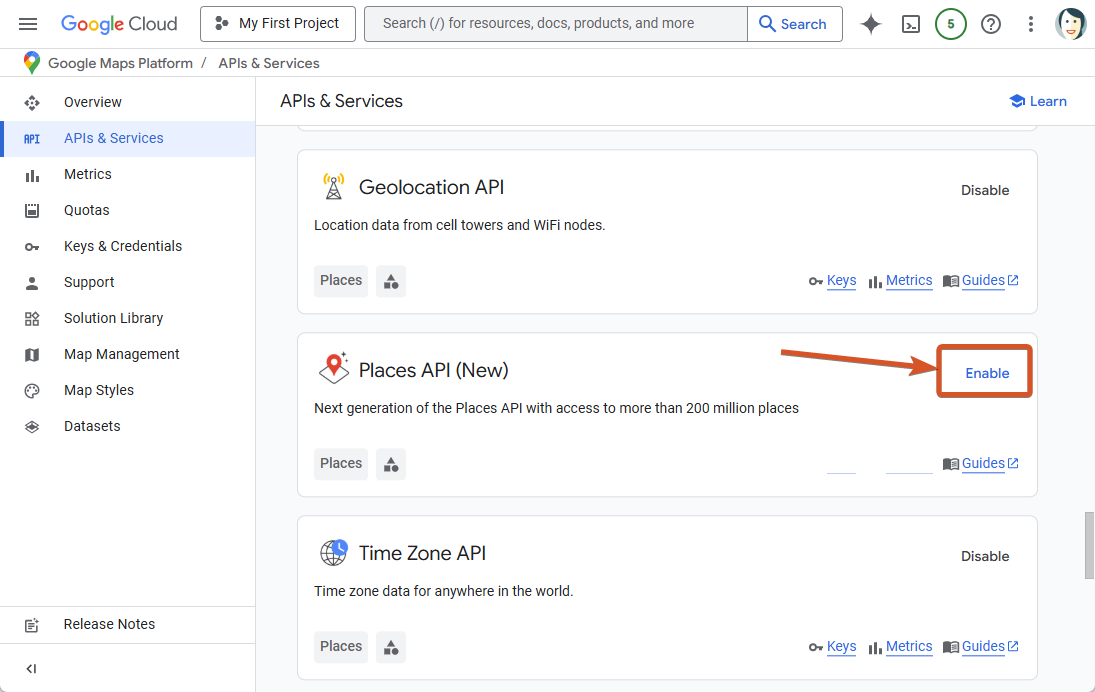
Open the menu and go to Google Maps Platform > APIs & Services.

-
Find and enable Maps JavaScript API and Places API (New).
-
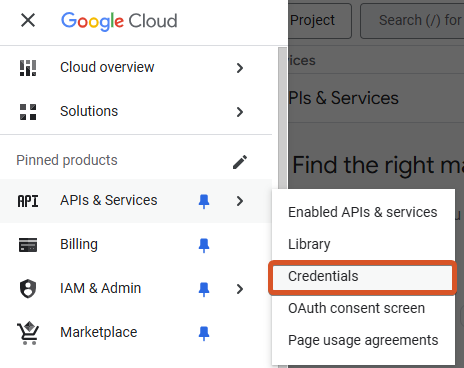
Open the menu and go to APIs & Services > Credentials.
-
Select + CREATE CREDENTIALS > API key. If an API key was generated for you after billing was set up, you may ignore this step and continue with the key that was created for you.

-
To rename your key, select the key name from the list to open the key settings. Make sure to click Save when you’re done!

Setting key security
To set key security in the Google Maps platform:
-
Open the menu and go to APIs & Services > Credentials.
-
Select your API key from the list.
-
Under Application restrictions, select Websites.
-
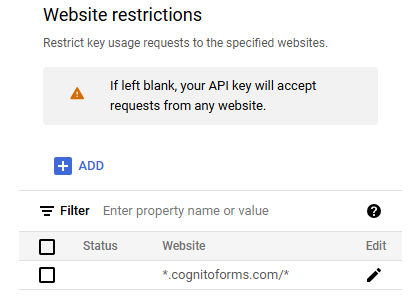
Under Website restrictions, select + ADD and enter the following Url:
*.cognitoforms.com/*Be sure to add any domains where your form is embedded as well.
-
Under API restrictions, select Restrict key.
-
In the dropdown, check Maps JavaScript API and Places API (New) on the dropdown and click Save.
Setting a usage quota
Refer to the Places section in the Google Maps Platform Pricing for more information about monthly usage costs.
To set a usage quota in the Google Maps platform:
-
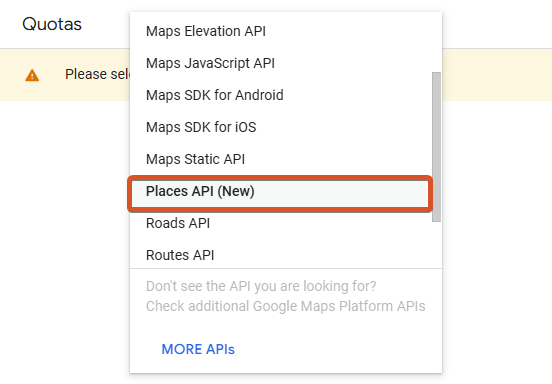
Open the menu and go to Google Maps Platform > Quotas.

-
Use the dropdown in the top toolbar to select Places API.
-
Find the quota table at the bottom and select AutocompletePlacesRequest per day.
-
Click the pencil icon to edit the quota and enter your usage quota. Refer to the Places section in the Google Maps Platform Pricing for more information about monthly usage costs.

Enabling budget alerts
To enable budget alerts in the Google Maps platform:
-
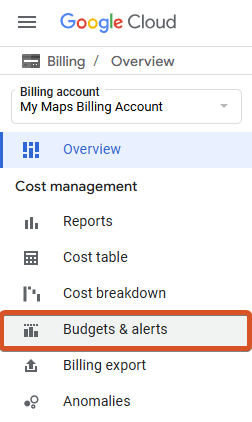
Open the menu and go to Billing.
-
Select your billing account and go to Budgets & alerts.
-
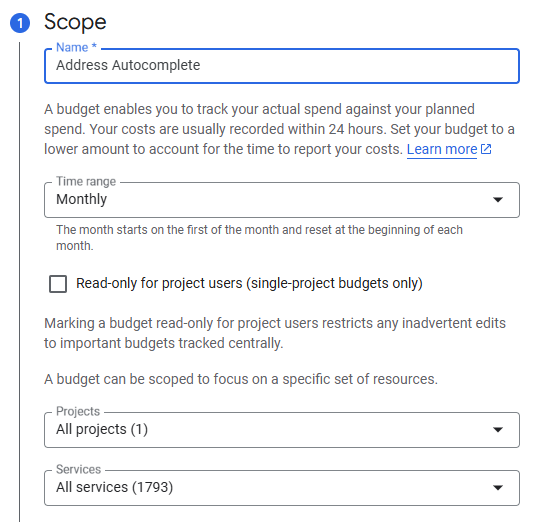
Select + Create Budget from the top toolbar.
-
Name the budget and set the time range to Monthly.
-
Select your project name and All services and click Next.
-
Set Budget type to Specified amount and set Target amount to $0.

-
Click Finish. You will receive an email if you exceed the limit.