Your Webnode contact form doesn’t have to be basic. Use Cognito Forms to embed a fully customizable form with conditional logic, workflow automation, and integrated payments.
Build Time & Skill
10-15 min
Beginner
What you'll learn
How to embed a custom form on your Webnode site using Cognito Forms' Seamless or Iframe embed method through Webnode's HTML content block, with no coding required. This guide also covers how to style your form to match your site's design.
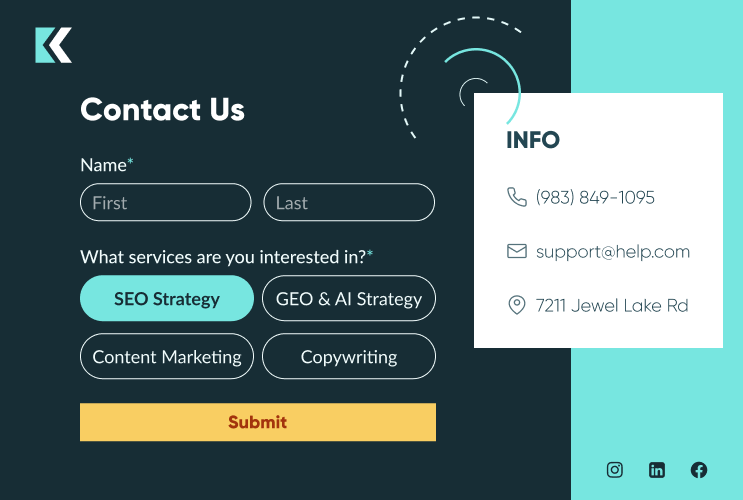
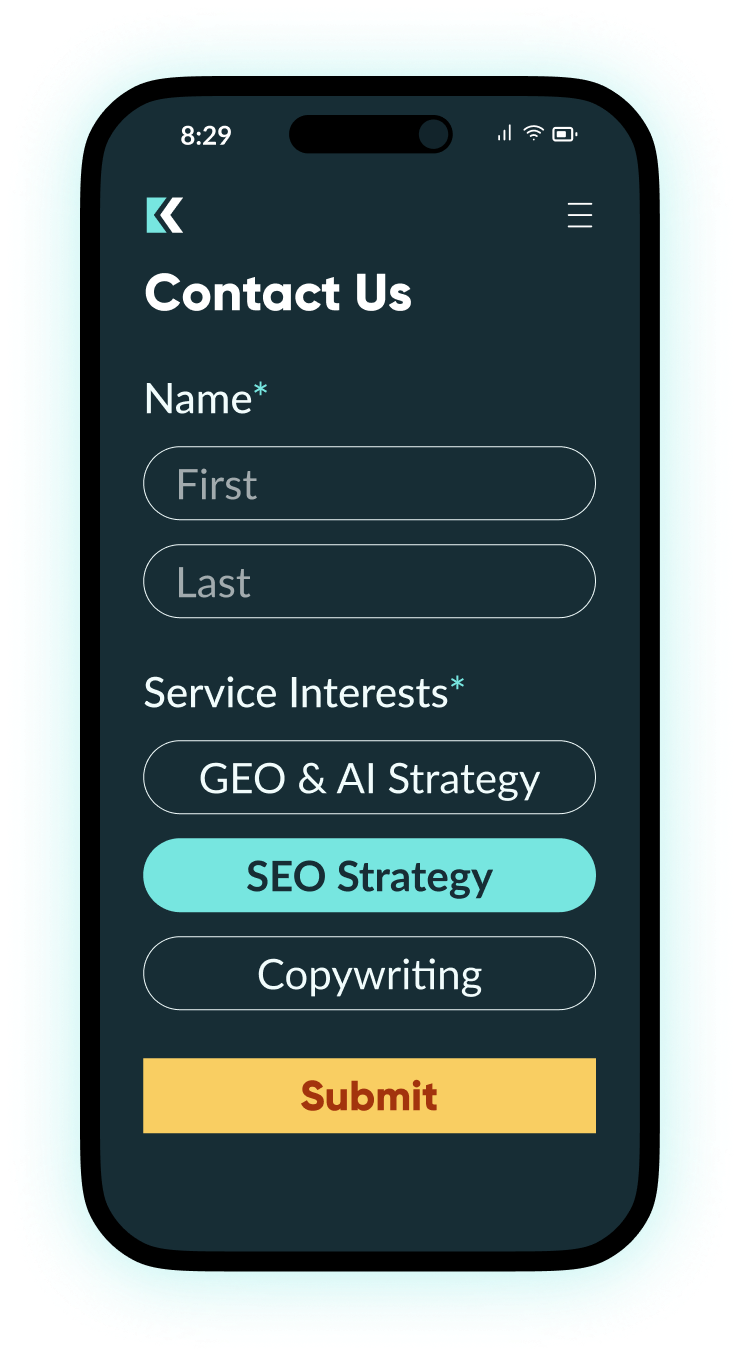
Webnode is a beginner-friendly website builder popular with small businesses and entrepreneurs around the world. Its built-in form options are limited to basic contact fields, but embedding a form you built on Cognito Forms takes just a few steps. It also opens up a much wider range of possibilities, including conditional logic, payment collection, automated follow-up, and document generation.
With Cognito Forms on your Webnode site, you can have:
- Payment + intake in a single step. Collect a deposit, booking fee, or full payment at the same moment you gather client information. Someone can fill out your service agreement, answer your onboarding questions, and pay without leaving your site or toggling between tools.
- Forms that adapt to each person filling them out. Show only the fields that apply to a specific client and let them skip the rest. Your intake, application, or service request process feels tailored and thorough without overwhelming people who only need the short version.
- A completed document waiting in their inbox when they hit submit. Automatically generate a filled-in contract, intake summary, or PDF proposal the moment a form is submitted. No copy-pasting or manual follow-up; just the right document delivered to the right person right away.
How to Embed a Form on Your Webnode Site: Step-by-Step
Follow these three steps to get your form live on any Webnode page. You’ll configure your form’s appearance first, copy your embed code, and then paste it into a Webnode HTML content block.
Step 1: Configure how your form appears on your site
Before finding your form’s embed code, take a second to configure how your embedded form looks. To access these settings, hover over the form name in the Cognito Forms sidebar and select Publish Form.
From the Form Styles tab on the Publish page, you have a few options to get your form looking how you want it to before you add it to your site:
- Customize your form’s style: Change button colors, choose a new font style, add your logo, and more.
- Field styles: This option controls the visual style of your form’s fields. You have several different options that tend to work well for most people, but you can also select Chameleon to automatically match your site’s fonts and colors. See below for more information on Chameleon mode.
- Hide form header when embedded: Check this box to hide the logo, title, and description when your form is embedded. These elements will still appear when someone visits the form via a direct URL.
- Adjust embedded form margins: Set the margin around your embedded form anywhere between 0 and 80 pixels to control spacing within your page layout.

Chameleon field styles
For the most seamless visual integration, enable Chameleon mode. It automatically adopts the surrounding page’s fonts, colors, and styles, with no CSS knowledge required.
To enable Chameleon mode:
- From the form’s Publish page, select the Form Styles tab.
- Expand the Field Style dropdown and select Chameleon.
- Click Save and your form is now ready to inherit your site’s styling automatically.
Note: Chameleon field styles work only with Seamless embedding. If you plan to use an Iframe embed, see the Custom CSS section below.
Step 2: Copy your form’s embed code
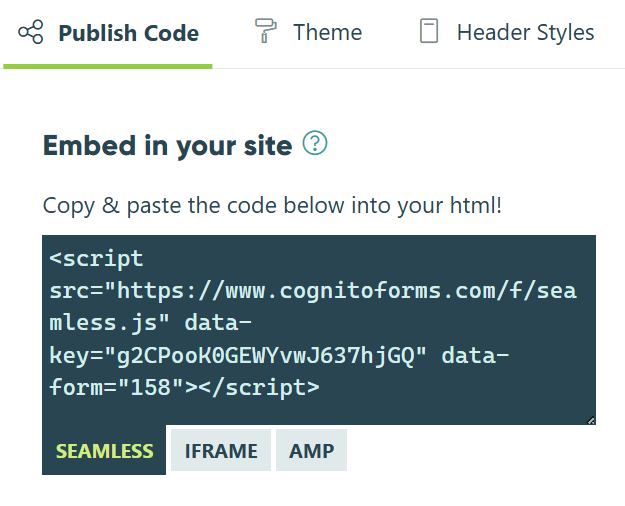
Once your form is styled and ready, it’s time to grab the code you’ll paste into Webnode. Here’s how:
- From the form’s Publish page, click the Publish Code tab.
- Under Embed in your site, select the type of embed code you want to use.
- Click inside the code’s text box to copy it to your clipboard. This is what you’ll paste into Webnode.
Seamless vs. Iframe embedding: Which should you use?
The main difference between the two is how the form interacts with your site’s existing styles. In short, we recommend starting with the Seamless embed for most Webnode sites. If you run into styling conflicts or slow load times, switch to the Iframe embed.
| Seamless Embedding | Iframe Embedding | |
|---|---|---|
| Setup | Integrates the form directly into the page, making it look and feel like a natural part of your site | Loads your form inside a contained frame, keeping it visually separate from the surrounding page |
| Best Used When | Recommended for most sites | Seamless embed causes styling conflicts or display issues |
| Styling | Inherits your site’s styles naturally (especially with Chameleon Mode) | Isolated from page styles; requires CSS to match your site’s styles |
Step 3: Add the embed code to Webnode
No matter which embed code you choose, you’ll add it the same way in Webnode:
- Log in to your Webnode account and open the page where you’d like to add your form.
- Hover over the area on the page where you want to add your form and click the plus sign
+that appears. - In the pop-up that appears, select the HTML block.
- Paste your Seamless or Iframe embed code into the code field.
- Save your changes, then visit the published version of your site to see your form in action.

The HTML block may show a security warning in the editor. After pasting your embed code, you may see a message that the content “cannot be displayed due to security reasons.” This is normal Webnode editor behavior and does not mean anything is wrong. Your form will appear correctly on the published version of your site. Visit the live page to confirm it’s displaying as expected.
Customizing Your Form’s CSS
If the Chameleon field style doesn’t fully close the gap between your form and your site’s visual design, Custom CSS lets you fine-tune it.
Custom CSS gives you precise control of specific elements like button colors, input borders, error messages, and fonts using CSS variables or traditional selectors. On Webnode, you add custom CSS directly into the HTML element where you added your form’s embed link.
To add custom CSS to your embedded form in Webnode:
- Select the HTML Element that you added your form’s code in.
- Paste or write your CSS after the embed code you pasted. Be sure to keep everything inline with the embed code. Both Seamless and Iframe embed codes end in
</script>, and you will add your CSS rules directly after this.
As you adjust your custom CSS, you can view real-time style changes by publishing your changes and viewing your published site.
After Embedding: Get More Out of Your Embedded Form
Once your form is live on Webnode, Cognito Forms gives you tools to turn submissions into a fully automated business process.
- Automate your follow-up with Workflow. Set up multi-step Workflows with task assignments to the right team member, automated approvals, and defined steps for submissions to flow through. This works well for requests or inquiries that require internal review before responding.
- Send confirmation and notification emails immediately after submission. You can automate confirmation emails to the customer or internal alerts to your team, personalized with information from the customer’s submission.
- Automatically generate documents from form submissions. Cognito Forms’ Document Generation creates PDFs or Word documents from submission data, no manual document preparation. This is useful for sending order summaries, quotes, service agreements, or invoices.
- Collect e-signatures directly in your form. Add a Signature field to collect legally binding electronic signatures for contracts, service agreements, or client onboarding documents, without sending files back and forth.
Add a Form to Your Webnode Site Today
Embedding a form you built with Cognito Forms onto your Webnode site takes just minutes. Add Webnode’s HTML content block, paste your embed code, and your form is live as soon as you publish. From there, layer on automated emails, workflow automation, and payment collection to build a process that does the work for you.
Get started in minutes with our fully customizable form templates.
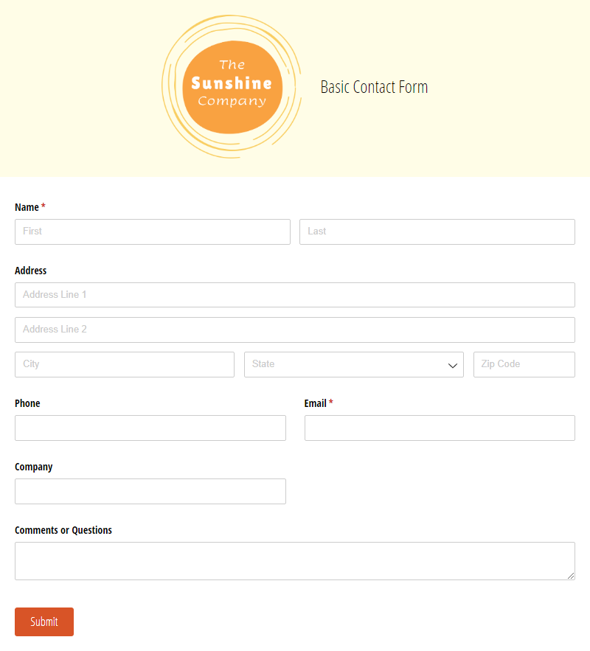
Basic Contact Form
Use our free contact form template to get notified whenever customers, sales leads, media representatives and others reach out online.
Preview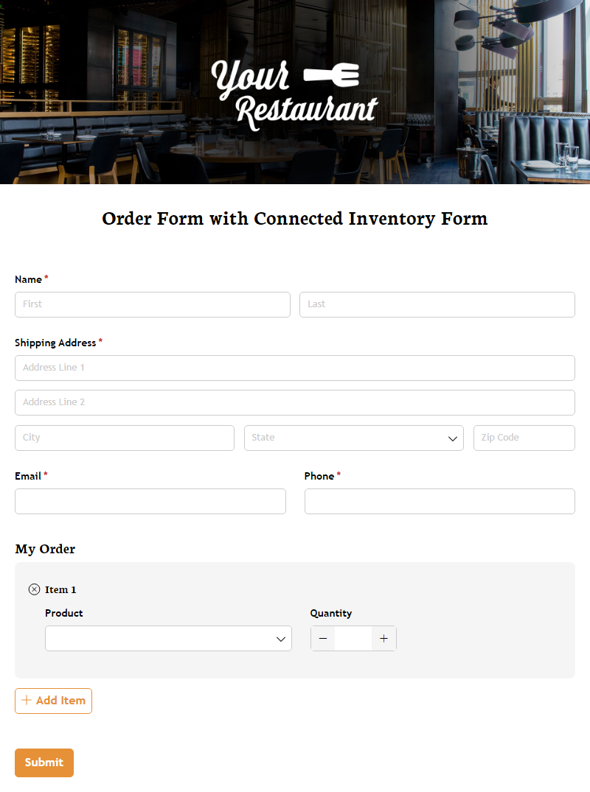
Order Form with Connected Inventory Form
Use our free product inventory form template to limit the number of times a specific product may be selected based on available quantity.
Preview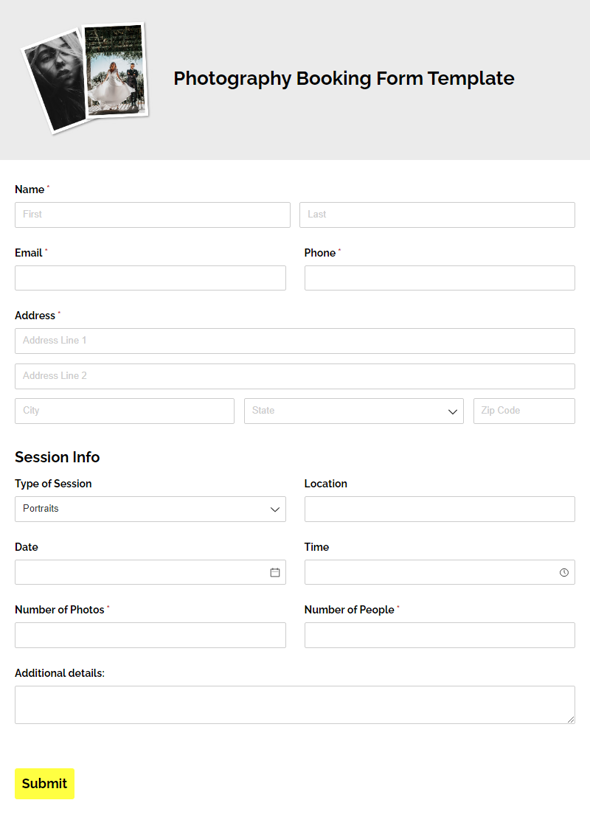
Photography Booking Form Template
Make booking clients easier with our free photography booking form. Collect important session details, including session type, date, location, and more.
Preview