The best way to create a custom experience for your form users is to copy one of the provided embed codes and paste it directly into a page on your website. Using the Seamless embed code, you can embed multiple forms on the same webpage.
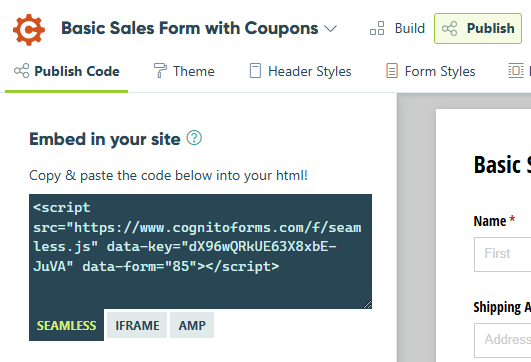
You can access your form’s Seamless embed code when you hover over a form name and select Publish Form. Alternatively, you can open the Publish page from the top toolbar on either the Build or Entries page.
Additionally, take advantage of the ability to customize your form styles with CSS, or use the Chameleon option under Form Styles to allow the styles of your webpage to apply to the form.
Customizing CSS
You can customize the styling of your seamlessly embedded form using CSS. Plus, you can give each form a unique identifier to style them separately.
- Hover over the form name in the sidebar and select Publish Form.
- Copy your form’s Seamless embed code, located under Publish Code.
- Paste the code into your webpage’s HTML.
- Use a div tag around the code to specify the form ID. Alternatively, simply place your embed code inside any container element on your webpage with a unique ID. The form ID can be any unique identifier (ex: ‘form1’).
<div id="form1"> <script src="https://www.cognitoforms.com/f/seamless.js" data-key="Muy2UY3MEke97JKU-QCXPA" data-form="38"> </script> </div> - Insert an additional style tag directly underneath the code to include your CSS. Include the form ID in front of the CSS property:
<style> #form1 .cog-button--primary{background-color:#5ACEC8;} </style> - Now, the embedded form will display your custom CSS:
- To adjust the styles for multiple embedded forms, give each form a unique identifier and include all the form IDs in the style tag:
<style>
#form1 h1{color:red;}
#form2 h1{color:blue;}
</style>
Prefilling fields
With both the Seamless and the Iframe embed options, Cognito Forms can use properly formatted JSON to support autopopulating form data. Learn more about prefilling fields.
Prefilling one form
- Hover over the form name in the sidebar and select Publish Form.
- Copy your form’s Seamless embed code, located under Publish Code.
- Paste the code into your webpage’s HTML.
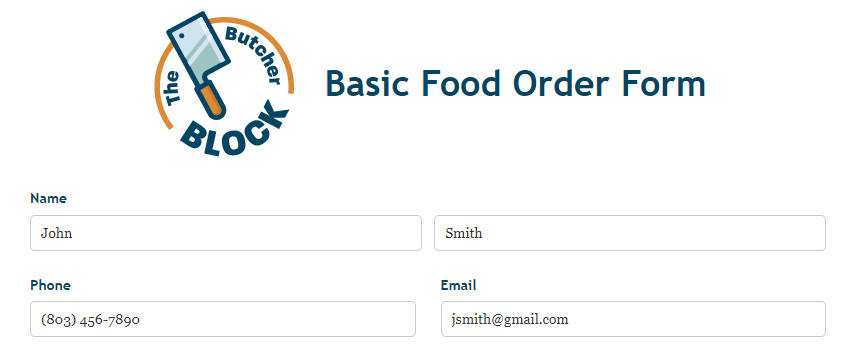
- Underneath the Seamless embed code, add a script to include your prefill information. In between the curly brackets, specify the fields you want to prefill and the values to prefill them with.
<script> Cognito.prefill({"Name":{"First":"John","Last":"Smith"},"Phone":"8034567890","Email":"jsmith@gmail.com"}); </script> - The embedded form will now prefill with the included Name and Phone field values upon loading.
Prefilling multiple forms
- Hover over the form name in the sidebar and select Publish Form.
- Copy your form’s Seamless embed code, located under Publish Code.
- Paste the code into your webpage’s HTML. Repeat these first two steps for any other forms that you want to embed on the same page.
- Above the Seamless embed code, use a div tag to specify the form ID. The form ID can be any unique identifier – in this example, you can specify multiple IDs to prefill two forms at once:
<div id="form1"> ... </div> <div id="form2"> ... </div> - Underneath the Seamless embed code, add a script to include your prefill information. Use the Cognito.mount property, followed by the ‘data-form’ number in each form’s embed code and the corresponding form IDs (ex: ‘form1’ and ‘form2’). In between the curly brackets, specify the fields you want to prefill and the values to prefill them with.
<script> Cognito.mount("9","#form1").prefill({"Name":{"First":"John","Last":"Smith"},"Phone":"8034567890","Email":"jsmith@gmail.com"}); Cognito.mount("10","#form2").prefill({"Name": {"First":"Jane","Last":"Doe"},"Phone":"8030987654","Email":"jsmurphy@gmail.com"}); </script> - The embedded forms will now prefill with the included Name and Phone field values upon loading.
Form 1:
Form 2:

Text overrides
Refer to our text overrides help guide to see a full list of of possible field types and text that you can override.
With Cognito Forms, you can easily change the default text and language used on your forms. Many text changes can be done very quickly using the visual builder. For example, you can set custom error messages, or write your own placeholder text for most field types.
Of course, you may still want to change individual words or use a language that’s not on our list. You can do that manually using this simple process.
Overriding text on one form
- Hover over the form name in the sidebar and select Publish Form.
- Copy your form’s Seamless embed code, located under Publish Code.
- Paste the code into your webpage’s HTML.
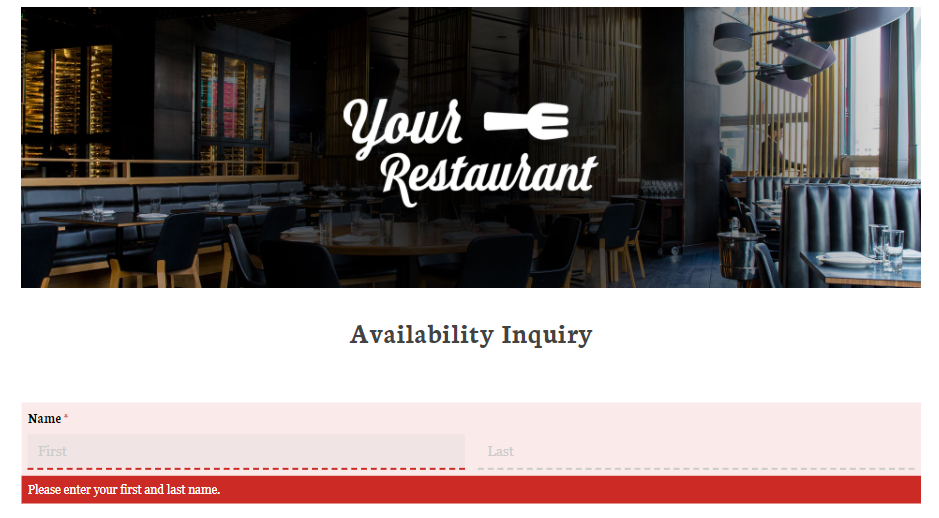
- Underneath the Seamless embed code, add a script to specify the text that you want to override. Then, use the .overrideText property to specify the field type (ex: ‘required’) and your custom text:
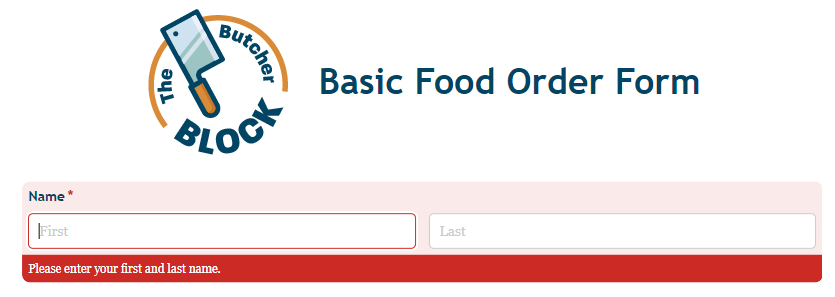
<script> Cognito.overrideText("required-name-first-and-last","Please enter your first and last name."); </script> - Now, the required error message will display your custom text.
Overriding text on multiple forms
- Hover over the form name in the sidebar and select Publish Form.
- Copy your form’s Seamless embed code, located under Publish Code.
- Paste the code into your webpage’s HTML. Repeat these first two steps for any other forms that you want to embed on the same page.
- Above the Seamless embed code, use a div tag to specify the form ID. Give each form a unique identifier:
<div id="form1"> ... </div> <div id="form2"> ... </div> - Underneath the Seamless embed code, add a script to specify the text that you want to override. Use the Cognito.mount property, followed by the ‘data-form’ number in the Seamless embed code and the corresponding form IDs (ex: ‘form1’ and ‘form2’). Then, use the .overrideText property to specify the field type (ex: ‘required’) and your custom text:
<script> Cognito.mount("9","#form1").overrideText("required-name-first-and-last","Please enter your first and last name."); Cognito.mount("14","#form2").overrideText("required-name-first-and-last","Please enter your first and last name."); </script> - Now, the required error message will display your custom text.
Form 1:
Form 2: