Stop manually copying form submissions into your CRM. Connect Cognito Forms to your CRM and every new entry becomes a lead the moment someone hits submit.
Build Time & Skill
15-20 min
Intermediate
What you'll learn
How to connect a Cognito Forms lead capture form to your CRM with Zapier, so new entries automatically become CRM leads.
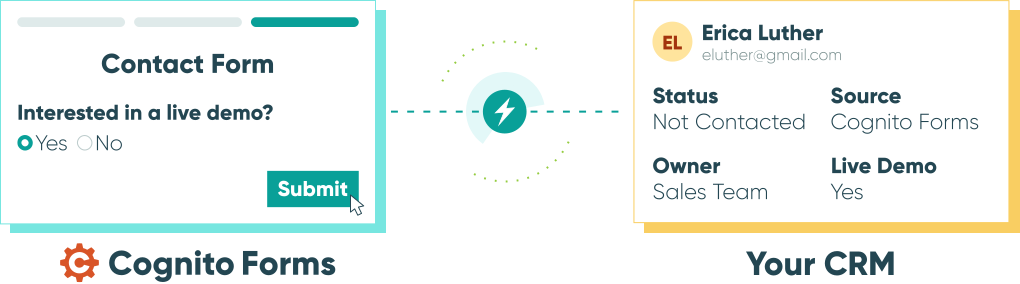
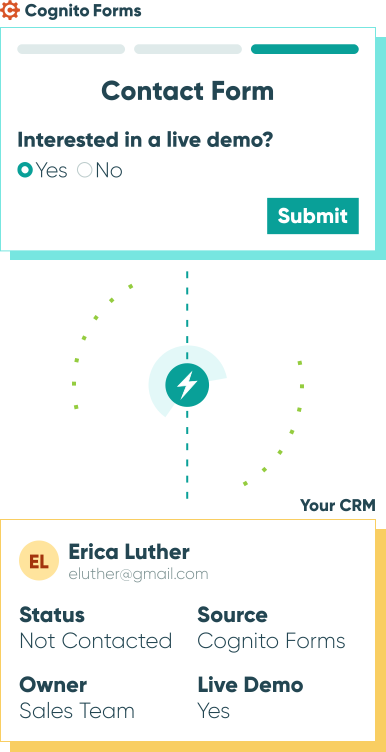
When a lead sits in your inbox instead of your CRM, follow-up slows down, and details get lost between systems. This guide walks you through connecting your Cognito Forms lead capture form to your CRM using Zapier, so every submission creates a lead automatically. It’s built for anyone collecting leads through a form who wants their sales team working from up-to-date CRM data without manual entry.
Automating this handoff helps you:
- Follow up faster. Leads reach your CRM (and your sales team) the instant they submit your form, instead of waiting for someone to enter them manually.
- Eliminate manual data entry. Free your team from copying names, emails, and details between systems by hand.
- Reduce errors and dropped leads. Automated transfers remove typos and the risk of a submission getting lost in an inbox.
- Work with the CRM you already use. Zapier connects Cognito Forms to popular CRMs like Salesforce, HubSpot, and SugarCRM, so you don’t have to change how your sales team works.
How to connect Cognito Forms to your CRM with Zapier
To automatically create CRM leads from new form entries, create a Zap that triggers on new Cognito Forms entries and creates a lead in your CRM. These five steps connect the two systems and confirm everything works before you rely on it.
Step 1: Create your Zap
- Log in to Zapier and click Create Zap.
- Search for and select Cognito Forms as your Trigger app.

Step 2: Set your trigger
- Choose New Entry as the Trigger event. This fires whenever someone submits your form (technically, whenever an entry changes from Incomplete to another status).
- If you also want your CRM updated when an existing lead re-submits or edits their information, add a separate Zap using the Update Entry trigger.
- Connect your Cognito Forms account, then select the lead capture form you want to use.
- Test the trigger to pull in a sample entry.

Step 3: Choose your CRM action
- Search for and select your CRM (like Salesforce, HubSpot, or SugarCRM) as the Action app.
- Choose the action that creates a new record, typically named something like Create Lead or Create Contact. The exact name depends on your CRM.
- Connect your CRM account if you haven’t already.

Step 4: Map your form fields to your CRM
- Match each field from your Cognito Forms entry (Name, Email, Phone, Company, etc.) to the corresponding field in your CRM.
- Add any fixed values your CRM requires, like a lead source or status.

Step 5: Test and turn on your Zap
- Send a test lead through your CRM step to confirm the record is created correctly.
- Fix any field mapping issues and test again if needed.
- Turn your Zap on.
Once it’s live, every new form submission creates a lead in your CRM automatically – no copying, no delays.
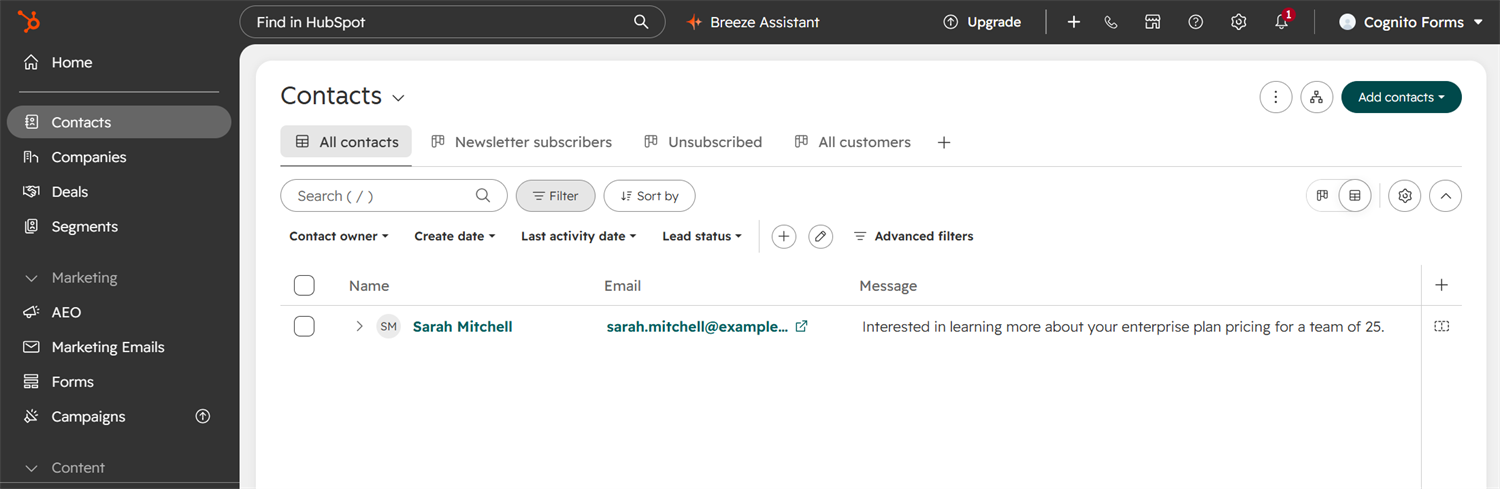
Troubleshooting a Zap. If a lead doesn’t appear in your CRM as expected, check your form’s entry audit log first. It shows when an integration was triggered, its status, and why it may have failed.
Additional features to extend your lead workflow
Once your CRM Zap is running, a few more Zapier actions and options can round out your lead-management workflow:
- Update existing leads automatically. Use the Update Entry trigger to sync your CRM whenever someone updates their submission, keeping lead details current without a second manual step.
- Pull entry data on demand. Use Get Entry or Get Form Entries to retrieve submission data for reporting or other tools, without waiting for a new trigger event.
- Build multi-step Zaps. Combine your CRM action with additional steps in the same Zap, like posting a Slack alert to your sales channel or logging the lead in a Google Sheet.
- Start from a template. Check Cognito Forms’ Zapbook page for pre-built Zaps you can customize instead of starting from scratch.
Start automating your lead follow-up today
Manually re-entering leads costs you time and, sometimes, the lead itself. Connecting Cognito Forms to your CRM with Zapier means every submission reaches your sales team the moment it happens, with no copy-and-paste in between. Set up your Zap once, and let it handle the follow-up moving forward.
FAQ
Cognito Forms connects to any CRM available in Zapier’s app directory, including Salesforce, HubSpot, SugarCRM, and Pipedrive. Search for your CRM by name when setting up the Action step of your Zap to confirm it’s supported.
It depends on your CRM and workflow. Zapier’s free plan supports single-step Zaps (one trigger, one action), which covers a basic lead-creation setup. Multi-step Zaps, like adding a Slack notification, require a paid Zapier plan.
Files and generated documents pass through Zapier listed by their template ID rather than filename. Not every CRM supports receiving file attachments, so check your CRM’s Zapier action details before mapping document fields.
Yes. Use the Update Entry trigger instead of (or alongside) New Entry. This fires when someone updates a submitted entry, excluding entries with an Incomplete status, so you can keep your CRM record current after the initial lead is created.