Export all the data you need directly into Excel for easy management and third-party imports. You can also use our data integrations to automatically send entry data to platforms like Google Sheets or Excel Online.
How to export entries
Each organization member can complete one export at a time. Exports from unsaved entry views can contain up to 50,000 entries.
To export your entries to an Excel (or .xlsx) spreadsheet:
-
Click the form name in the sidebar to open the Entries page.
-
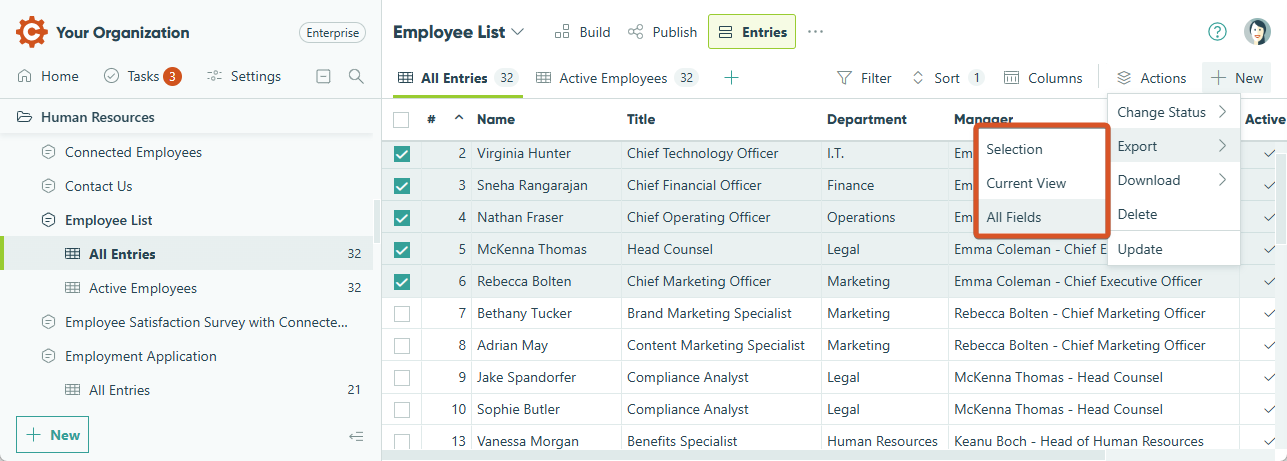
Open the Actions menu in the top right toolbar and select Export.
-
Select an export option. The Excel export will not include File Upload fields or Signature field images.
- Selection – Export any selected entries in the current view with the specified columns included.
- Current View – Export all entries in the current view with the specified columns included.
- All Fields – Export all entries in the current view, including all columns. This export will include any repeating section or table data on its own worksheet within the Excel file. Each item in a repeating section has a unique ID to ensure accuracy – please note that these IDs are only unique inside a section, not between different entries.
-
The download starts automatically once your export is ready. You will also receive an email notification with a link to download the exported file. The link will be available for 24 hours.
Exporting a unique entry view
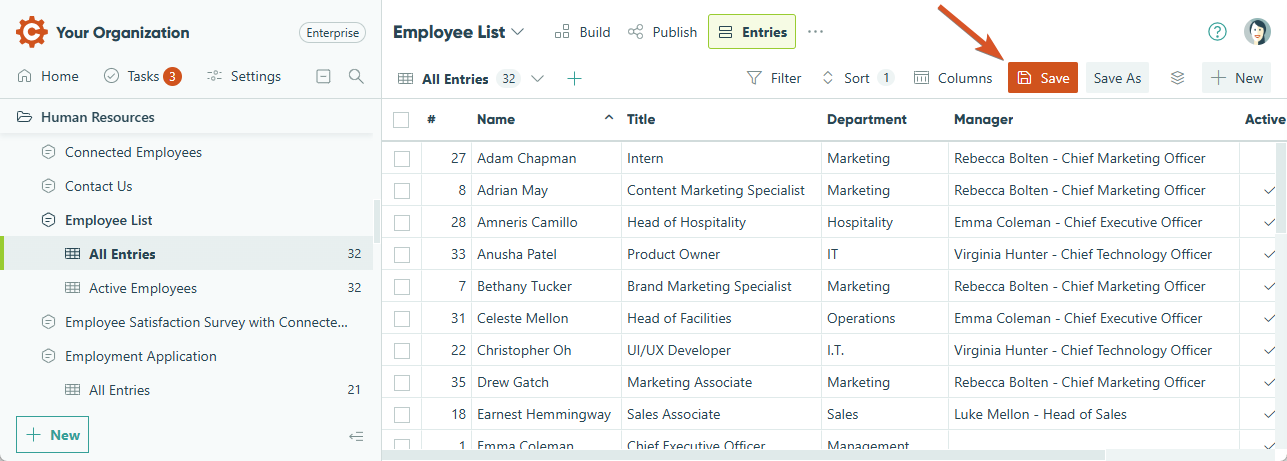
Once you change the current entry view (like displaying different columns or filtering entries), you can click the save icon to create a unique entry view. If you do not save your changes, the exported spreadsheet rows will be ordered based on the entry number.
Exporting individual entries with repeating data
To export a specific entry or entries (including repeating section/table data):
-
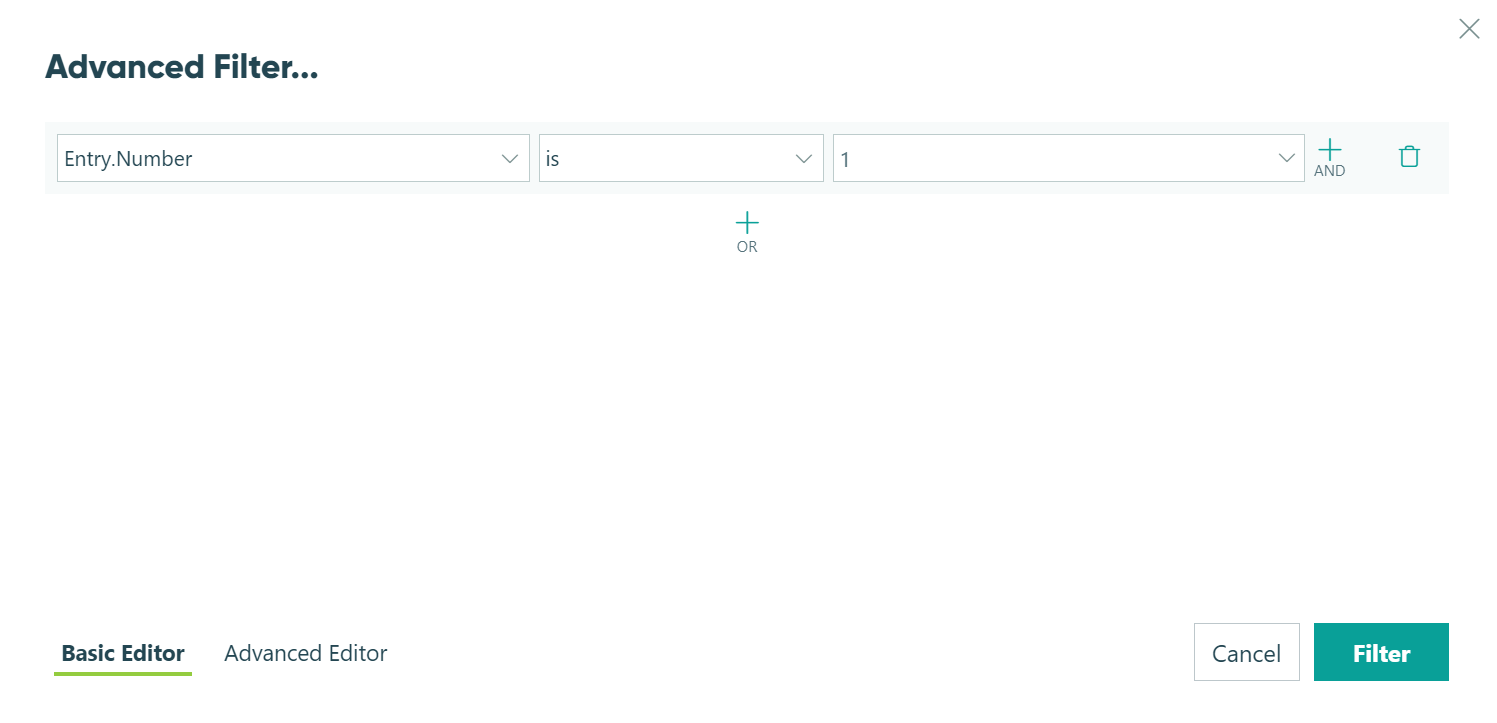
Use the Filter option to refine the entry view down to the specific entry or entries you want to export. For example, you could filter entries based on the entry number:
=(Entry.Number = 1)
-
Select Save to save your new entry view.
-
Open the Actions menu in the top right toolbar and select the Export option.
-
Select All Fields to begin the export.