Send generated documents straight to SharePoint the moment a form is submitted, no manual uploads required.
Build Time & Skill
20-30 min
Intermediate
What you'll learn
How to build a Power Automate flow that retrieves a generated document from Cognito Forms and delivers it directly to a SharePoint document library on every form submission.
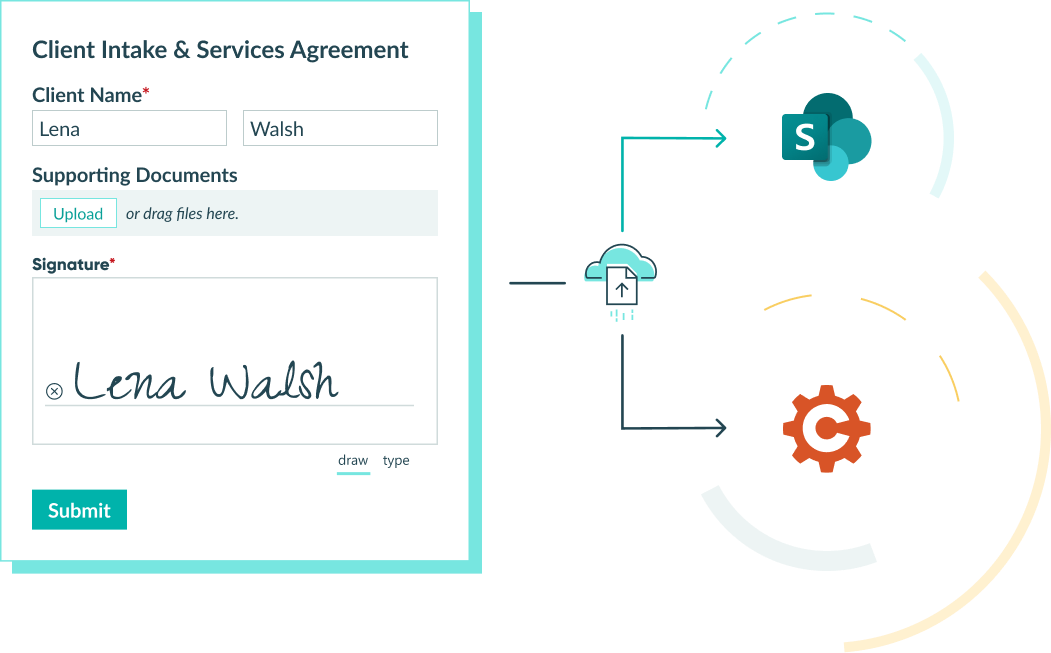
Every form submission that generates a document creates a small task for someone on your team: pull the file, find the right folder, drop it in SharePoint. Multiply that by dozens of submissions a week, and the manual work adds up fast.
With Cognito Forms and Microsoft Power Automate, you can eliminate that step entirely. Every time a form is submitted, your flow automatically retrieves the generated PDF or Word document and delivers it to the right SharePoint document library – no manual intervention required.
This setup is a strong fit for teams that:
- File documents as part of a standard process. Service agreements, intake summaries, proposals, and inspection reports that need to land in SharePoint every single time.
- Manage records across departments or client accounts. Keep your SharePoint library organized without relying on anyone to manually move files after submission.
- Need a reliable, auditable document trail. Every document is delivered consistently, so nothing gets missed and records stay complete.
- Work in Microsoft 365 environments. If your team already lives in SharePoint, this integration fits naturally into the tools you use every day.
Step-by-Step Setup: How to Send Generated Documents to SharePoint
These five steps walk you through building a Power Automate flow that retrieves a generated document from Cognito Forms and delivers it to your SharePoint library on every submission.
If your form collects file uploads rather than generating documents, Cognito Forms’ built-in File Sync feature handles that without Power Automate.
Step 1: Create a new flow in Power Automate
Start by creating a new automated flow in Power Automate. This is the container for all the steps your automation will run.
- Log in to Microsoft Power Automate.
- Click Create in the left-hand navigation and select Automated cloud flow.
- Give your flow a descriptive name, like “Send [Form Name] Documents to SharePoint.”
- Search for Cognito Forms and choose the trigger event – typically When a new entry is created for most document-filing workflows.
- If you need the flow to run on updates and not just new submissions, select When an entry is updated as your trigger instead. This is useful for workflows where a document is only generated after an approval step or status change.
- Click Create to open the flow editor.

Step 2: Set up the Cognito Forms trigger
The trigger tells Power Automate which form to watch and what event should start the flow.
- In the trigger step, connect your Cognito Forms account if prompted.
- Select the form you want to watch from the Form dropdown.

Step 3: Add the Get Document action
This step retrieves the generated PDF or Word document from Cognito Forms so Power Automate can hand it off to SharePoint.
- Click the plus icon (+) under your trigger to add a new action.
- Search for Cognito Forms and select Get Document as the action.
- In the Form field, select the same form you set as the trigger.
- Click into the Entry ID field, click the lightning bolt icon to open the dynamic content panel, then search or scroll to find Entry Number and select it.
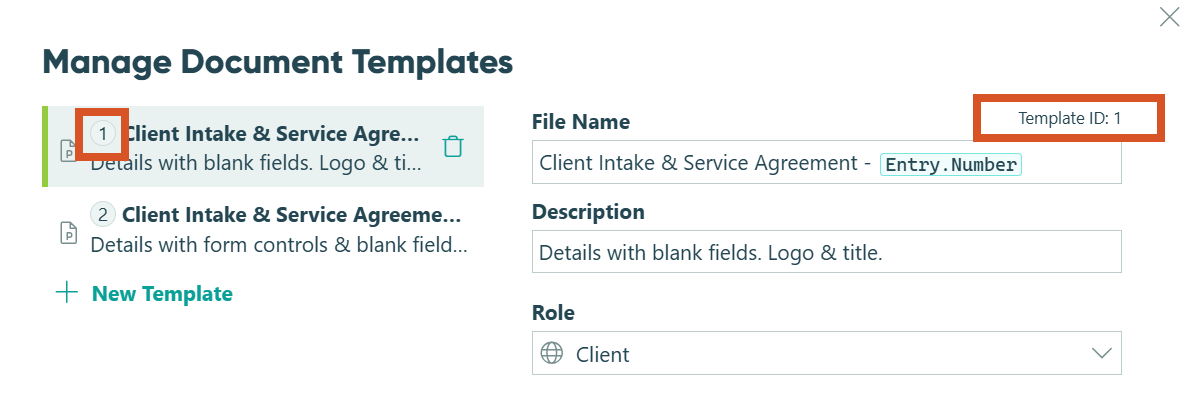
- Set the Template Number to the number of the Document Template you want to use. Find this in your form’s Manage Document Templates settings in Cognito Forms.

To find your Template Number: Open your form’s Entries page and click into any entry. In the entry details, click the ellipsis (⋯) at the top, then click Create Document > Manage Templates. The number listed next to each template is what you’ll enter here. If you have multiple templates, make sure you select the correct one.
Step 4: Add the SharePoint Create file action
This step takes the document retrieved in the previous step and delivers it to your SharePoint library.
- Click + New step and search for SharePoint.
- Select Create file as the action.
- In the Site Address field, select or enter the SharePoint site where your document library lives.
- In the Folder Path field, select the destination library or subfolder where the file should be delivered.
- Set the File Name field to the Document Name dynamic content element from the Get Document step.
- Set the File Content field to the Document Content dynamic content element from the Get Document step.

Step 5: Save and test your flow
Always test before relying on the flow for real submissions!
- Click Save in the top right corner of the flow editor.
- Submit a test entry to your form in Cognito Forms.
- Return to Power Automate and check the flow’s Run history to confirm it ran successfully.
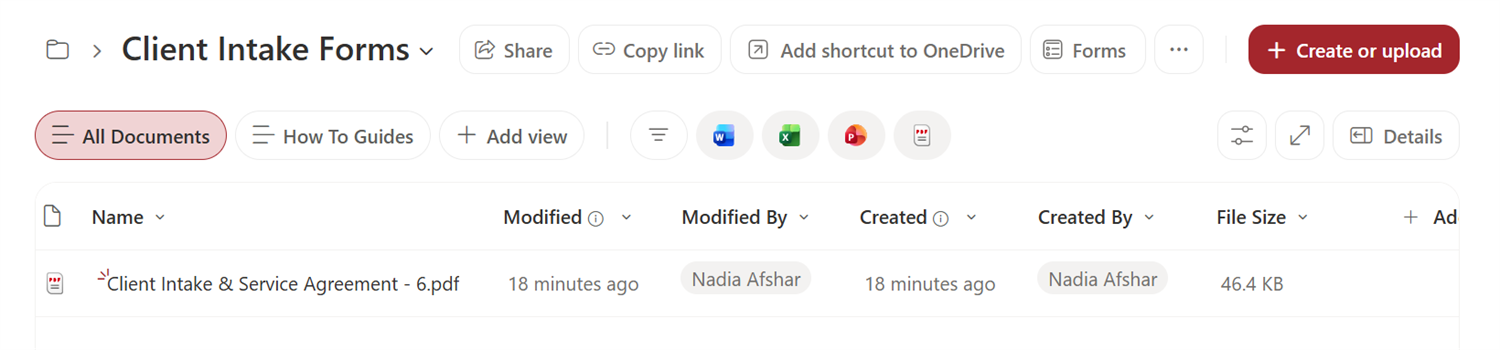
- Open your SharePoint library and verify the document arrived in the correct folder with the correct file name.
- If the flow ran but the file didn’t appear in SharePoint, make sure the Site Address and Folder Path in Step 4 point to the correct location, and that the Microsoft account used in Power Automate has Contributor or Editor permissions on that library.

- If the flow ran but the file didn’t appear in SharePoint, make sure the Site Address and Folder Path in Step 4 point to the correct location, and that the Microsoft account used in Power Automate has Contributor or Editor permissions on that library.
Now, your generated documents will appear automatically in your selected SharePoint location whenever a new form is submitted.
Real-World Examples
Contract filing for professional services firms
A consulting firm generates a signed service agreement PDF every time a new client completes their onboarding form. Their Power Automate flow delivers each agreement to a SharePoint library organized by client name, so the contracts team always knows where to find the executed document without chasing anyone for it.
HR onboarding document archiving
An HR team uses Cognito Forms to collect new hire information and generate a completed onboarding summary as a Word document. Their flow automatically routes each document to a SharePoint folder organized by department and hire date, giving HR a consistent, searchable archive without any manual filing.
Inspection reports for field service teams
A facilities management company generates a PDF inspection report every time a technician submits a site visit form. The Power Automate flow delivers each report to a SharePoint library organized by location, giving managers immediate access to the latest documentation without waiting for technicians to email files after the fact.
Additional Features to Explore
Once your documents are flowing into SharePoint automatically, these features can make the integration even more useful:
- Send uploaded files to SharePoint too. If your form also collects file uploads (like photos, IDs, or supporting documents), use Cognito Forms’ built-in File Sync feature to route those to SharePoint automatically – no Power Automate required.
- Customize your Document Template. The more your template pulls from form data, the more useful the generated document becomes. Add calculated fields, conditional sections, e-signatures, and formatted tables to produce professional, complete records every time. Learn more about document generation in Cognito Forms.
- Trigger document generation at a specific workflow stage. Instead of generating a document on initial submission, use Cognito Forms’ Workflow Actions to generate it only after an approval or a status change. Then, you can have Power Automate pick it up and send it to SharePoint at that point.
Start Filing Documents Automatically
Manual document filing is one of those tasks that feels small until it isn’t. With Cognito Forms and Power Automate connected to SharePoint, every generated document lands exactly where it belongs the moment a form is submitted – no one has to move it, rename it, or remember to do it at all.
Set up your flow once and let the automation handle the rest.
FAQ
Power Automate logs every flow run, including failures, in the Run history. If a flow fails, you can open the failed run to see which step errored and why. Common causes include expired connections, permission changes on the SharePoint library, or an incorrect Template Number. Once you fix the issue, you can resubmit the failed run directly from the Run history without requiring a new form submission.