Add your logo and brand colors to Cognito Forms so your team and clients interact with a branded workspace that looks like yours, rather than another generic tool.
Build Time & Skill
10-15 min
Beginner
What you'll learn
How to upload your organization logo and set brand colors in Cognito Forms so the entire workspace reflects your business identity.


When team members open Cognito Forms or clients log into your portal, the software’s user interface or workspace they interact with is part of their experience. When the software and tools they use matches your brand identity, this elevates their experience with your brand. Organization-level branding lets you replace the default style of your Cognito Forms workspace with your own logo and color palette. Your custom branding is then applied consistently across your organization (dashboard, Entry Views, and form builder) for users in your organization, and even the login page and portal dashboard for external guests.
Here’s how customizing your Cognito Forms organization’s appearance to match your brand can impact you:
- Help your team feel at home in a workspace that reflects your company’s identity.
- Give clients a branded portal experience when they log in to complete tasks, submit forms, or review submissions.
- Maintain visual consistency across every interaction people have with your business.
- Make a professional impression without any design expertise or code.
This feature is available to organizations on the Enterprise plan.
How to Customize Your Organization’s Branding: Step-by-Step
Put your brand front and center. Add a custom logo and adjust the system’s colors to make your Cognito Forms workspace a natural extension of your business.
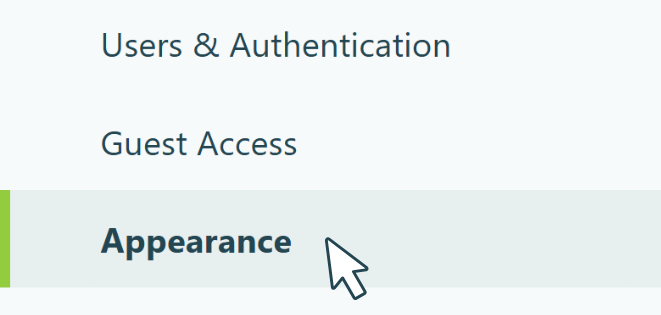
Step 1: Open the appearance settings
To access your branding settings, find your organization’s name in the top left corner of the sidebar and click Settings. Then select Appearance from the left menu. Keep in mind: you must be an Owner or Admin of your Cognito Forms organization. Learn more about user permissions on our User Permission Levels support article.
Step 2: Upload your logo
Under the Logo Icon section, click to upload your logo. Once uploaded, it appears across your organization: in the sidebar, on the login page, and in the browser tab. Keep in mind:
- Accepted file types: JPG, JPEG, PNG, SVG, or WebP
- Maximum size: 10MB
- Shape: Logo files should be square to work best. Non-square images are automatically cropped during upload.
![]()
Most brands have multiple logo versions: a full version with text and a compact or icon-only version. We recommend using the compact version here. It holds up better at smaller display sizes and looks cleaner in sidebars and browser tabs.
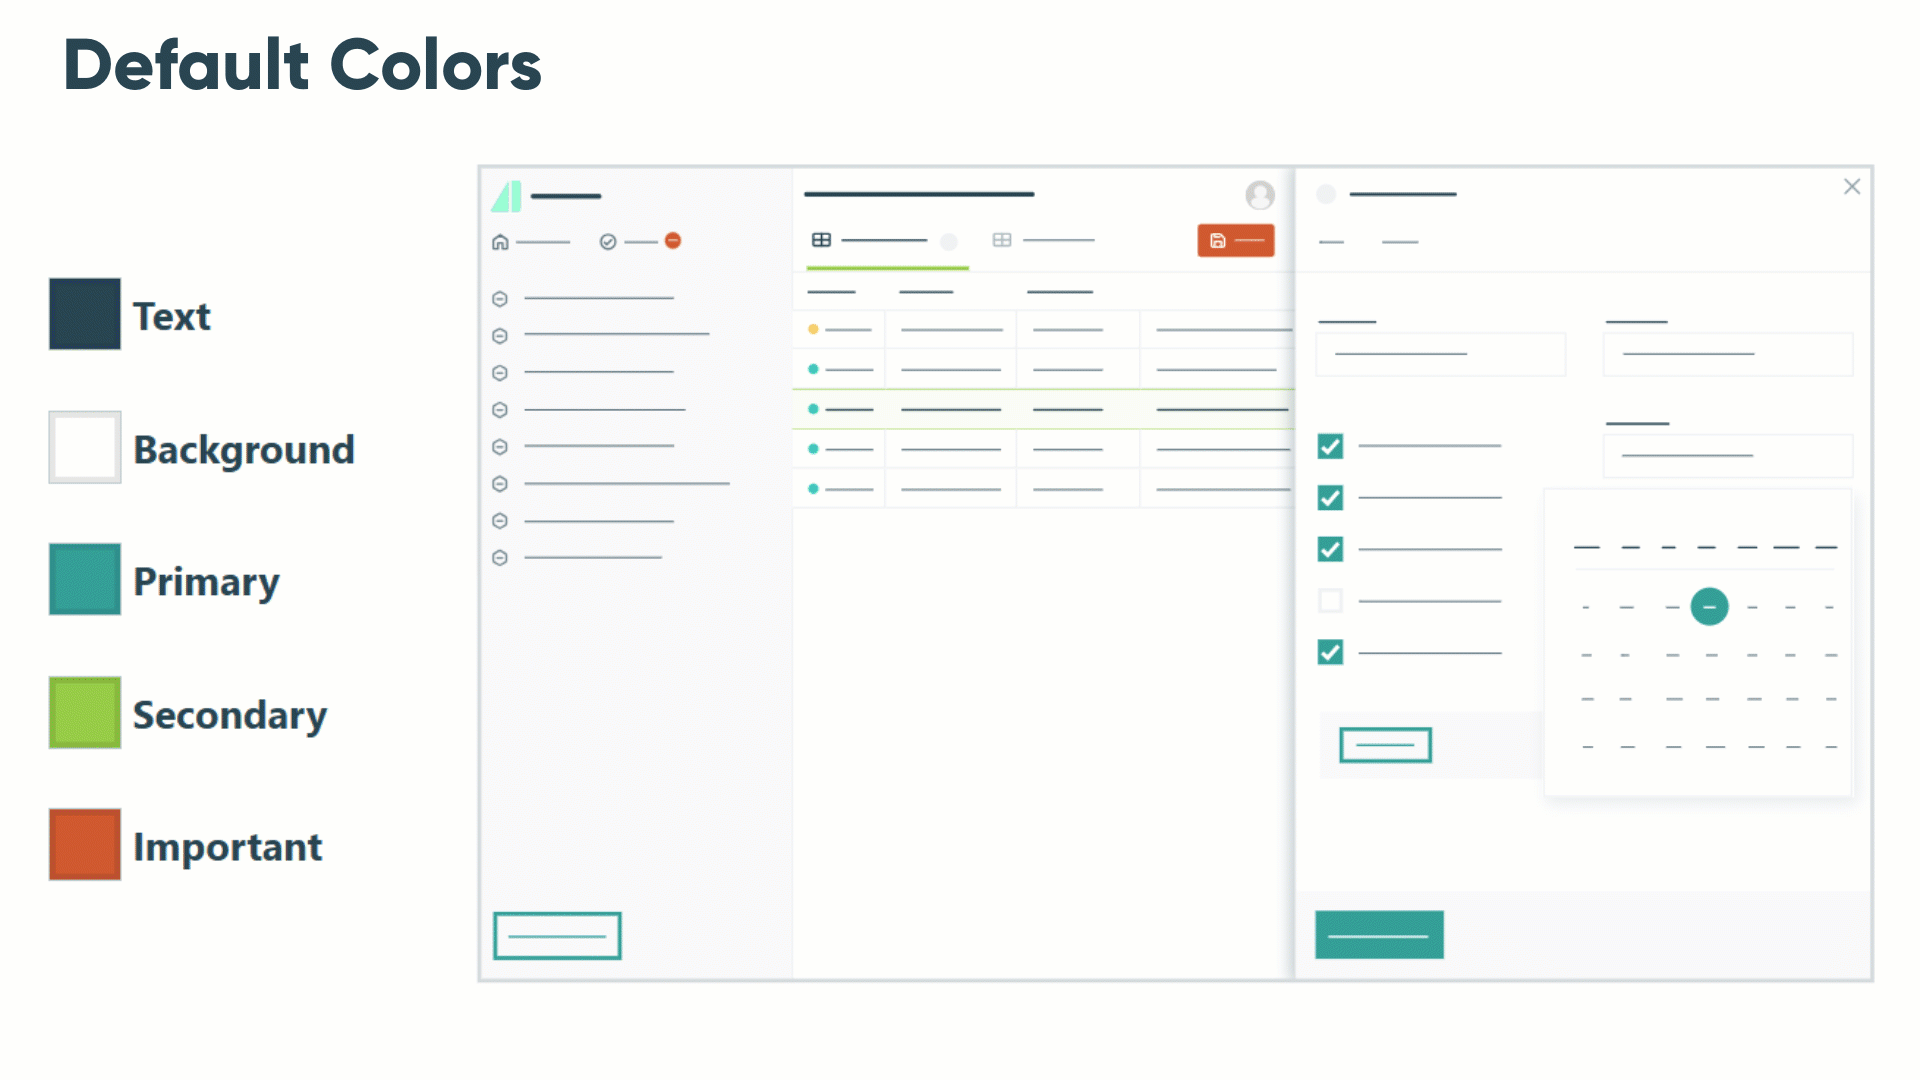
Step 3: Add your brand colors
You can also set five color values to match your brand. As you adjust each one, you’ll see a live preview update in real-time, so you can see exactly how your selections will look.
- Find the Colors section, and add your brand’s colors for each option.
- When you’re satisfied with your colors, click Apply to save.
- If you want to undo all changes and go back to the original theme, click Reset to Default.
When setting up your custom colors, you’ll see these five options:
| Color setting | Where it appears |
|---|---|
| Text | Default text color across your organization |
| Background | Base background color |
| Primary | Buttons, links, and key navigation elements (teal by default) |
| Secondary | Selected items and underlines (green by default) |
| Important | Task badges and attention-drawing elements (orange by default) |
Choose text and background colors that meet WCAG AA contrast standards. If your selected colors fall short, a warning will appear to let you know.
Step 4: Adjust header fonts (optional)
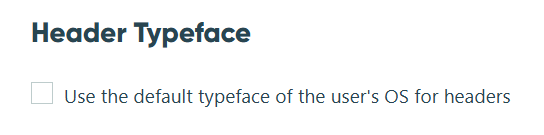
If you’d like headings and navigation text to use your device’s default system font instead of Cognito Forms’ default font (Gilroy), check the box labeled "Use the default typeface of the user’s OS for headers?"
This is a small but useful option if your organization prefers a font that better matches your existing tools or internal style.
Design Tips for a Polished Look
A few quick tips to make your organization branding look its best:
- Lead with contrast. Make sure your Primary color has enough contrast against your Background for readability. Cognito Forms will alert you if it falls below WCAG AA standards (the internationally recognized standard for digital accessibility), so you don’t have to guess.
- Use your compact logo. Most brands have a logo version designed for smaller placements, like an icon or condensed wordmark. Use that version here. It reads clearly in sidebars and browser tabs where a wide, text-heavy logo would shrink or feel cramped.
- Enter hex codes directly. For exact color matching with your brand guidelines, type your hex code into the color field instead of using the color picker by hand.
- Match your primary color to your website. Using the same Primary color as your main website accent creates a consistent experience for clients moving between your site and your portal.
Additional Features to Explore
Now that your organization is branded, here are a few more ways to create a consistent, professional experience for your team and clients:
- Set up a custom portal where external clients can log in to a fully branded experience, complete onboarding tasks, submit forms, and track their progress, all in one place. Your organization branding applies automatically once enabled.
- Style individual forms with custom colors, fonts, and field styles in the form’s Publish page. Organization Owners and Administrators can also create shared themes that any team member can apply, or require all forms to use a consistent theme organization-wide.
- Personalize the automated emails your clients or team members receive. Add your logo, adjust messaging, and keep every notification on-brand so the experience feels consistent from first contact to final confirmation.
- Take your business processes even further with Workflow Automation. Set up automatic task assignments, status changes, and client notifications so your clients always know what to do next, all within the branded portal experience you’ve built.
Start Building Your Branded Organization Today
Setting up organization branding in Cognito Forms takes just a few minutes and immediately elevates the experience for everyone who interacts with your workspace. Log in, head to your organization’s Appearance settings, upload your logo and set your brand colors, and save. Your entire organization, including your client-facing portal, will instantly reflect your brand.