Protect any form with a simple password to control who can access and fill it out. No coding or paid plan required.
Build Time & Skill
10-15 min
Beginner
What you'll learn
How to protect your online forms with a password, using a Textbox field, conditional logic, and a page break in Cognito Forms (no code required). This ensures only people with the correct password can complete your form.
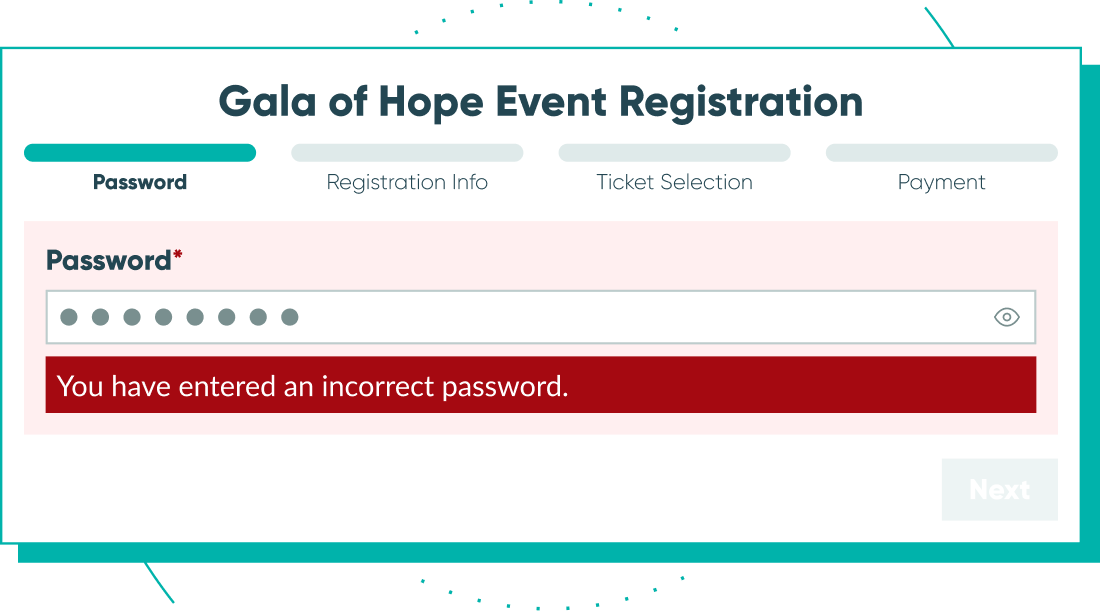
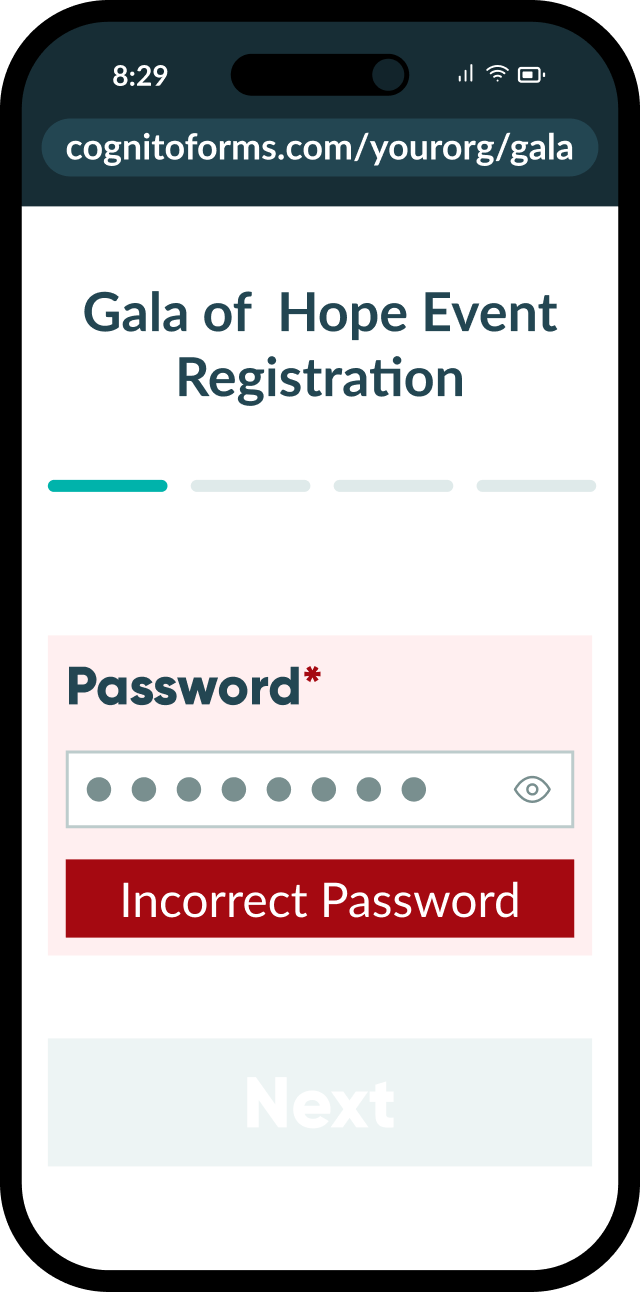
Sometimes you don’t want just anyone stumbling onto your form. Maybe it’s an event you’re only inviting certain guests to, a pricing sheet meant for one client, or an internal form your team uses that shouldn’t show up in a public search. Password-protected forms give you a quick way to control access without requiring users to create an account or log in.
This approach works well when you need to:
- Limit access to invited guests. Share a form link freely, but only people with the password can actually submit it.
- Create exclusivity. Use a shared password for VIP access, early registration, or members-only content.
- Keep internal forms private. Prevent the general public from accessing a staff-only form, even if someone shares the link or a search engine indexes it.
Step-by-Step: How to Password-Protect a Form
Protect your online forms by adding a password field on its own page, requiring it, and using conditional logic to block anyone who enters the wrong value. Once set up, visitors can’t reach the rest of your form until they type in the correct password.

Step 1: Add a page break
First, you’ll need to create a dedicated first page that will hold your password field. This ensures the rest of your form remains hidden until someone enters the correct password. To do this, go to your form’s Build page and add a Page Break near the top of the form.
Step 2: Add a required password field
Now it’s time to add the Textbox field to enter your password. This field should always be required.

Here’s how to set this up:
- Add a Textbox field above the page break.
- Set the field’s Type to Password in the field settings. This masks whatever the user types with asterisks, so the password isn’t visible on screen as they enter it.
- Give the field a clear label like “Enter Password to Continue” so visitors immediately understand what’s being asked of them.
- Open the field’s settings and set Require This Field to Always. This stops visitors from advancing to the next page until this field is filled out. The next section covers how to stop visitors from advancing to the next page unless the correct password is given.
Step 3: Set a custom error message for incorrect passwords
In order to prevent going to the next page of your form with an incorrect password, you need to add a Custom Error that shows when an incorrect password is typed in. This is what actually blocks access. Without it, an incorrect password won’t stop someone from continuing.

To do this:
- On your “Password” Textbox field’s settings, scroll to the Custom Error option and select When.
- In the conditional logic builder that appears, set the condition to trigger when the field’s value is not your chosen password (for example, “Cognito”).
- Save your conditional logic.
- Back in the Custom Error settings, write the message visitors will see when the incorrect password is entered, such as “You have entered an incorrect password.”
Passwords set this way are case-sensitive. Add Help Text to the password field to let your respondents know this.
Step 4: Preview and test the password gate
Test out your conditional logic to ensure you can or cannot go to the next page when expected. From the Build page, click Preview and:
- Enter an incorrect password → You should see your custom error message and be unable to continue.
- Enter the correct password → Confirm you can move forward into the rest of the form.

Step 5: Save and publish your form
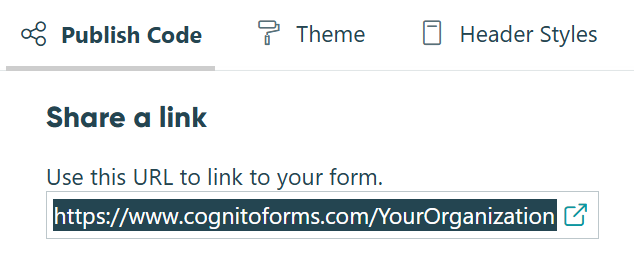
Once testing confirms everything works as expected, Save your form, then go to the Publish tab to copy your form’s link. Share this link freely; only people who know the password will be able to complete the form. Submissions will appear on your form’s Entries page as usual.
Real-World Examples
Here’s how password protected forms might look in practice across different types of businesses:
- Marketing agency: An agency sends a client a proposal or pricing form password-protected with a unique word only that client knows, keeping sensitive pricing details away from competitors and other prospects who might find the link.
- Nonprofit: A nonprofit shares a shared password with invited donors for an exclusive fundraising event registration, controlling attendance without the overhead.
- Field service team: A field service company password-protects an internal work-order form so only staff who know the password can submit new orders, keeping it out of reach if the link is ever shared outside the team.
Additional Features to Strengthen Form Security
Adding a password gate to your form(s) is a lightweight way to control access, but Cognito Forms offers other features worth layering in depending on how sensitive your data is:
- Data Encryption: Adds an extra layer of protection to entry data stored in your account. Available on Pro, Team, and Enterprise plans.
- Require Authentication: A stronger alternative that requires visitors to log in with a Cognito Forms account before they can access your form at all, rather than relying on a shared password.
- Public Link availability dates: Combine your password gate with a start and end date on your Public Link so the form automatically closes, even if someone still has the password.
Start Protecting Your Forms Today
Password protecting your forms takes just a few minutes to set up and gives you real control over who can complete your form. Whether you’re limiting access to invited guests or keeping an internal form off the public radar, this simple combination of a required field, a page break, and conditional logic does the job without any coding. Try it on your next form to see how easy it is to add that extra layer of privacy.
Get started in minutes with our fully customizable form templates.
Simply add your password field to any template, using the steps in this guide.
-
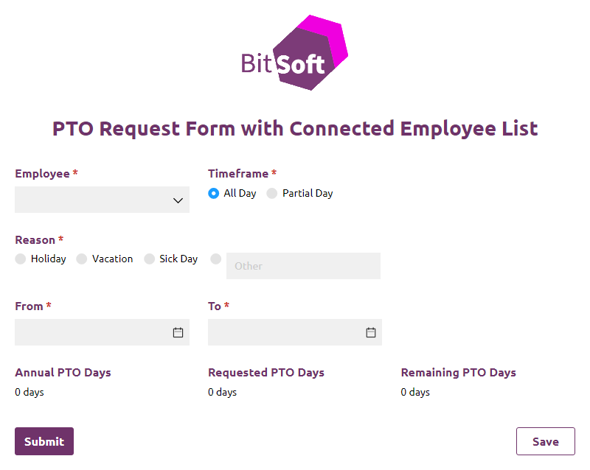
PTO Request Form with Connected Employee List
Use our free PTO request form to allow your staff to request PTO or time off from work. Set up notifications be alerted when new requests are submitted.
Preview -
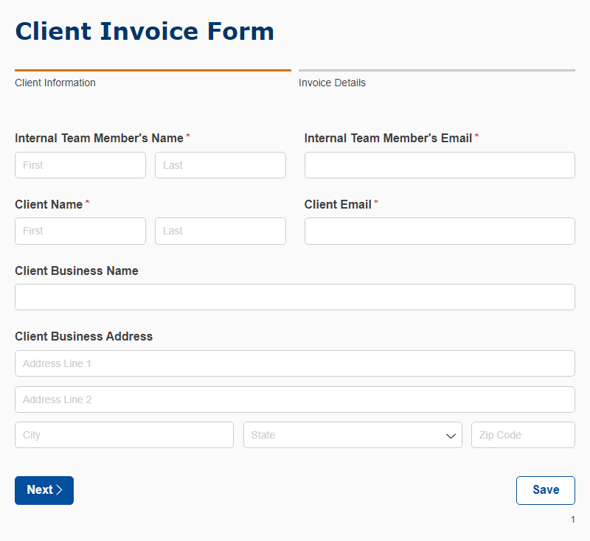
Client Invoice Form
Streamline your client invoice and billing process from start to finish with our easy-to-use client invoice form.
Preview -
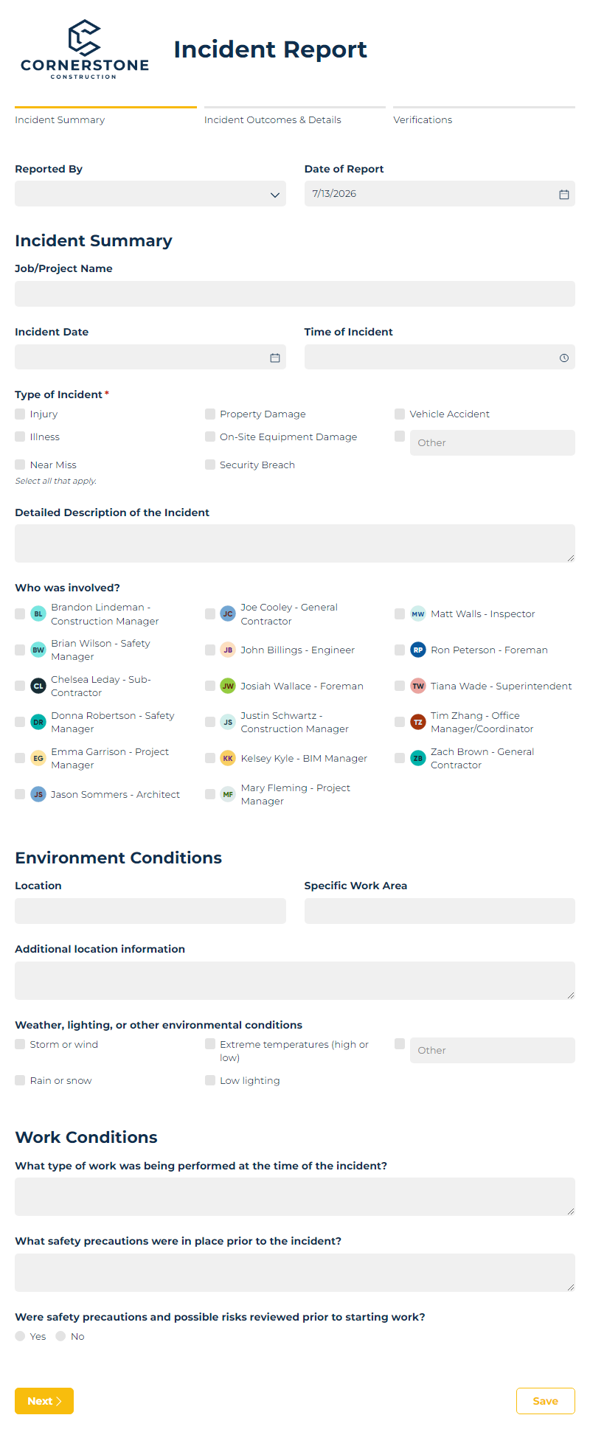
Incident Report Form
This incident report form template for construction companies serves as a digital tool to document safety events and route the report to team members for review and investigation.
Preview
FAQ
Yes. Go back to your password field’s Custom Error condition on the Build page and update the value it checks against. Changes apply immediately, so make sure to share the new password with anyone who still needs access before they try to submit the form.
A password field controls who can access your form, but it doesn’t encrypt the data collected on it. For sensitive information like Social Security numbers or medical records, pair this method with Data Encryption and protected fields, or consider Require Authentication for stronger access control.
Not with a single password field — everyone shares the same value. If you need different access for different people, look into Require Authentication or Workflow Link Sharing, which can send each person a unique link tailored to their role instead of relying on one shared password.