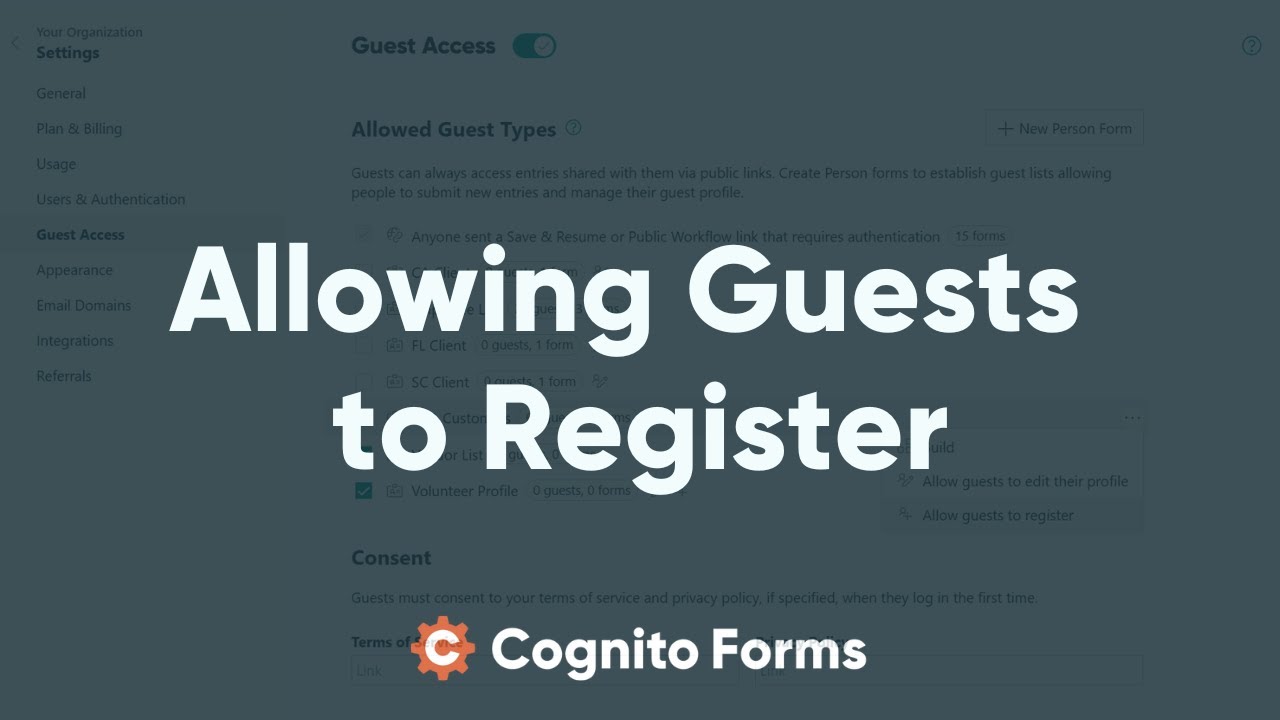
In the Allowed Guest Types section of the Guest Access settings, you can create and manage guest lists, enable profile editing, and turn lists into registration forms for secure guest access.
Allowed Guest Types
There are two ways people outside your organization can securely access forms and entries:
1. Authenticated Save & Resume or Workflow Links
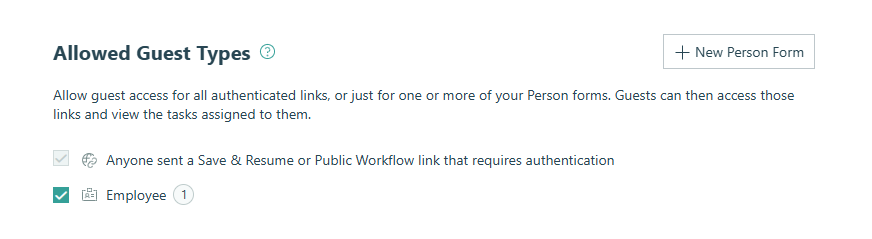
Anyone sent an authenticated Save & Resume or Public Workflow link can log in to access their entries. This option is enabled automatically and cannot be disabled. Learn more about sharing authenticated links.
Forms appear in this list if:
- They have an entry view in the Public role.
- They require authentication for Guests & Users on Public links, Save & Resume links, or Workflow links in the Public role.
2. Person Forms (Guest Lists)
A Person Form is used to manage people, with each entry representing an individual. You can designate Person Forms as guest lists by setting them to the Guest type.
When you enable Guest Access, your Person Forms serve as guest lists that store guest information. You can create multiple guest lists for different groups – like clients, customers, or members – if needed. Check the box next to a form to activate that guest list and allow those guests to log in through the guest portal. Learn more about creating guest lists.
Please note: Checking this box means all guests marked as active in this form will count toward your monthly guest usage and be billed automatically. See pricing details for more information.
Profile Editing
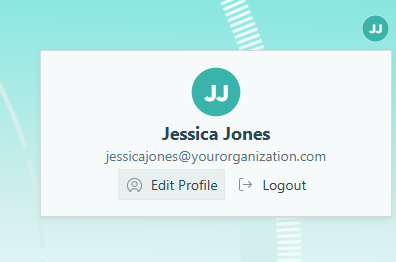
To let guests update their own profile information, click the ellipsis (…) next to the form name under Allowed Guest Types and select Allow guests to edit their profile. When enabled, guests can click their profile image in the top right corner of the portal and choose Edit Profile to update any fields on their profile entry that are visible to the Public role.
Guest lists with profile editing enabled display a pencil icon beside the form name. You can disable this setting at any time.
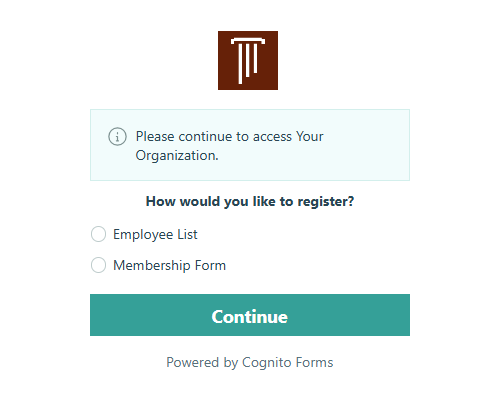
Guest Registration
You can designate guest lists as registration forms, allowing new guests to join your portal from your organization’s link. The approval process is based on your form’s workflow – a guest is considered approved when they are marked active. Once approved, new guests can log in to access any shared forms and entries.
To enable registration on a guest list:
- Go to Allowed Guest Types.
- Click the ellipsis (…) next to the form name.
- Select Allow guests to register.
Guest lists with registration enabled display a plus (+) icon beside the form name. You can disable this setting at any time.
Sharing registration forms
You can share a registration form link directly through the public link or, if authentication isn’t required, via the embedded form. You can also share a link to your organization’s portal:
https://www.cognitoforms.com/yourorganizationname
Replace yourorganizationname with your organization’s Cognito Forms URL, which you can find in your browser’s address bar when logged in.
If your organization has multiple registration forms, guests will be able to select which one they want to complete during registration. If you’ve enabled Save & Resume on your form, guests can save their progress and return to their saved registration later.
Guests who are already logged into the portal can click Edit Profile to register for any guest list marked as a registration form that they are not yet on. Selecting this option will display a list of available registration forms.