Guests marked as active on a guest list can securely log in to your organization by visiting: https://www.cognitoforms.com/yourorganizationname
Replace ‘yourorganizationname’ with your organization’s Cognito Forms URL – you can find this in your browser’s address bar when logged in to your organization.
You can use Person Forms to add guests to your organization. These guests can log in even if no specific entries have been shared with them. Please note that all guests marked as active in this form count toward your monthly guest usage. See pricing details for more information.
Creating a guest list
- Enable Guest Access in your organization’s settings.
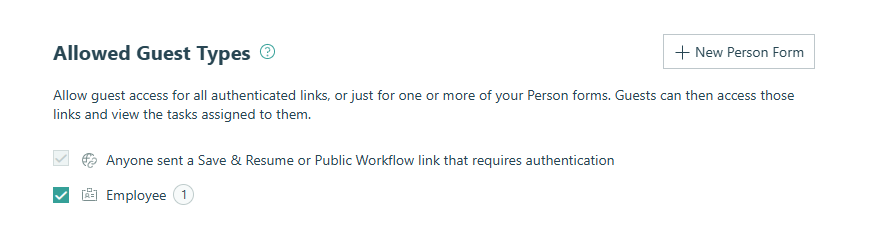
- In the Allowed Guest Types section, click + New Person Form.
- Enter a name for your guest list. Under Who’s Submitting This Form?, select Guest and click Create.
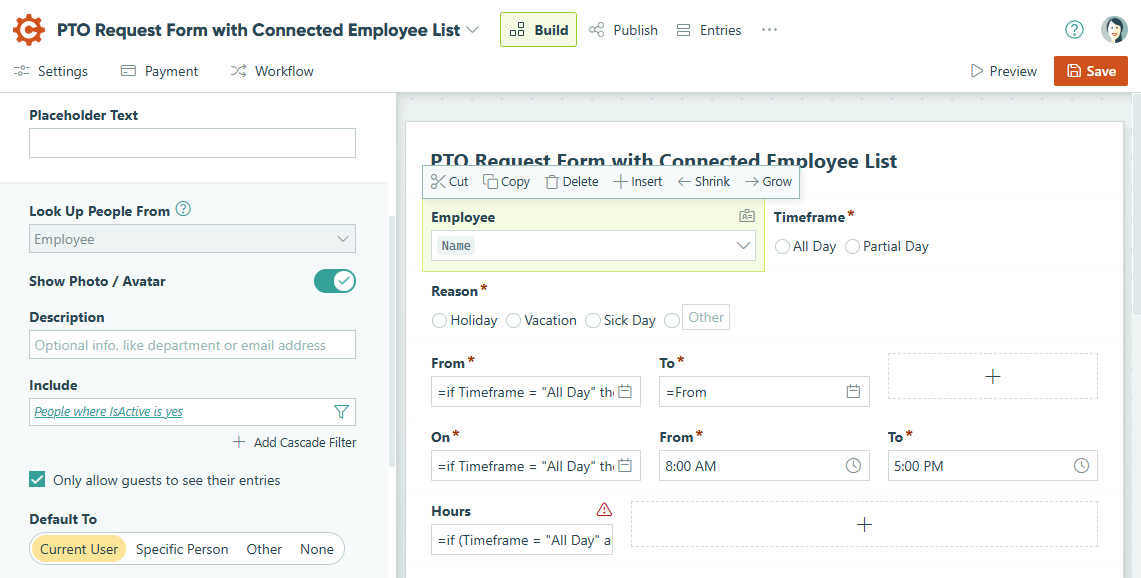
- By default, the form should include fields for Name, Email, and IsActive.
- IsActive can be a Yes/No field or a Calculation field set to the Yes/No type, and it determines which guests are active and able to log in. If you don’t map an Is Active? field, all entries in this form will be treated as active guests by default.
- Optionally, configure additional settings such as guest registration, profile editing, and restricted lookup options. See Person Form settings for details.
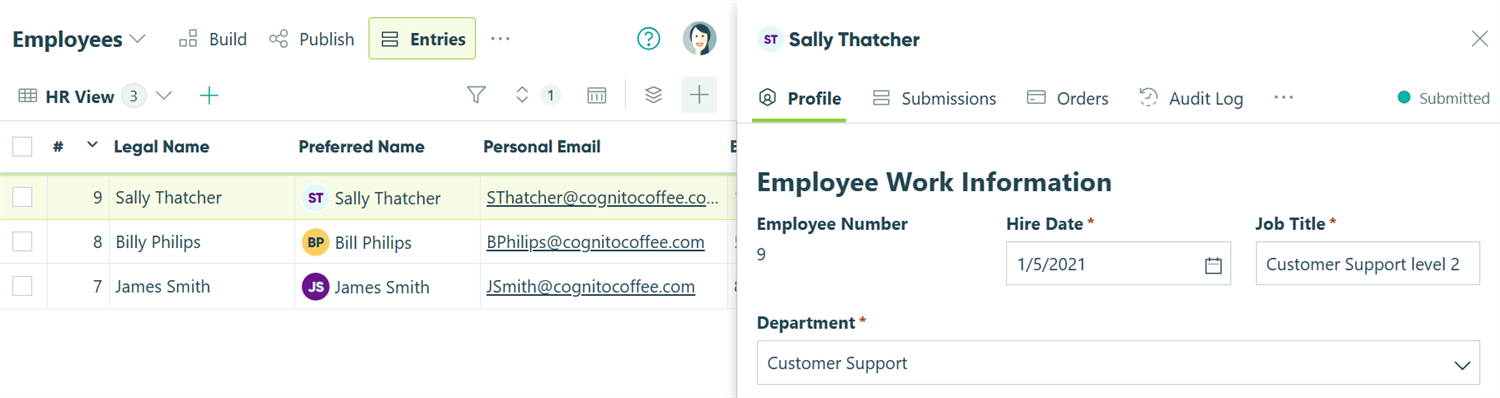
- Add each guest as a new entry in this form. If your form includes an Is Active? field, be sure to set it to Active for any guests you want to allow to log in. You can also share the form’s public link to let guests submit an entry themselves – this is a convenient way to let new guests add themselves to your guest list.
What happens next:
After setting up your guest list, the Person Form will appear under Allowed Guest Types in your Guest Access settings. To discontinue Guest Access for the guests on your Person Form, simply deselect the form name.
You can now use Person fields on other forms and connect them to your guest list, automatically populating guest details like names, emails, photos, and more.