Build a custom order form that looks great on any device — with automatic total calculations, mobile-friendly layouts, and built-in payment collection.
Build Time & Skill
30-40 min
Intermediate
What you'll learn
How to build a mobile-optimized custom order form in Cognito Forms, so customers can place orders smoothly on any device. Your order form will include product selection, automatic order total calculations, and built-in payment collection.

Whether your customers are ordering from their mobile device or a tablet at your dining tables, clunky order forms lose business. Cognito Forms gives you the tools you need to build mobile-friendly order forms with automatic totals and built-in payment collection. Because Cognito Forms is mobile-responsive by default, your custom order form looks right on every screen without any extra setup from you.
How to Build Your Mobile-Friendly Order Form: Step-by-Step
Create a professional mobile-friendly order form by adding the products you offer, setting up price calculations, connecting your payment processor, optimizing for mobile, and creating an organized view to manage orders.
Step 1: Create your form and add customer information fields
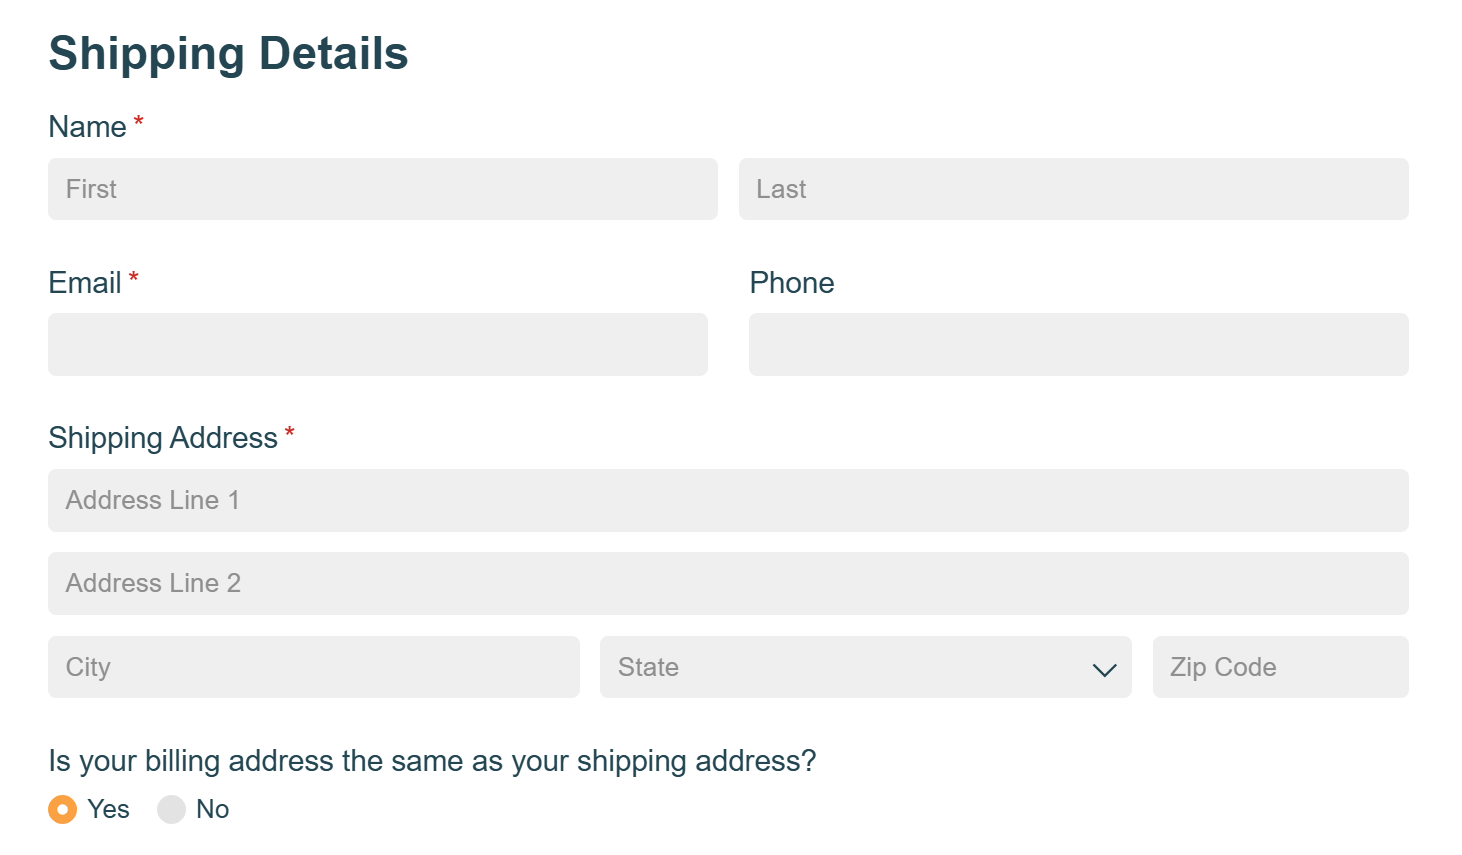
Create a new form in Cognito Forms and add the basic contact fields your customers need: name, email address, phone number, and address (if you’re offering delivery). If you offer both pickup and delivery, add a Choice field to select “Pickup” or “Delivery” and then an Address field that only appears when “Delivery” is selected.
Browse our extensive library of fully customizable templates.
Explore the templatesStep 2: Build your product catalog with automatic totals
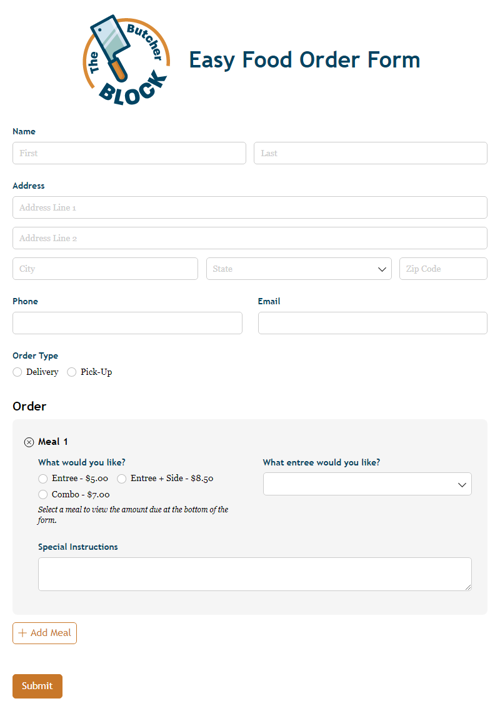
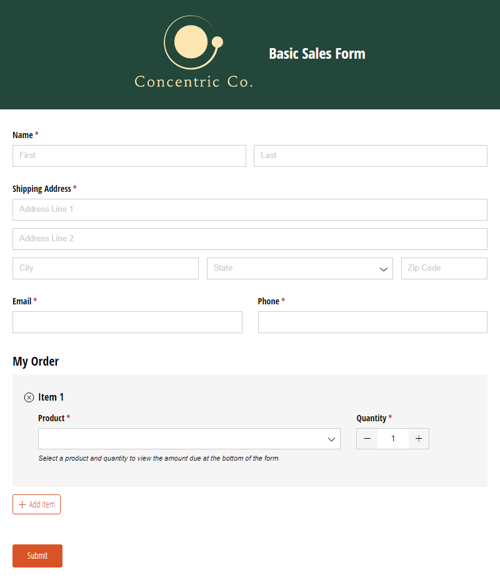
Start by adding a Choice field for customers to select their product or item, or add the Choice field inside a Repeating Section so they can select multiple items. With added Calculation fields, the form will add up all totals automatically.

Set up the form with a Choice field
- Add a Choice field and label it “Select Products” or “Choose Services.”
- Add each product as a Choice and an image for each product, if desired.
- For the Style setting, choose the style you like best. Our Card layout works well for order forms by presenting your products with organized, labeled images.
- Ensure the Selection Type is set to Single.
Limit quantities
- Add a Number field for customers to select the quantity of each item.
- Go back to your Choice field and under Choice Options, check the box for Limit Quantities.
- Under your custom choices, check the box for Specify Quantity and select the Number field you just added.
- This will ensure your form automatically calculates the correct order total based on the quantity for each item selected.
Now, your order total will calculate automatically when you turn on Payment Collection in Step 5.
You can specify a limited inventory of each of your choice options in the Qty. column that appears to the right of your custom choices. Alternatively, leaving this blank will set an unlimited inventory for each option, but the customer’s total will still calculate according to the quantity they selected in the Number field.
Step 3: Add optional fields to complete your order form
Depending on your business, consider adding additional fields to collect information unique to your business. For example:
- Order notes or special instructions: Add a Textbox field set to Multiple Lines so customers can include details about their order.
- Delivery vs. pickup: Add a Choice field to select “Pickup” or “Delivery” and then an Address field that only appears when “Delivery” is selected.
- Preferred delivery or pickup date: Add a Date field to help you schedule fulfillment.
Step 4: Optimize for mobile
All Cognito Forms are mobile-responsive by default. Your form automatically resizes to fit any screen size. A few additional choices make the mobile experience even smoother for customers placing orders on their phones.
Use Choice fields whenever possible, instead of open-text fields.
We always recommend limiting open-text fields to situations where free-form input is truly necessary. When users spend less time typing, they’re more likely to complete the form (and more likely to do so accurately).
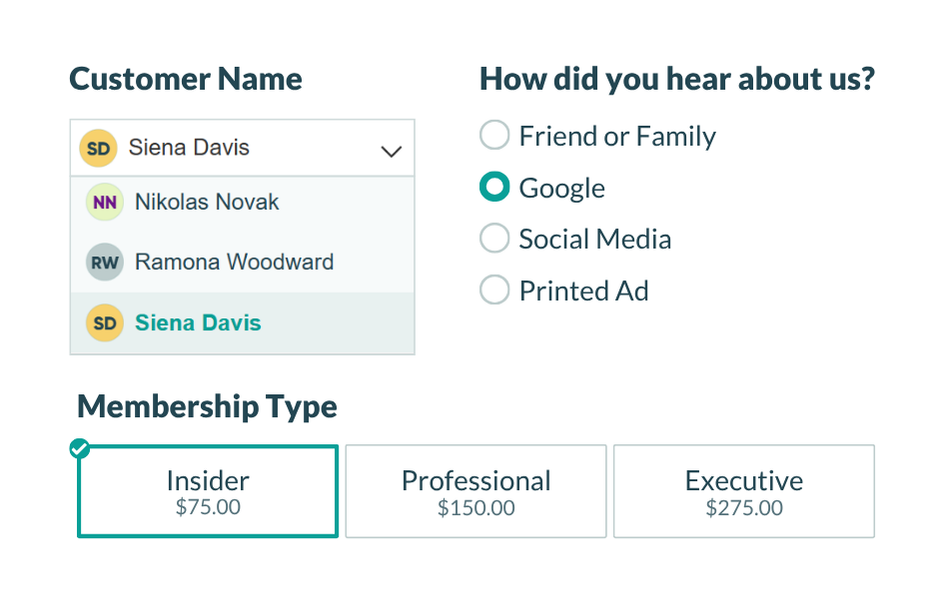
As a general rule: if you have six or more options, set the field’s style to Dropdown. If you have fewer than six options, select one of the other style options (radio buttons, cards, or checkboxes) so users can see all answer choices on the screen, rather than scroll through them or type one in.
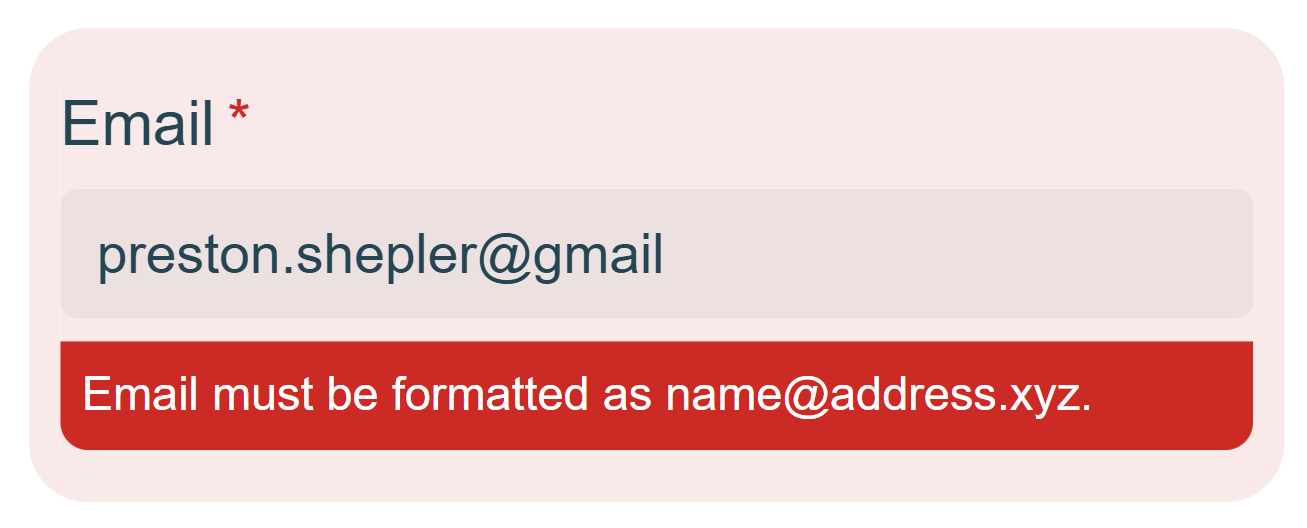
Set input validation on fields that require specific formats.
If you expect a specific format from respondents, add validation so users get a clear error message immediately if they make a mistake, rather than submitting data that you have to correct later.
- For Textbox fields : Find the Format Validation setting to validate (and potentially reformat) user input. You can choose from a variety of standard formats, or specify your own custom format. Learn more about Format Validation here.
- For Date, Number, or Currency fields: Try adding a Range to limit what can be entered. Ranges require the user to enter a value between the minimum and maximum values that you set for the field.
- For any field type : Try setting up your own custom error message that will display under your field when specified conditions become true. For example, display a custom error on a Date field when a Sunday is selected and your business is closed. Using both advanced and conditional logic, you can add any number of rules for validating your field. Learn more about Custom Errors here.
Break longer forms into pages.
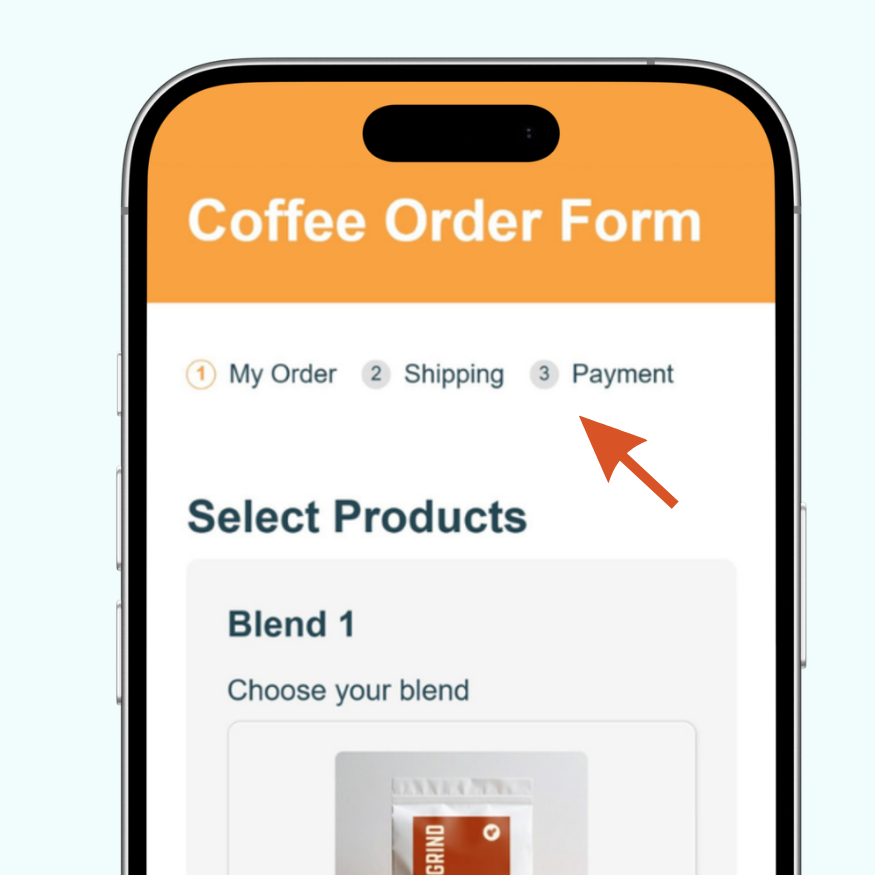
Lengthy forms can be overwhelming for customers. The shorter your form, the more likely your customers will be to finish it. If you genuinely need many fields, use the Page Break field to divide it into short, focused steps. A form with three pages and four fields each feels much more manageable than one long scroll, especially if you’re on a phone.
Multi-page forms in Cognito Forms automatically include a progress indicator, so users can see how far along they are. This small visual cue reduces drop-off by letting people know the end is in sight.
Use Conditional Logic to show only what’s relevant.
Instead of showing every possible field to every customer and overwhelming people with irrelevant fields, show each person only the fields that apply to their situation. Conditional logic is what lets you show or hide fields based on how a user has already answered, creating a cleaner, more focused user experience.
How to add conditional logic from any field’s settings on the Build page:
- Click on the field you want to add logic to.
- Find Show This Field in the Settings pane on the left side of the Build page.
- Choose When and use the Conditional Logic Builder to set the conditions that control when it appears.
Step 5: Add payment collection
Enable secure payment collection by connecting your account to your desired payment processor (Stripe, PayPal, or Square). Customers will see a payment section at submission, no separate checkout page needed.

To set it up:
- In your Choice field settings (where you assigned prices), find Choice Options and check the box labeled Collect Payment.
- Click on the Payment tab in the top left of your form.
- Select your preferred payment processor (Stripe, PayPal, or Square). Follow the prompts to link your account.
- A payment section automatically appears at the bottom of your form showing an order summary with line items, credit card input fields, and the total amount due.
Step 6: Set up notifications and order confirmation
Set up email notifications so both you and your customer receive confirmation when an order is placed:
- Confirmation to the customer: Customize the confirmation message shown to customers and include Entry Details. This will show them a summary of their order built from submission data so they have a record of what they ordered.
- Internal notification to your team: Create a custom email notification and include full order details with payment status for whoever handles fulfillment.

Step 7: Publish and test your order form
Share your form with your customers using a direct link, QR code, or embed it on your website. The more places you share your form, the easier it will be for customers to place orders.
Send a direct link
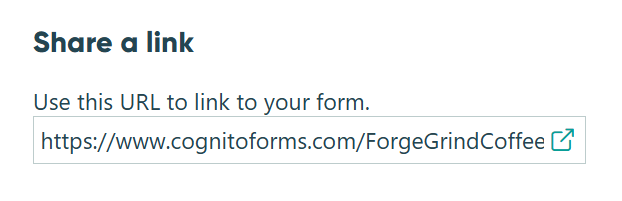
- Go to the Publish page for your form.
- Find the section titled Share a link.
- Copy the form URL to share directly or paste it into:
- Social media posts, profile links, and ads
- Email marketing campaigns
- Linked on an “Order Now” button on your website

Share QR codes
- From the Publish page, find Share a QR code.
- Click the auto-generated QR code to copy it as a PNG, or click one of the Download options.
- Place your QR code on printed materials (like a “Scan for our menu” sign or on printed brochures) or digitally (like in an email, on social media posts, or on a digital screen).
Embed on your website
- From the Publish page, find Embed in your site.
- Copy the embed code you want to use and paste it into your website.
Step 8: Set up order management
Create an organized Entry View to track and manage incoming orders efficiently. This gives you a clear dashboard where you can see all orders, filter by status, and quickly find the information you need.

To set this up:
- Go to the Entries page for your form.
- Click + Create New View and select Grid View.
- Name it “All Orders” or “Order Dashboard.”
- Click Columns to customize what information you want to display. Check the columns that you want shown, and uncheck the columns you want hidden.
- Keep in mind: When opening a single entry for the full details, you will see all fields available according to the Role, Status, or any other conditional logic you’ve set up on the form.
- Add Filters to create other useful views, like
Payment Status = Paidto see only completed orders orDateSubmitted is on or after 1 month agofor orders within the last month.

The Full Mobile Experience
When a customer opens your order form on their phone all fields are easy to tap, the product table expands as they add items, totals update automatically, and payment happens right at the end. There are no redirects or a separate checkout process.
What Else You Can Do After Publishing
- Create a custom fulfillment workflow. Use Workflow to move orders through stages (Received → In Progress → Fulfilled) and automatically notify team members at each step.
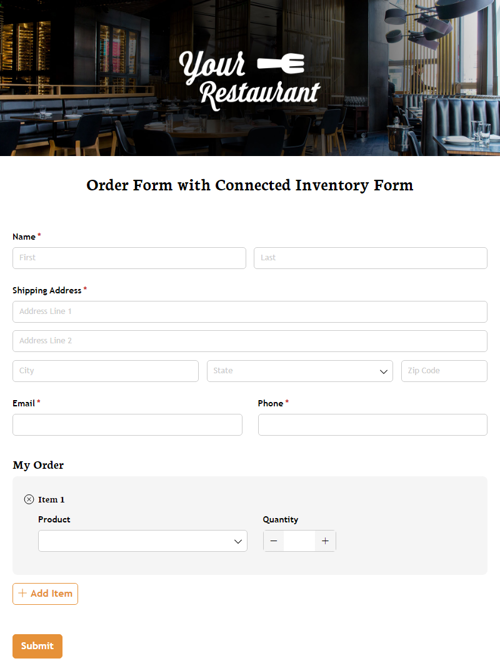
- Keep product pricing and availability updated automatically. Lookup Fields let you connect a “Product Inventory” source form to your order form so when you update a price or inventory quantity on the source form, the order form is automatically updated as well.
- Auto-generate order confirmations or receipts. Use Document Generation to automatically produce a PDF summary when an order is submitted and attach it to the confirmation email or make it downloadable.
Create Your Own Mobile Order Forms Today
Stop juggling scattered spreadsheets with a custom online order form. Every form you create in Cognito Forms is already set up to work well on any device the moment you publish. Your customers get a professional ordering experience that works well on-the-go, while you gain an organized system that handles pricing, payment, and order management.
Whether you’re selling event tickets, custom printing services, or physical products, this approach transforms your ordering process from scattered and manual to streamlined and professional, without expensive e-commerce platforms or custom development.
Get started in minutes with a custom order form template.
FAQ
Yes. Connect your order form to a product inventory source form using Lookup fields to display available items and restrict ordering when stock runs out. See our guide on building a product inventory with Lookup fields for step-by-step instructions.
Yes. Use a Repeating Section to let customers add as many line items as they need, each with its own product, quantity, and price. A Calculation field totals each line automatically, and a “Summary” Calculation field outside of the Repeating Section adds them up into a full order total.