The Lookup field is basically a Choice field - but with superpowers! Similar to a Choice field, you can select dropdown, radio button, or checkboxes. But – here’s the cool part – the available choices will be based on entries from other forms. Plus, you can also use that entry data for calculations, conditional logic scenarios, form content and emails. The possibilities are endless!
How does it work?
In most scenarios, using a Lookup field involves two forms - the form with the Lookup field in it and the form whose entry data you want to reference. Here’s an example…
Let’s say you’re building an adoption form for a dog shelter. Since you’d like that form to be user-friendly, you decide to include a dropdown containing every dog in the shelter. But since you’re also smart, you don’t want to waste your time manually updating that dropdown every time one of your dogs gets adopted.
So – you make that dropdown a Lookup field. And you link that Lookup field to the profile form you completed when the dog first came to the shelter. That way, whenever a dog comes into the shelter or gets adopted out, the dropdown list in your adoption automatically updates itself. Cool, huh?
Here’s what that looks like.
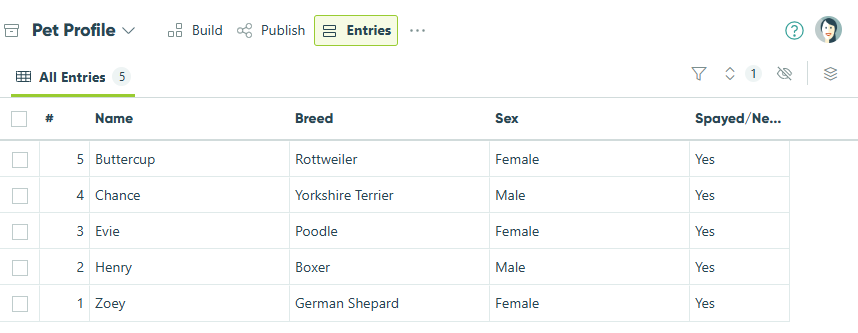
These are entries to the pet profile form you completed when taking in the dog:
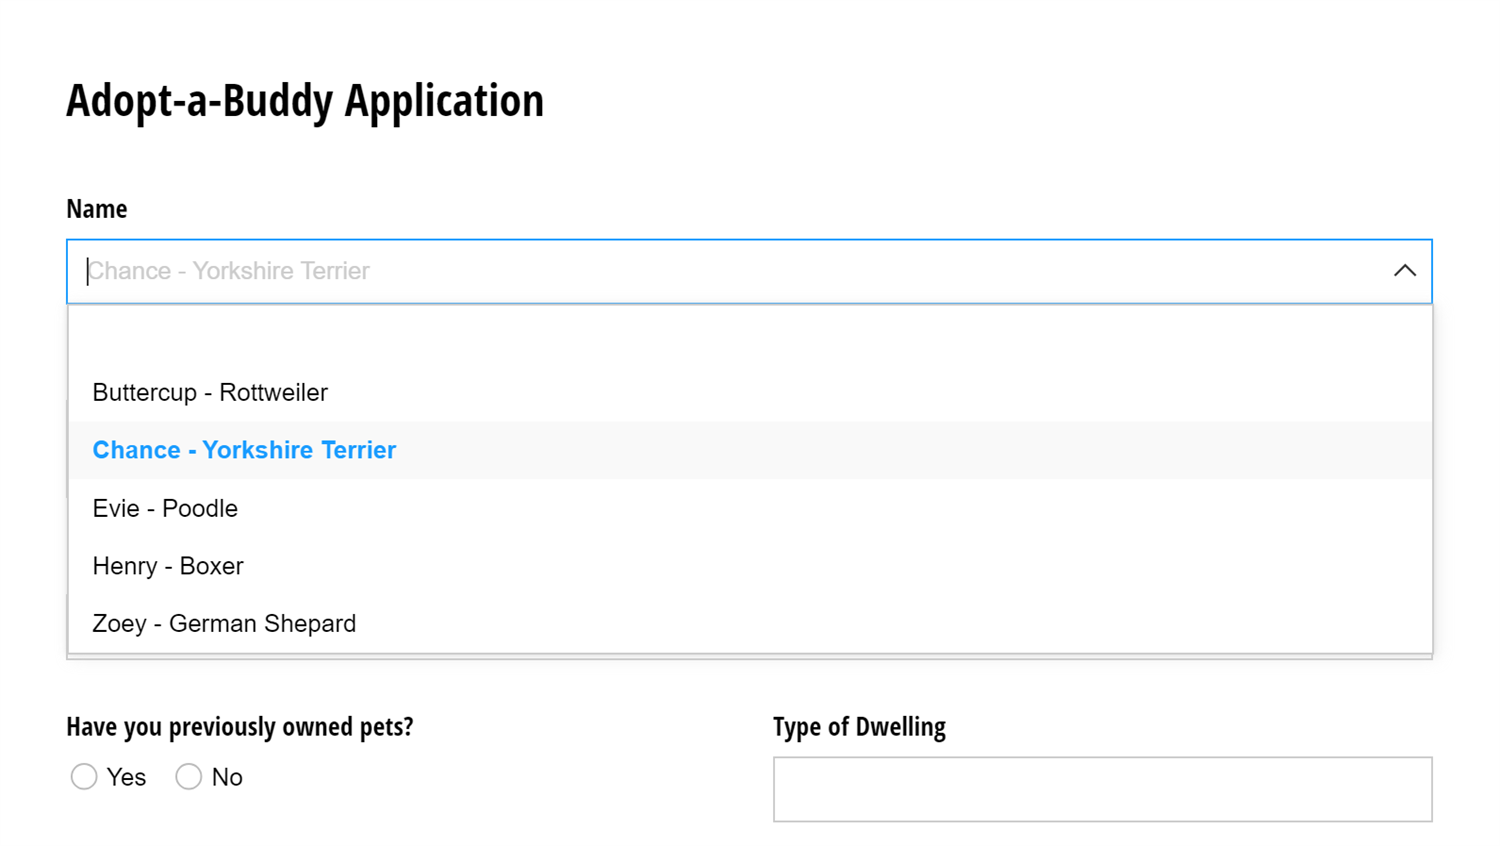
Using a Lookup field, your adoption application dropdown populates with data (Name, Breed, etc.) from the pet profile form.
Getting started
Click the form title to access forms connected via the Lookup field or Person field.
First, you need to make your source form. To begin:
- Make a new form from scratch.
- Add a few fields to your new form. In this example, we’ll use a Name field.
- Save your form.
- Go to the form entry view and fill out a couple of test entries.
Now, it’s time to build the form that references the source form:
- Again, make a new form from scratch.
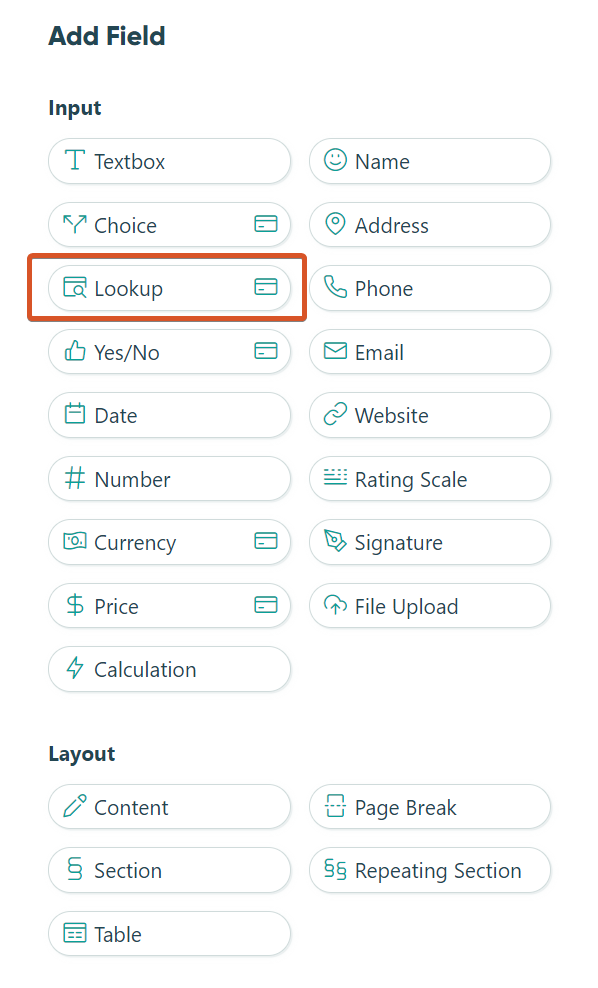
- In the form builder, click on an empty placeholder to add a new field. Select Lookup from the Add Field menu. Label the Lookup field ‘Name’, and set it to either the dropdown, radio buttons, or checkboxes type.
- In the Lookup field settings, find the Lookup Choices From option and select the source form.
- By default, the Choice Label option should populate with the first text field from the source form – in this case, the Name field. If the Name field is not already populated, simply insert it from the dropdown list of fields.
- Save and then open up your form. The Lookup field (‘Name’) should contain a list of names from the entries of your source form.
Refer to our help topic for more information about the Lookup field settings.
How do I use it?
The Lookup field comes in handy in lots of different scenarios! You can use Lookup fields to:
- Create a list of choices to reuse across multiple forms
- Look up email addresses to route confirmation messages
- Write calculations that use data from lookup entries
- Capture lookup values on your form
- Set smart defaults for your fields
- Create a product catalog with limited inventory
- Hide inactive options by filtering your choices
- Filter lookup choices by date
- Filter choices on your form using cascading lookups
- Calculate sales tax based on the Address field
To reference a value from a Lookup field in a calculation, enter the Lookup field name, followed by a period (.), and then the field name from the source form (for example: LookupField.Name.First).
Because a Lookup field gives you access to all fields from the source form, you typically don’t need to connect more than one Lookup field to the same form.
Linked Lookups
Linked Lookups allow you to connect related entries across forms. They’re useful when you need to establish relationships between records and display or reference data from one form inside another.
People Lookups
People Lookups let you manage a centralized list of people (such as employees, clients, or volunteers) and use it across multiple forms. This makes it easy to assign tasks, route notifications, and automatically pull in relevant details like email, department, or role.