Setting up a verified email domain enables you to send email notifications on behalf of your website domain. While the emails are still delivered using Cognito Forms servers, they’ll appear to recipients as though they came from your verified email domain. You can verify up to two domains for your organization, but each domain can only be added to one organization at a time. Additionally, you cannot add your domain to Cognito Forms if you’ve already verified it with Mailgun.
Your account must have Owner or Administrator permissions to add verified domains. You also need access to your DNS servers in order to complete the process. If you don’t have access to your DNS servers, please contact your system administrator and get their help to complete setting up your verified domain.
Step 1: Add your domain
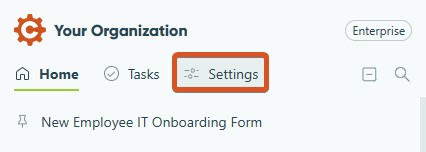
To begin, find your organization’s name in the top left corner of the sidebar. Select Settings and then go to Email Domains.
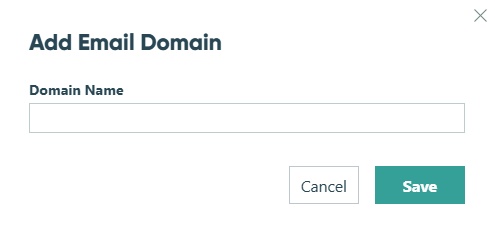
Select + New Domain. Enter your domain name (excluding ‘www.’), and hit the Save button.
Step 2: Update your DNS information
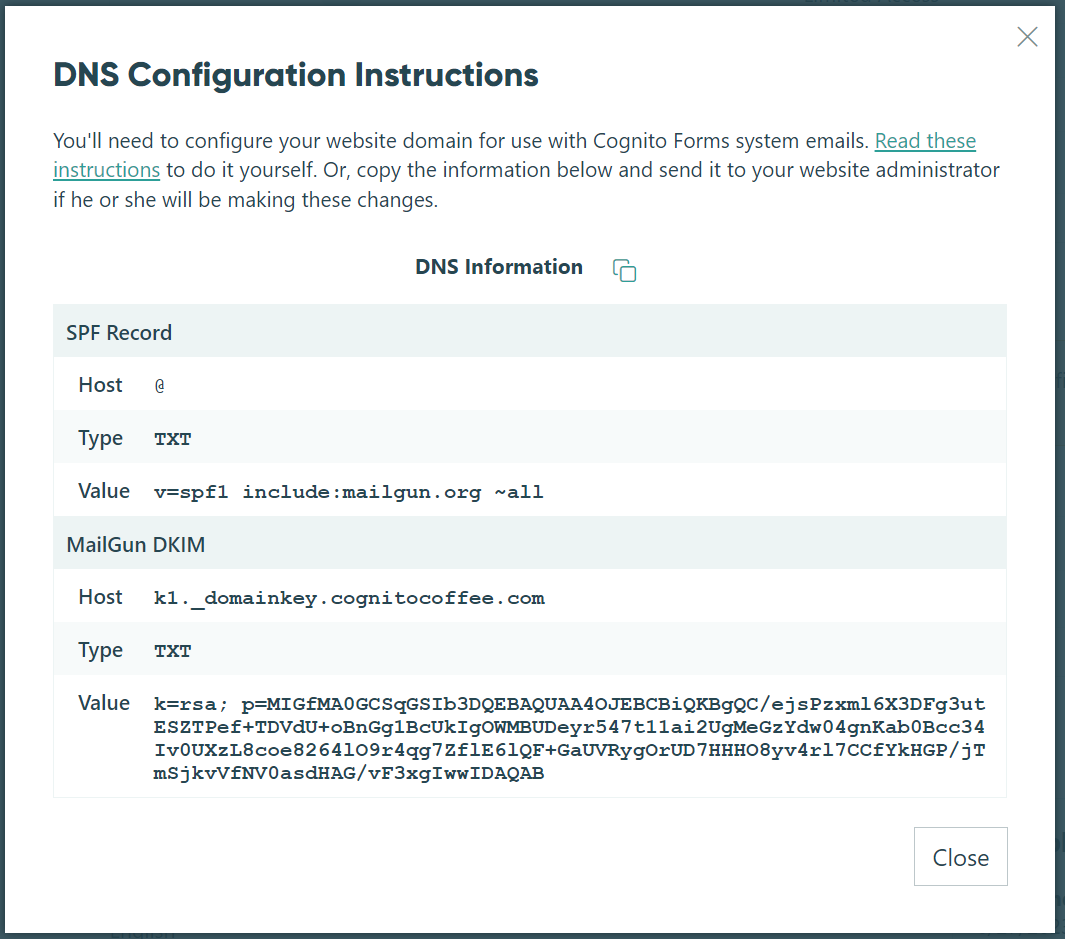
On your organization’s settings page, select the icon next to DNS Information to copy a plain-text version of your specific DNS changes.
You need to add two new records to your DNS server(s): an SPF record, and a DKIM record. These unique records consist of a Name, Type, and Value.
Here’s an example:
Sender Policy Framework (SPF) Record
An SPF record is a Sender Policy Framework record. It’s used to indicate to mail exchanges which hosts are authorized to send mail for a domain.
If your domain DNS already has an SPF record, you can concatenate multiple records. For example:
v=spf1 include:_spf.google.com include:spf.protection.outlook.com include:mailgun.org ~all
DomainKeys Identified Mail (DKIM) Record
DomainKeys is a spam and phishing scam fighting method which works by signing outbound email messages with a cryptographic signature. The signature can be verified by the recipient to determine if the messages originate from an authorized system.
Hosting guides
The following guides may be useful if your hosting provider is one of the below:
- Amazon Route 53
- BlueHost
- Cloudflare
- Digital Ocean
- GoDaddy*
- Namecheap*
- Network Solutions
- Rackspace Email & Apps
- Squarespace*
*When copying your DKIM host value into this provider, make sure to remove the domain name value (ex: cognitocoffee.co).
Step 3: Verify your domain
Once your DNS entries have been added, navigate back to Cognito Forms and click the refresh icon on your organization settings page:

From here, you can select the settings icon to view your domain settings or select the trash can icon to delete the domain. Additionally, if your domain is not yet verified, hover over the Unverified text to view the verification status of your SPF or DKIM records.
Please note that records can take up to 24-48 hours to fully propagate, depending on your DNS hosting provider.
Step 4: Use your verified domain
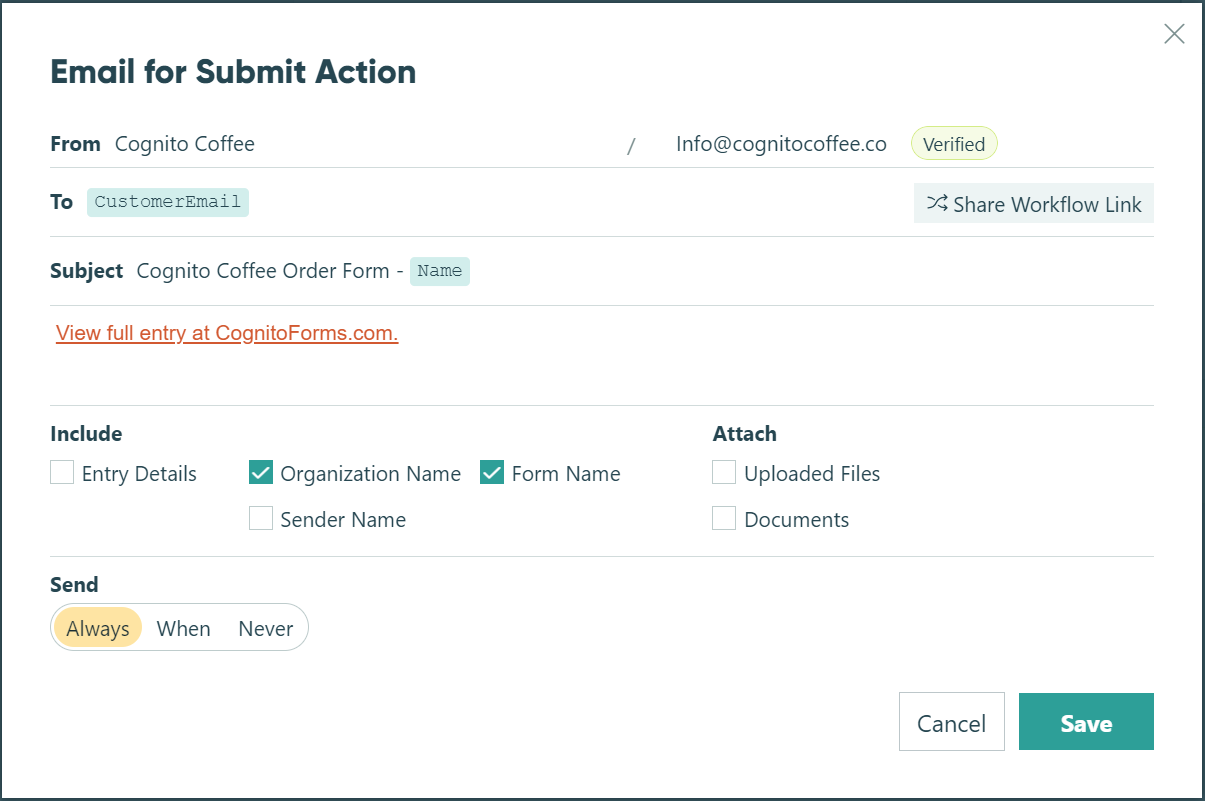
If you’ve already set up email notifications on your form, make sure to update those settings in the builder to include the email address with your verified domain.
You can now use your verified domain in all email notifications, including Workflow Link Sharing notifications. Simply create a test entry to send yourself an email and see how the verified domain will appear to your customers.
Once an email has been triggered, you can review the entry audit log to see when it was sent, the files attached to the email, and the email delivery status.