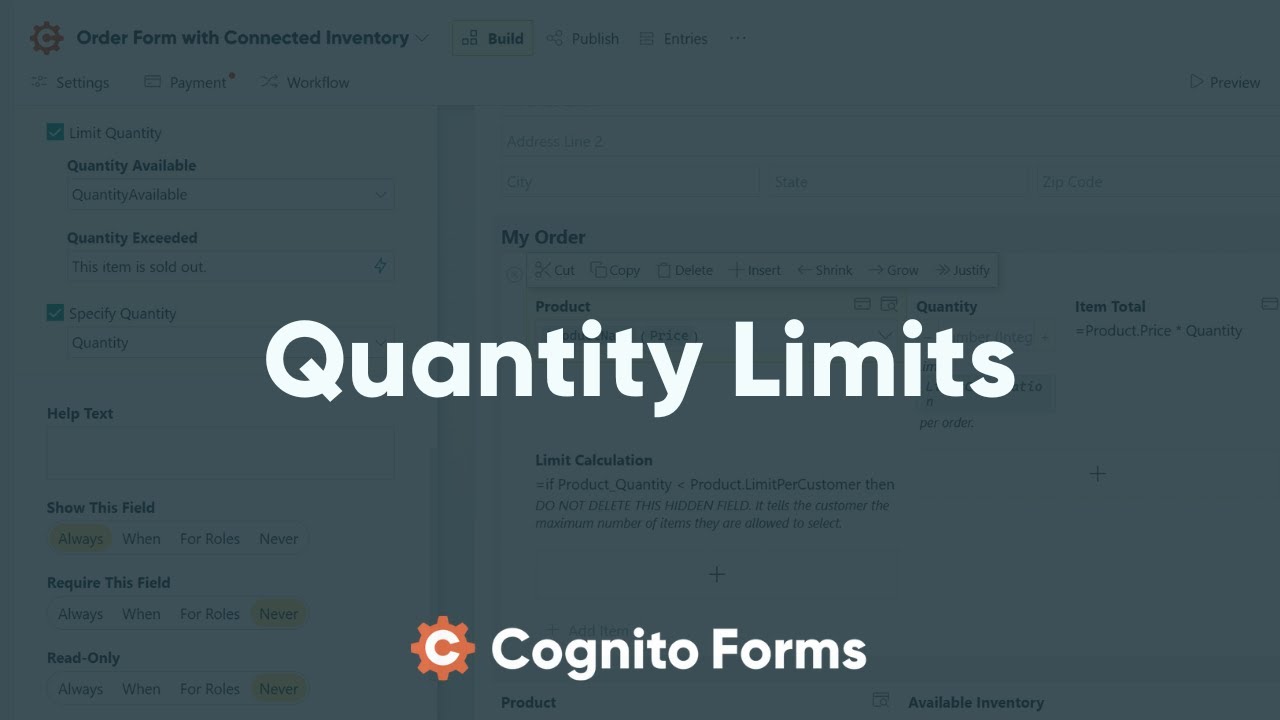
In Cognito Forms, you can set quantity limits and track quantities for many field types. Quantity limits help control how many times a specific value can be selected or entered in orders, ticket sales, signups, reservations, surveys, and more.
Quantities are tracked for each unique value entered for the field, such as each email address, or each choice field selection. Quantity limits are updated and enforced when selections are made, and then again before forms are submitted. If the limit is exceeded, an error message is displayed. Quantities are only counted for submitted entries, not incomplete or deleted entries. Every time a quantity is updated, you can review the entry audit log to see the new quantity and when it changed.
Setting limits
Supported field types for quantity limits include:
- Textbox - Single Line
- Choice - Dropdown or Radio Buttons
- Yes/No
- Date/Time
- Email, Phone, or Website
- Calculation - Text, Yes/No, Date, and Time
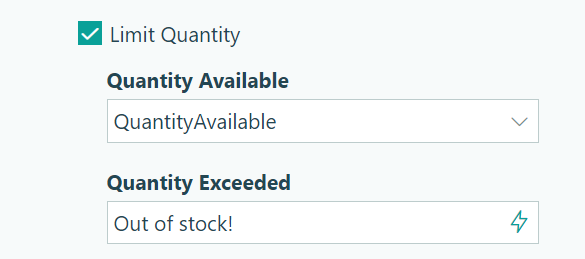
To set a quantity limit, select a supported field type and specify the Limit Quantity option in the field settings.
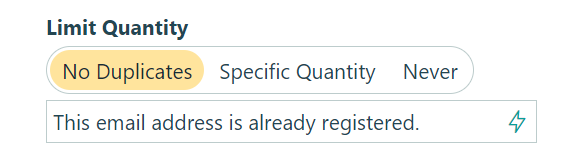
- No Duplicates – Limit the quantity allowed to just one. Once your limit is set, you can write a custom error message to display when the limit is exceeded.
- Specific Quantity – Specify a quantity limit greater than one. This value can be either a constant integer, or an integer calculation.
- Never – Quantity limits are not enforced. This option is set by default.
Choice fields
Quantity limits can be specified for Choice fields set to the Radio buttons or Dropdown types. Changing a choice option label (“Product 1”) will reset the quantity available for that choice option.
For Choice fields, you can select Limit Quantities in the field settings. Then, specify a quantity for each choice option. Leaving a quantity blank will ensure that quantity limits are not enforced for that choice option. After you set your choice quantities, you can enter a custom error message to display when the limit is exceeded.
When Limit Quantities is selected for a Choice field, the quantity of the selected choice is available within calculations as FieldName_Quantity. Also, if the assigned quantity is used to calculate the quantity limit for another field, quantity limits will not be validated for the Choice field itself, which is useful for more complex quantity limit scenarios.
Specify Quantity
When a Choice field is set to the Radio Buttons or Drop Down type, you can select this option to map a quantity value to the Choice field. The mapped quantity field can be either a Number (Integer) or Calculation (Number, Zero Decimals) field on the form.
If payment is enabled, the selected quantity will automatically be multiplied by the price of the selected choice option to determine the total price in the payment block. If quantity limits are enabled, the selected quantity will be applied to the quantity remaining.

Lookup fields
Lookup fields allow you to “look up” data from another form’s entries. Essentially, you can use the source form to manage your data (such as a product inventory or a list of event timeslots), and then use a Lookup field on a separate form to reference the data as needed.
Similarly to Choice fields, you can set quantity limits for each option in the Lookup field. In this case, the quantity available is connected to a Number field on the source form instead. In addition to quantity limits, you can use the Lookup field to filter choice options based on dates, times, or other custom criteria.
Yes/No fields
For Yes/No fields, quantity limits only apply to Yes responses. This is useful for RSVP forms or other scenarios where form submitters can opt into an event (like a dinner) where a limited number of spots are available. Unlimited No responses are allowed.
Calculation fields
While Calculation fields support quantity limits just like other fields, they have special capabilities that make it possible to implement complex quantity limit scenarios. When you enforce quantity limits on a hidden calculation field (when Show This Field is Internally or Never), the quantity limit error message will automatically appear under the fields referenced by the calculation for the field. This makes it possible to enforce multi-field combination limits, like rooms on a specific date, or ticket types for a specific performance, and show quantity limit errors on the fields that must be changed to correct the problem.
Calculations
You can access the quantity limit, quantity used, and quantity remaining values for the selected field value within calculations.
FieldName_QuantityLimit: The quantity limit for the current field value.FieldName_QuantityUsed: The amount of times the current field value has been specified, including all submitted entries and changes reflected in the current entry.FieldName_QuantityRemaining: The difference between the quantity limit and the quantity used. This value will be negative when the limit has been exceeded for a given field value.
For submitted entries, these quantity limit calculation properties reflect the values they had when the entry was submitted, and only update when the entry is edited. This allows you to see what the quantity limit was at the time of submission in situations when the limit is later changed to something else. Please keep this in mind when viewing submitted entries and calculations that rely on these quantity limit calculation properties.
Scenarios
Common uses of quantity limits include:
-
Unique Email Address – Limit submissions to one per unique email address by applying a No Duplicates quantity limit to an Email field.
-
Unique IP Address – Limit the number of submissions per unique IP address using a Calculation field.
-
Limited Use Discount Codes – Limit the number of times a discount code can be used by applying a specific quantity limit to a Textbox field.
-
Signup Limits – Limit the number of attendees for an event by applying a specific quantity limit to a Yes/No field.
-
Product Inventory – Limit the number of times a specific product may be selected based on available inventory using a Choice field with per-choice quantity limits.
-
Ticket Sales – Limit available tickets across multiple performances and seat types by combining Choice and Calculation fields.
-
Timeslot Limits – Limit the number of attendees per class per date by combining Choice, Date, and Calculation fields.
-
Limit Form Submissions – Limit the total number of entries your form will accept by applying a specific quantity limit to a hidden Calculation field.