Negotiation workflows are found in almost any industry you look. In a negotiation, two parties communicate information back and forth until an outcome, which is often a monetary amount in the form of a quote or estimate, is agreed upon.
The field service industry offers a great example of this type of workflow with a typical service request. In this workflow, a customer submits an initial request for service. An estimator then reviews the request and sends back an estimate for the parts and labor involved in completing the service. Once the customer signs the estimate, the technician is notified and begins performing the work. When the work is finished, the technician invoices the customer and the workflow is complete once payment is made.
This guide follows our Service Request template as described above, and below you’ll find key considerations for creating this type of negotiation workflow.
This page is meant to serve as a guide to inform your own workflow. For a more in-depth look into creating workflows with Cognito Forms, be sure to check out our Workflow help section.
Setting up a Service Request
Our Service Request form has multiple sections, each including fields relevant to specific individuals within the workflow. Sections enable us to easily apply Field Settings to make our form conditionally read-only for roles, which drives key efficiencies found in our negotiation example.
Roles
Roles included in our Service Request workflow represent each individual that plays a part in the negotiation. These roles inform the Field Settings discussed below as well as workflow links shared in the process.
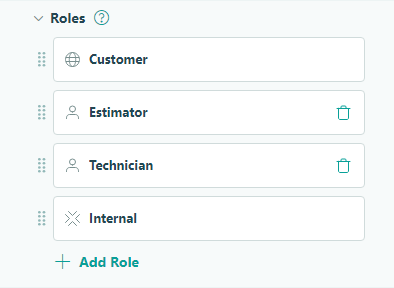
The roles in our negotiation workflow include:
- Customer - The Public role for customers to submit new service requests.
- Estimator - An Other role for the Estimator to receive and review new service requests.
- Technician - An Other role for the Technician to get notified when estimates are approved and ready for service.
- Internal - The default Internal role for admin entry views.
The Field Settings for each section include:
- For the Customer Information and Choose a Service sections, set the Read-Only settings to For Roles > Estimator + Technician.

- For the Estimate section, set the Read-Only settings to For Roles > Customer + Technician. Under Show This Field settings, select ‘When’ to apply conditional logic to only show this field when the entry status is not Incomplete. This will ensure an Estimator can input entry data only for a new service request that has been fully submitted.


- For the Estimate Approval section, set the Read-Only settings to For Roles > Estimator + Technician. Under Show This Field settings, select ‘When’ to apply conditional logic to show this field unless the entry status is Incomplete or New.


- For the Invoice section, set the Read-Only settings to For Roles > Customer. Under Show This Field settings, select ‘When’ to apply conditional logic to only show this field when the entry status is either Estimate approved, Awaiting payment, or Closed.


- For the Work Completed Approval section, set the Read-Only settings to For Roles > Estimator + Technician. Under Show This Field settings, select ‘When’ to apply conditional logic to only show this field when the entry status is either Estimate approved, Closed, or Awaiting payment.


Payment Settings
Our Service Request template is set up to only allow payment to process when the entry status is Awaiting payment. This means that the payment block will only show for the customer when a technician has marked that the service is complete (using the Technician’s Signature field), which triggers an entry’s status to move to Awaiting payment.
In Payment Settings, select ‘When’ under Process Payment? and set the payment to process when the entry status is Awaiting Payment:

Statuses
Because information will be passed back and forth in our Service Request workflow, custom entry statuses for each stage of the negotiation will help easily track its progress.
The statuses in our Service Request example include:
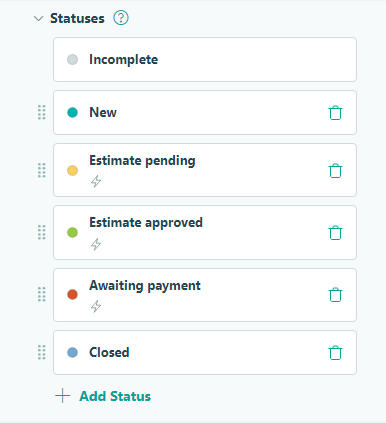
- Incomplete – The default status for all service requests that have not been fully submitted by a customer.
- New – A new service request has been submitted by a customer.
- Estimate pending – An estimator has provided an estimate to the customer.
- Estimate approved – A customer has approved the estimate sent to them.
- Awaiting payment – A technician has completed the requested service and has invoiced the customer.
- Closed - Payment has been made and the workflow is complete.
In our Service Request template, we’ve set the Estimate pending, Estimate approved, and Awaiting payment statuses to trigger based on certain conditions.
For each of the below statuses, select ‘When’ under the Automatically Assign Status setting and apply the following conditions:
- Estimate pending - When the Estimator’s signature is filled out and the entry status is New.

- Estimate approved - When the Customer’s signature is filled out in the Estimate Approval section and the entry status is Estimate pending.

- Awaiting payment - When the Technician’s signature field is filled out.

Actions & Email Notifications
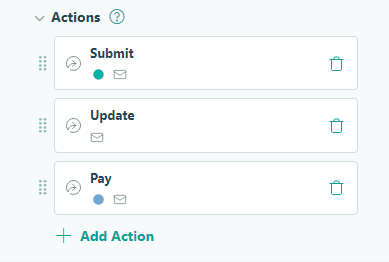
While there are many individuals and stages involved in our Service Request negotiation workflow, just three actions on the form can accomplish all that is necessary to complete the workflow: Submit, Update and Pay. Below you’ll find key Action Settings and considerations for email notifications involved in the workflow.
- Submit - The action available for the initial customer submission, or for the estimate submission back to the customer.
- Update - The action available for a customer to sign an estimate approval, a technician to update a service request and provide an invoice, or for an internal admin to update the entry.
- Pay - The action available for the customer (or anyone within the workflow) to make payment.
Submit Action
Allow Action - Select ‘When’ and apply conditional logic to allow this action to be performed only when the entry status is Incomplete.
Change Status To - Select ‘New’ to automatically update an entry’s status to New once a customer submits a request for service.
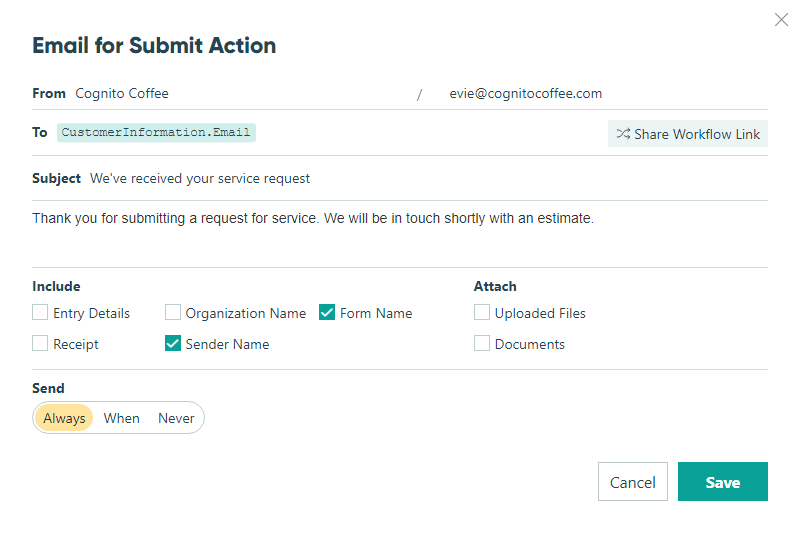
Send Emails - Create an email notification to send to the customer as a confirmation their request has been received. Mark this email to send always and use the Insert Field option to include the customer’s email address.
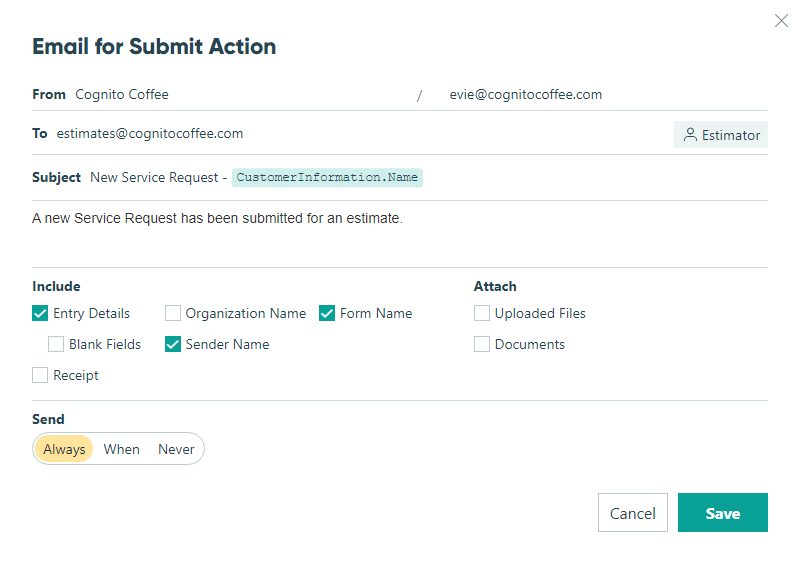
Create a second email notification that notifies the Estimator that a new service request has been submitted. Be sure to include an Estimator workflow link so they can access the entry.
Update Action
The Update action will be used by all individuals within the Service Request negotiation, but at different times within the workflow. Because multiple roles will be using the same action, we’ll rely heavily on conditional logic to allow the Update action at the right time to the right people and to send the appropriate email notification(s) once performed.
Allow Action - Select ‘When’ to apply conditional logic to display this action to be performed for any entry status other than Incomplete, ensuring that only requests fully submitted by a customer can be updated.
Send Emails - We’ll create three different emails to conditionally send when the Update action is performed:
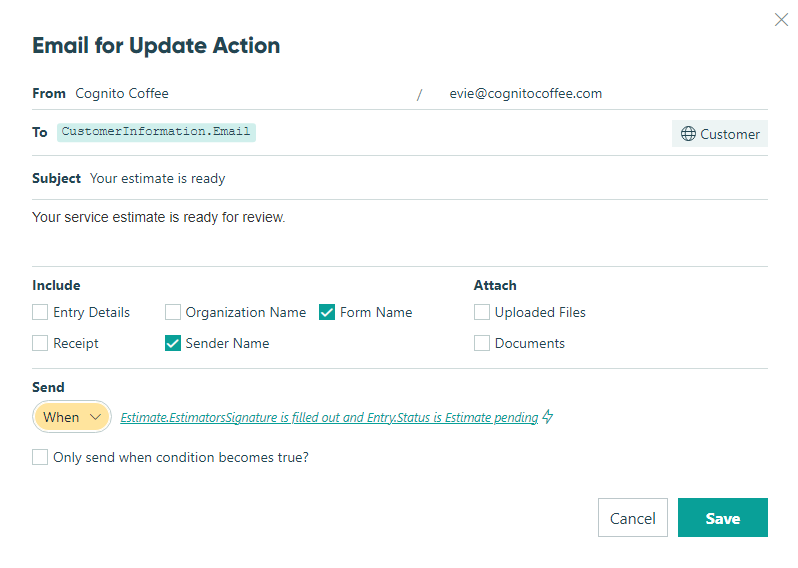
The first email is to notify the customer that an estimate is ready for review. Prefill the customer’s email in the To field and be sure to include a Customer workflow link. Under Send, select ‘When’ and set the conditions to send when both the Estimator’s signature is filled out and the entry status is Estimate pending.

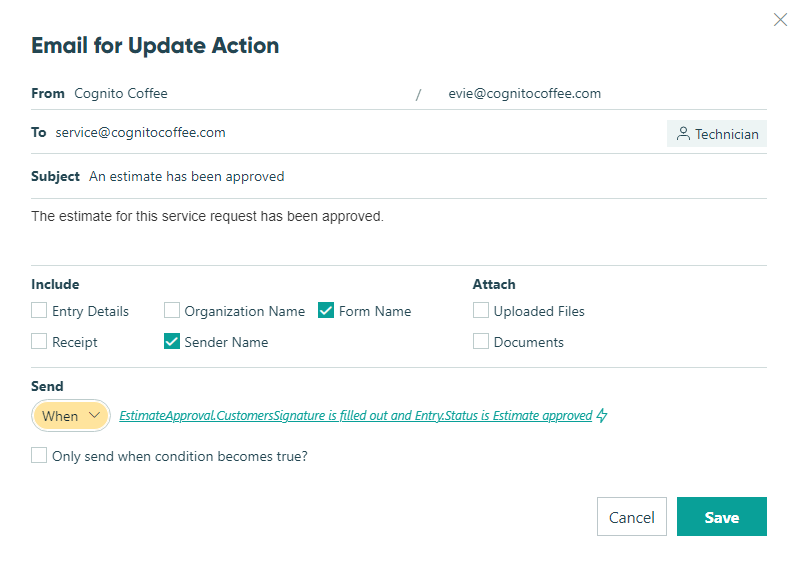
The second email is to notify the service department that an estimate has been approved by a customer. Be sure to include a Technician workflow link in this email notification. Under Send, select ‘When’ and set the conditions to send when both the customer’s signature is filled out in the Estimate Approval field and the entry status is Estimate approved.

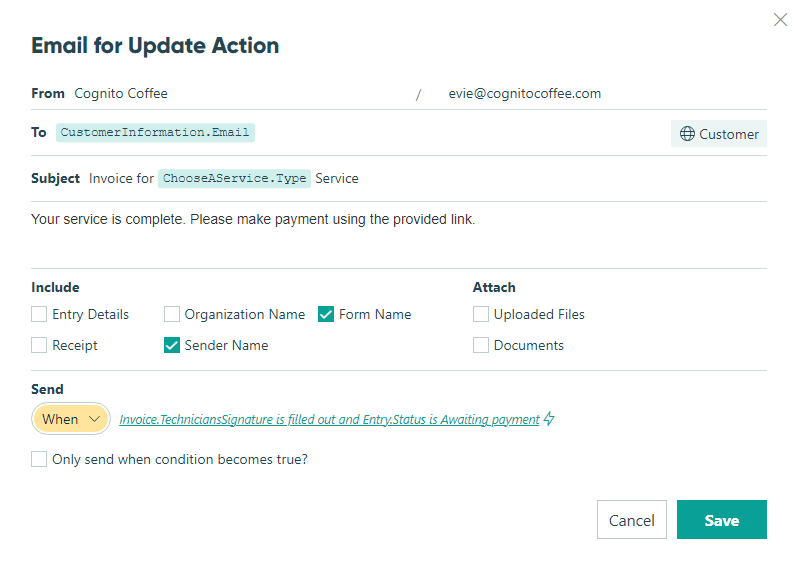
The third email for the Update action will send the customer an invoice when the service has been completed. Prefill the customer’s email in the To field and be sure to include a Customer workflow link so they can access the entry to make payment. Under Send, select ‘When’ and set the conditions to send when both the Technician’s signature is filled out and the entry status is Awaiting payment.

Pay Action
Allow Action - Select ‘When’ to apply conditional logic that enables this action to only be performed when the status is Awaiting payment. This will ensure payment can’t be made before the technician finishes the work for the service request.
Change Status To - Select ‘Closed’ to automatically update the entry to Closed once payment is made.
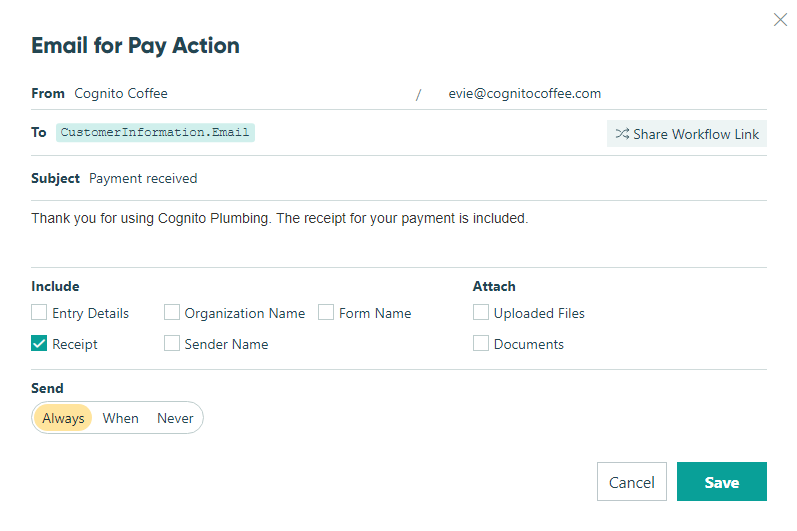
Send Emails - Create an email to send the customer a receipt for their invoice payment. Prefill the customer’s email in the To field, mark the email to send always, and be sure to tick the box to include a receipt.
Other Considerations
Once you’ve considered the above settings, it may be helpful to make specific updates to your workflow. For example, making certain fields read-only or conditionally showing a field based on status can help make your workflow more efficient for your scenario.
For more help setting up your workflows, check out our Workflow help section.