Build a simple order management system for your small business with Cognito Forms. Track inventory in real time, accept payments with Cognito Pay, and automate fulfillment tracking — all from one place.
Build Time & Skill
30-45 min
Intermediate
What you'll learn
How to turn an order form into a simple order management system for your small business, with automated order tracking from inventory through fulfillment.
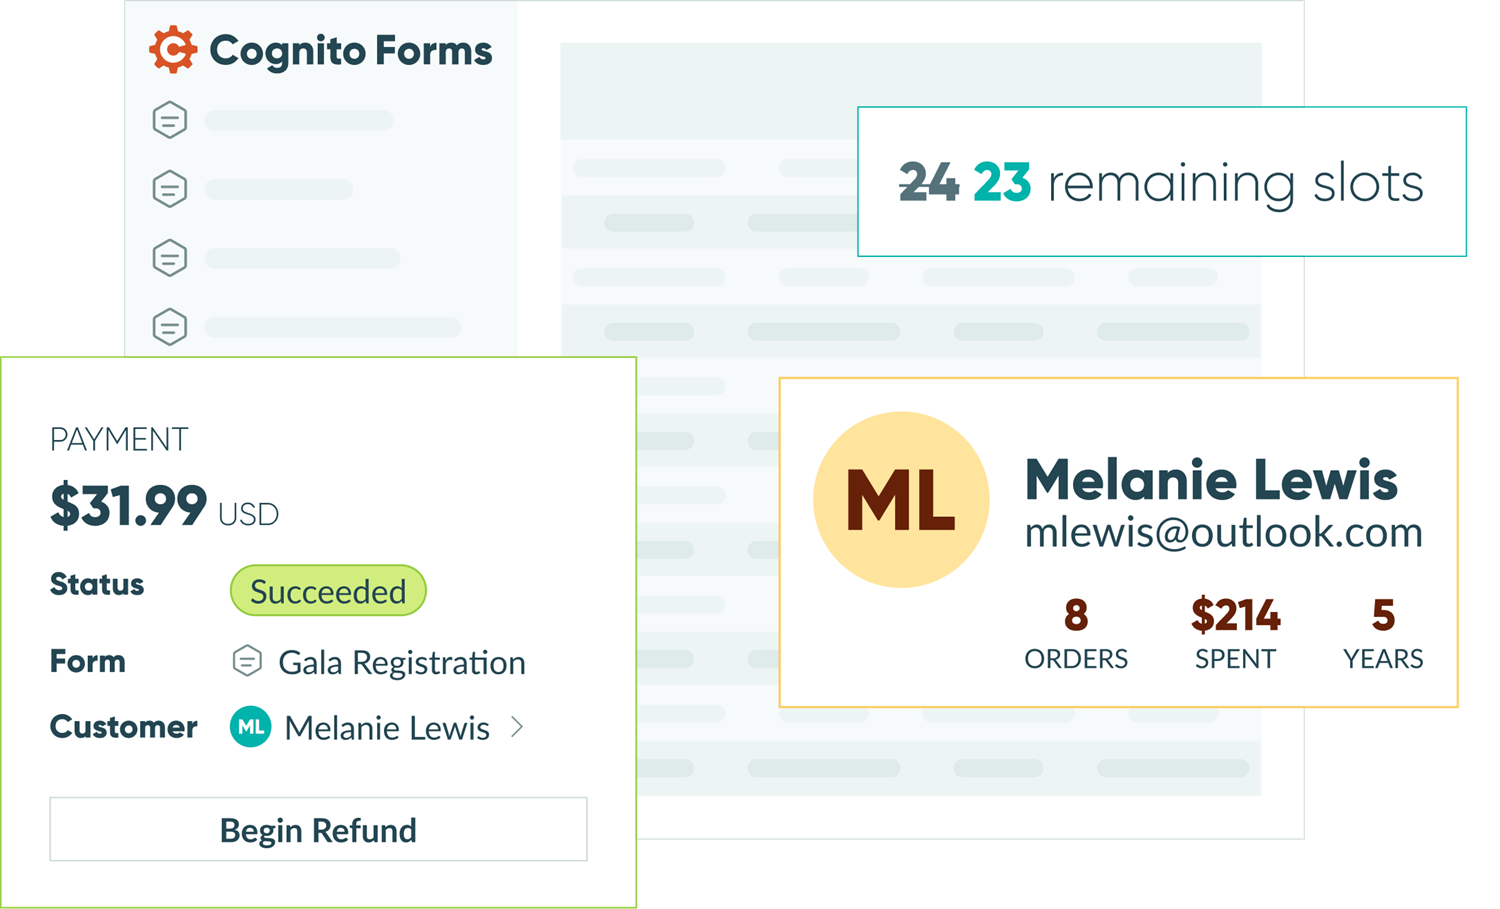
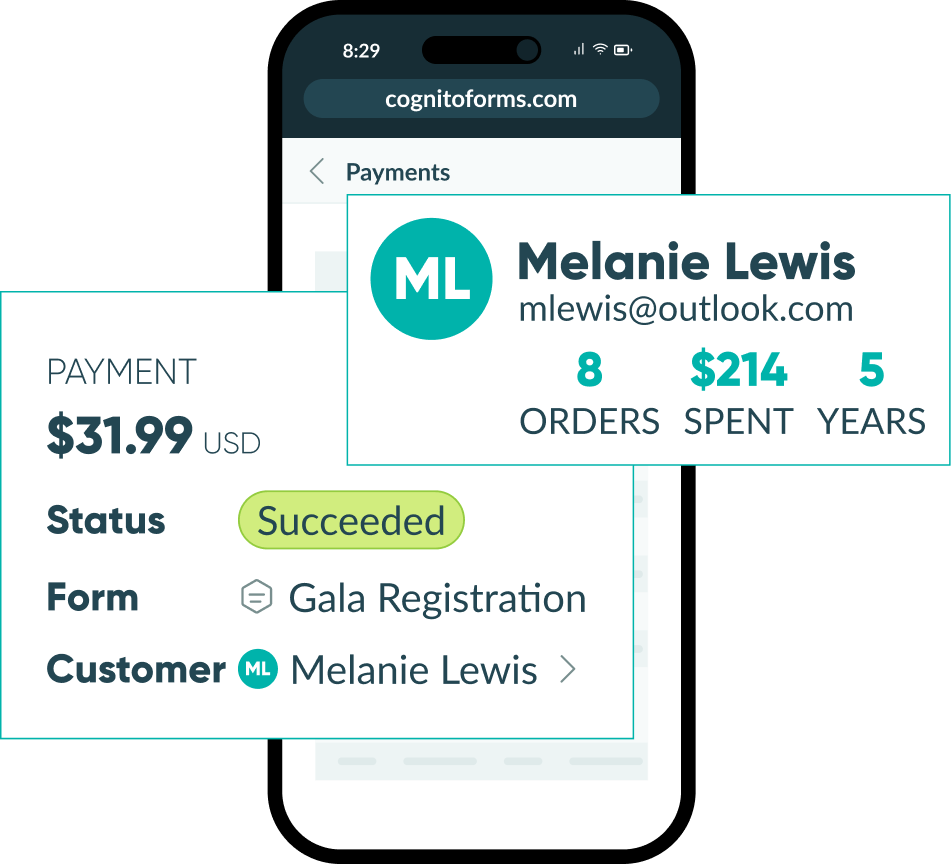
A small business doesn’t need enterprise software to track and manage customer orders. They just need an order form that does more. Cognito Forms can track your product inventory, collect payment, confirm orders, move them through fulfillment, and give you automated order tracking from checkout to delivery, all in one connected system.
This guide walks through six pieces that turn a simple order form into a lightweight order management system: collection, inventory tracking, payment, confirmation, fulfillment, and tracking.
Building your own simple order management system this way helps you:
- Keep inventory accurate without manual updates. Update stock in one place, and every connected order form reflects it instantly.
- Collect and get paid in one step. Customers pay at checkout instead of you following up separately.
- Stop sending manual status updates. Automated order tracking keeps customers and your team on the same page.
- See how the business is doing at a glance. Payment and order data live in one place, not scattered across tools.
Understand the Moving Parts of Order Management
A few Cognito Forms features work together to make this system possible. You don’t need to master all of them before you start. You just need to know what each one does and its corresponding step in this guide.
| Feature | What it does | Step in this guide |
|---|---|---|
| Lookup Fields | Connects forms together so when someone selects a product on your order form, the field pulls current pricing and availability from an inventory form | Step 1-3 |
| Cognito Pay | Built-in payment processing, refunds, disputes, and payout tracking without leaving Cognito Forms | Step 3 and 6 |
| Workflow | Defines who sees what, tracks where an order stands, and controls which buttons are available at each stage | Steps 4 and 5 |
| Track Submissions by Person | Connects every order and submission to a central customer record automatically | Step 7 |
Building a Simple Order Management System: Step-by-Step
Now it’s time to get set up! Each step below builds on the one before, starting with a product inventory form and ending with reporting that shows how everything is performing. This setup will give you the order tracking your small business needs, without the headache of complex or costly software.
Step 1: Set up automated inventory tracking with Lookup Fields
If you’re selling more than a handful of products, keeping stock and pricing accurate on your order form by hand can get tedious very quickly. On top of this, mistakes mean overselling or displaying the wrong price. A Lookup field solves this by connecting your order form to a separate Product Inventory form, so every price and stock count updates automatically everywhere it’s used.

To do this:
- Create a Product Inventory form with fields for Product Name (Textbox field), Price (Price field), and Available Quantity (Number field).
- Turn on Use with Lookup Field? in that form’s settings.
- Save your form.
- On the Entries page, create a new entry for each product you want to be available on your order form.
If you want to show a photo of each product, add a File Upload field to this form and name it “Product Photo.” Then, add a photo alongside each product’s entry. This photo can easily be shown on your order form with each item listed.
Step 2: Create your online order form
Build your order form around what customers are choosing and what you need to fulfill it. You’ll want to ensure customers can choose products or services, indicate quantities, and give you their delivery or pickup details.
Set up the Lookup field

Here’s how:
- Add a Lookup field to your form and set Look Up Choices From to your “Product Inventory” form.
- For the Choice Label, add your “Product Name” field.
- For the Choice Description, include your “Price” field and reference the “Available Quantity” field to let customers know your remaining stock on this item.
- To show images alongside each item, choose the Card style and check the box next to Show Images.
- Use the Include option to hide out-of-stock items entirely.
- If you’re selling more than one product per order, place your Lookup field and Number field inside a Repeating Section so customers can add multiple line items.
Turn on payment
Enable secure payment collection directly on your form, without redirecting customers to a separate checkout page.

To do this:
- In your Lookup field, enable Collect Payment.
- Select the “Price” field that’s on your Product Inventory form.
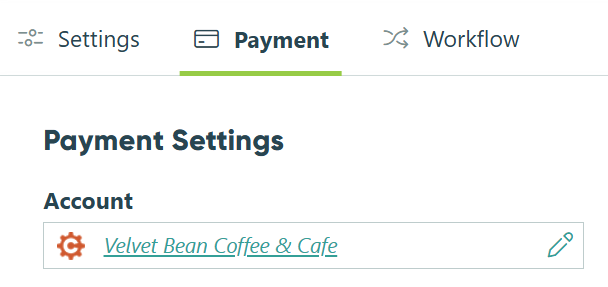
- Connect your organization’s Cognito Pay account in the popup. If you haven’t set up payment collection yet, you can do so now.
Limit quantities
Prevent customers from ordering more than you have in stock. Cognito Forms will check availability automatically at submission.

To set this up:
- Alongside your Lookup field, add a Number field labeled “Quantity” for customers to choose the number of items they want to purchase for this product.
- Going back to your Lookup field, enable Limit Quantity.
- Set the Quantity Available field to the “Available Quantity” field on the Product Inventory form. Make sure to include an error message (“We’re out of stock!”).
- Enable Specify Quantity and select the “Quantity” field you added on this form.
- Save your changes.
Step 3: Process payments with Cognito Pay
Connect Cognito Pay to your form’s Payment tab so customers pay as part of checkout, whether pricing comes from a Choice field or your connected inventory via a Lookup field.
- Cognito Pay is currently available to organizations in the United States; outside the US, connect a Stripe, PayPal, or Square account instead.
- Cognito Pay also supports Google Pay and Apple Pay at checkout.
- Every payment connects back to its order automatically, so its easy to see the payment status for each order.
Step 4: Create an automated fulfillment workflow
Give every order a status to control what happens and who can make it happen at each stage.
Add Statuses
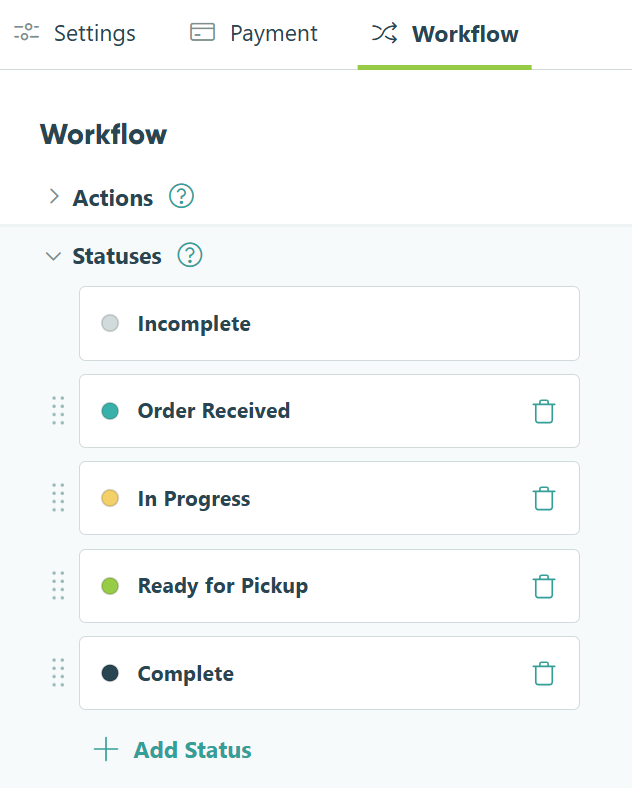
Statuses create the path for your order processing and fulfillment workflow. Each status represent a unique stage in the process, making it clear where orders sit throughout the process.
A common workflow might look like this: Incomplete → Order Received → In Progress → Shipped → Complete
You could also add a few additional statuses that would help you with your specific process, such as: Canceled, Returned, etc.
To set up Statuses:
- Go to your order form’s Workflow settings and find Statuses.
- Review the default statuses (Incomplete, Submitted). You may want to change “Submitted” to something like “New Order.”
- Click + Add Status to create new statuses for each step in your order processing and fulfillment process.
Create Actions
Actions are buttons that move entries through your workflow. Configure the actions your internal team will use to advance orders through each stage of your fulfillment workflow.
This default Action allows customers to place their order.
- In Workflow, click Actions and open your Submit Action.
- This default Action allows customers to submit their initial request.
- Optionally, rename this to “Place Order” or something similar.
- Verify these settings:
- Allow Action: When
Entry.Status is Incomplete - Change Status To:
Order Received
- Allow Action: When
The default “Update” Action lets users make changes to entries. Add conditions to control who can use this Action and when it is available to them.
- Open the Update Action.
- Set Allow Action to For Roles and check Internal.
- Or add When conditions to allow updates only in specific statuses.
- For example: When
Entry.Status is Order Received or In ProgressANDEntry.Role is Internal - This would only let the “Internal” Role make updates to fields they have access to (i.e. internal notes) when the entry is in the “Order Received” or “In Progress” Status, but not once the invoice has been paid.
- For example: When
Create any other Actions you want your staff to use throughout your fulfillment workflow.
For example, your list of Actions could look like this:
- Order In Progress:
- Allow Action: When >
Entry.Role is InternalANDEntry.Status is "Order Received" - Change Status To:
In Progress
- Allow Action: When >
- Order Shipped:
- Allow Action: When >
Entry.Role is InternalANDEntry.Status is "In Progress" - Change Status To:
Shipped
- Allow Action: When >
- Mark Order Complete:
- Allow Action: When >
Entry.Role is InternalANDEntry.Status is "Shipped" - Change Status To:
Complete
- Allow Action: When >

For the full breakdown of roles, visibility, and actions, see our guide on creating role-based form workflows without code.
Step 5: Send automated order confirmations
Send a confirmation the moment an order comes in, so customers know it was received without waiting on you.

To do this:
- In your order form’s Workflow settings, find Actions.
- Under your “Place Order” Action, click Send Emails.
- Click + Add Email and configure the email:
- To: Click Insert Field and select the form’s Email field. This automatically sends to the customer who submitted the request.
- Subject: Write a clear, concise subject line. Use Insert Field options to add form data like their order total or date ordered.
- Message: Let them know when their order will be ready, give them an order number, or any other important information.
- Under the Include options, check the box for Receipt to include order transaction details in the email. Alternatively, use the Documents option to attach an auto-generated PDF of the order. Learn more about auto-generated documents.
Step 6: Automate order tracking with Cognito Pay Analytics
Once orders are flowing, use Cognito Pay’s built-in reporting to see how the business is doing without exporting anything.
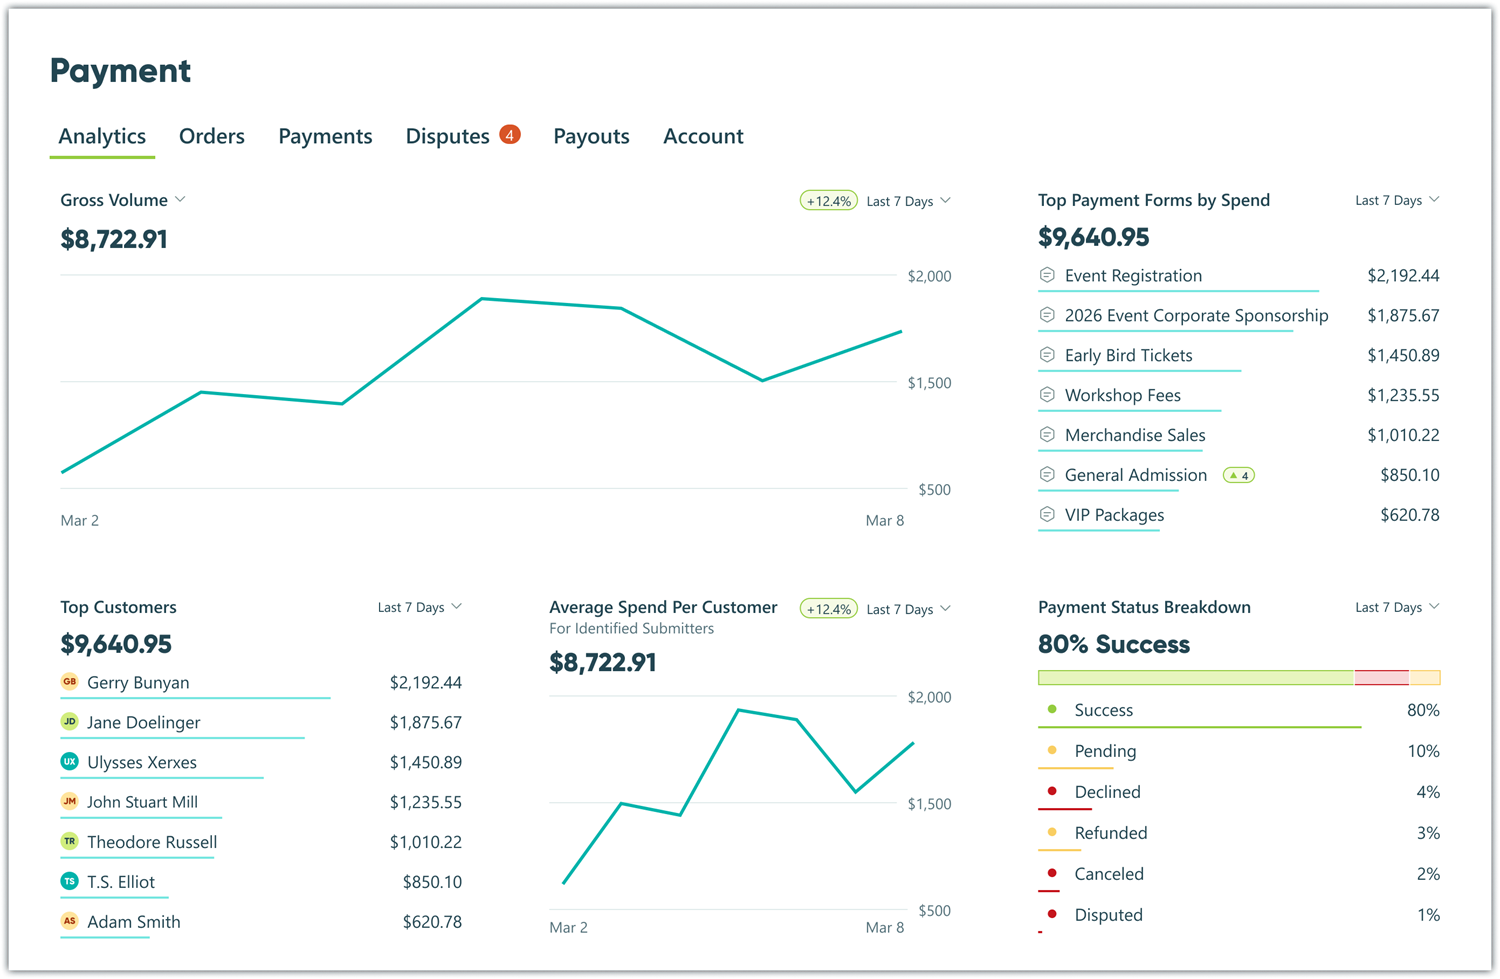
- The Analytics page gives you a visual overview of payment activity across your entire organization. From here, you can track payment volume, view your top customers, review payment status trends, and stay on top of potential issues with decline and dispute rate alerts.
- The Orders, Payments, and Disputes pages show activity across every form in your organization, not just one. They include things like the date, payment amount, payment status, customer, form, and more.
- Every view can be sorted in several different ways, such as time period, the form, customer information, payment amount, etc.
Step 7: See a customer’s order history across every form
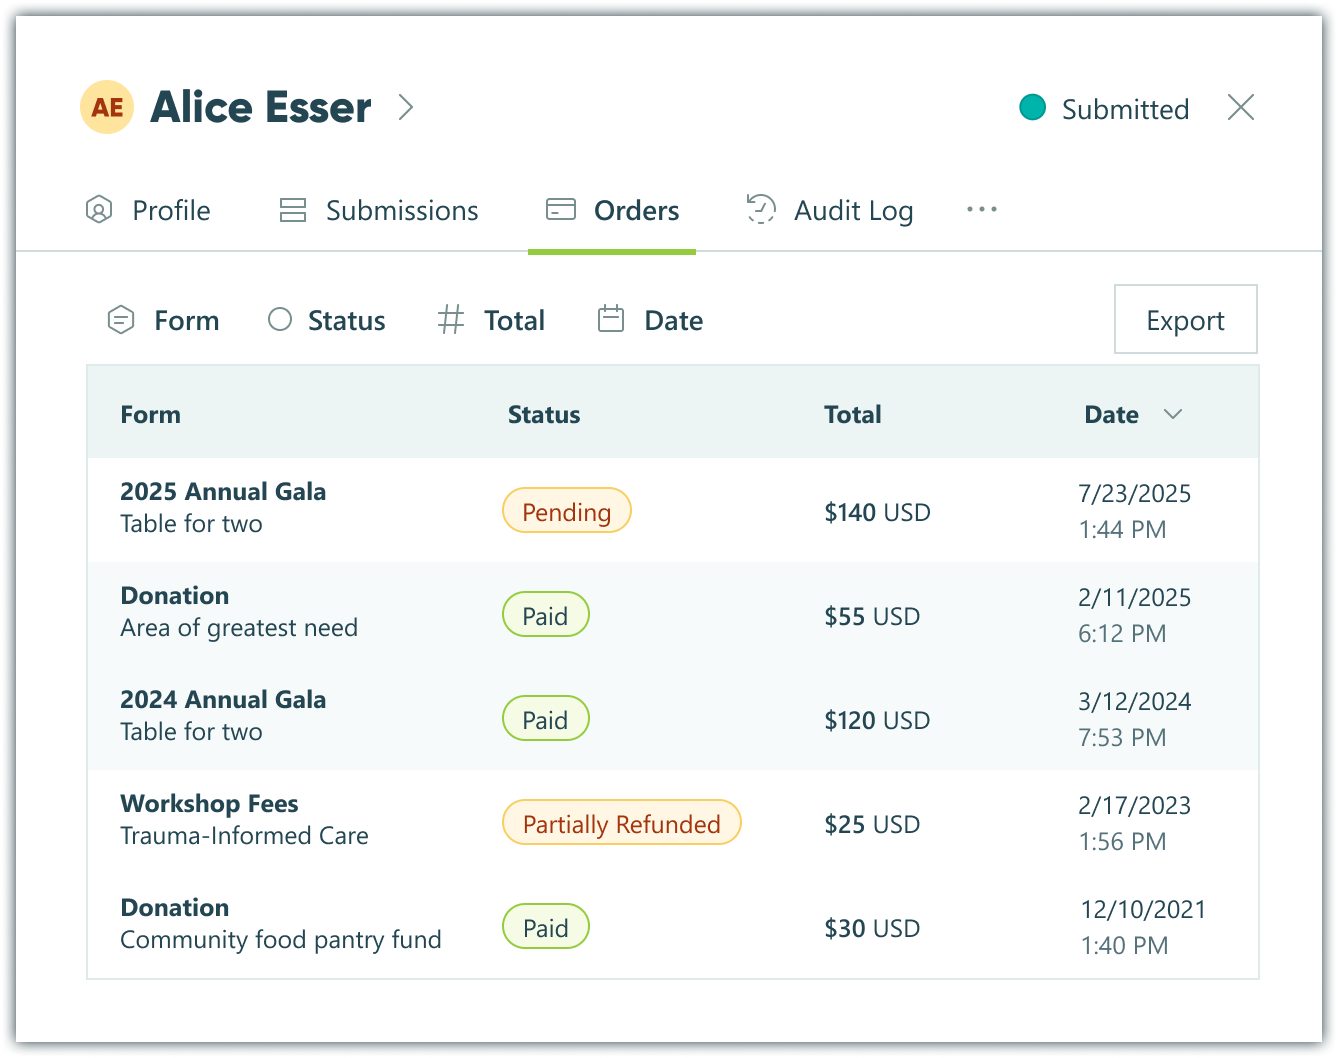
In addition to tracking your payments and orders across your forms, you can also easily see a specific customer’s order history. This means each form submission is connected to the person behind it, making it easy to get the context you need for stellar service.
To do this:
- Your order form must have Track Submissions by Person enabled.
- After enabling the feature, you can view a client’s cross form history by clicking on a Customer from any of the Views in your Payment section.
- For example, clicking the row of an order in the Orders tab and then clicking on the customer’s name. This would open their profile and show you all of their previous orders as well.
Learn more about tracking customer submissions across multiple forms with our how-to guide.
Enhance Your Order Management System with These Features
Once your small business order management system is up and running for your team, consider incorporating some of these advanced features to make your Workflow even more efficient:
- Assign orders to a team member with Person fields. Add a Person field connected to a staff or fulfillment list so each order routes to the right person instead of sitting in a shared inbox. This works well once more than one person handles fulfillment, or when specific team members own certain product lines or territories.
- Give customers a portal to check their own order status. Set up a customer portal using Guest Access so your customers can log in to view all their past or pending orders in one place. Portals work well for ongoing customer relationships or when customers often place multiple orders over time. Read more in our guide on How to Build A Client Portal.
- Automatically nudge your team when an order stalls. Turn on Task Reminders in a Task View’s settings to automatically email whoever’s assigned when an order sits without action for a certain amount of time. This works well for fulfillment deadlines, follow-ups on pending payments, or any stage where an order shouldn’t go untouched for more than a day or two.
Take Control of Order Management Today
Running orders through scattered spreadsheets, a separate payment dashboard, and a string of manual emails isn’t a system. It’s a workaround. Cognito Forms turns your order form into a connected system that works for your needs: inventory that updates itself, payments that connect to the right order form automatically, and a team that always knows what’s next.
Build your first order management system in Cognito Forms today, and get out of the spreadsheet or disparate systems for good.
Get started in minutes with a fully customizable order form template.
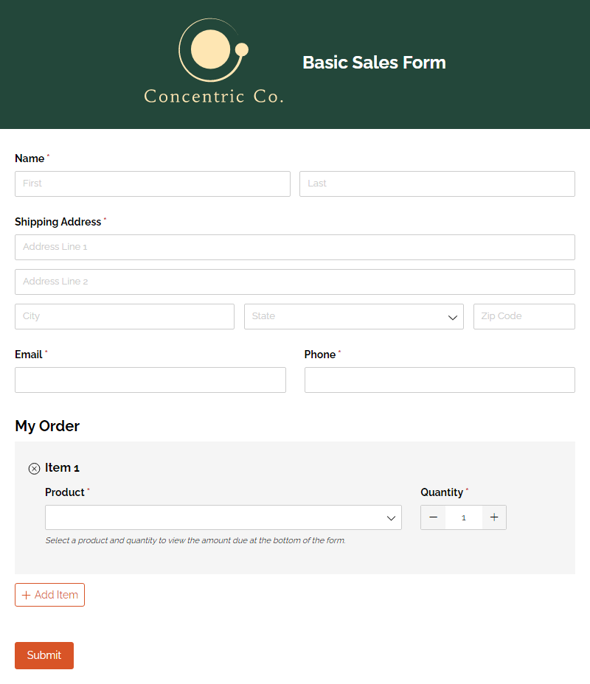
Basic Sales Form
Use our free sales form template to launch your business online. Customize it for your products and company, and integrate online payment. It’s easy.
Preview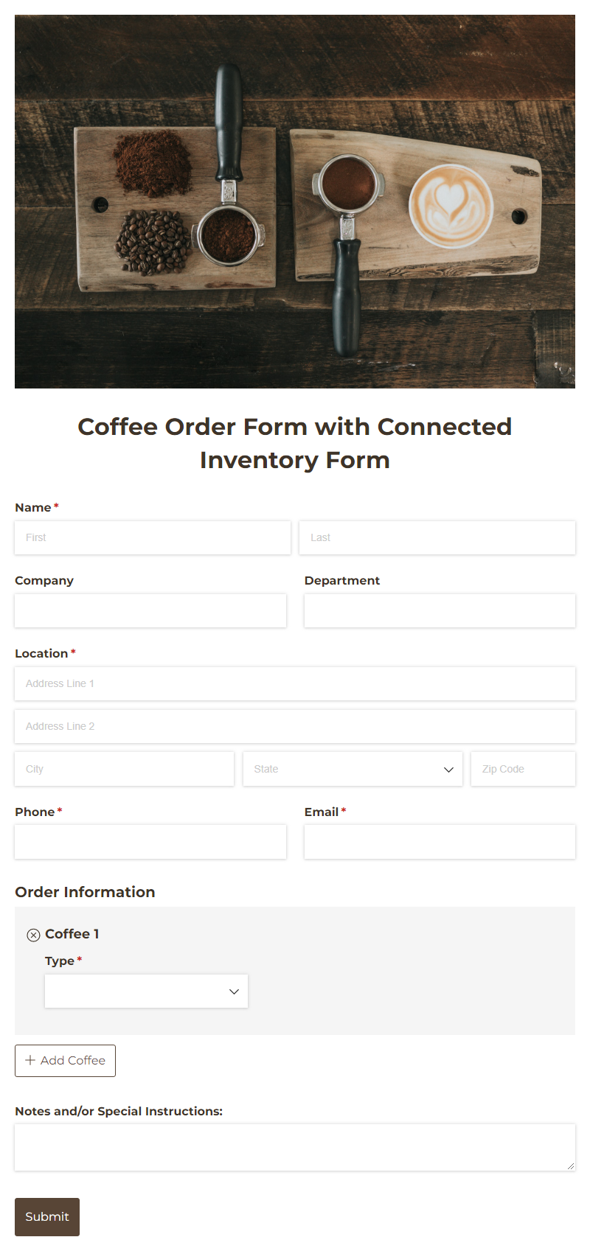
Coffee Order Form with Connected Inventory Form
Use our free Cognito Coffee Order Form template to easily collect and process bulk coffee orders.
Preview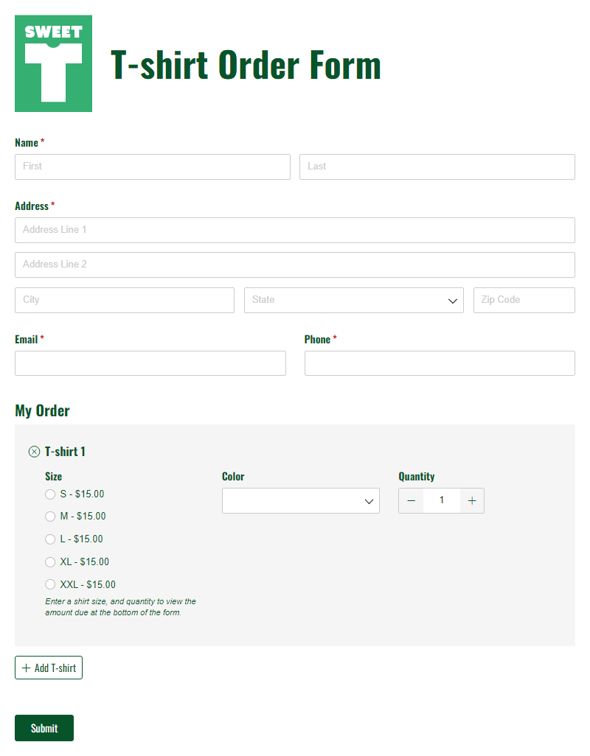
T-shirt Order Form
Use our free t-shirt order form to launch your business online. Customize it for your products and company, and integrate online payment. It’s easy.
Preview
FAQ
No. If you’re only selling a handful of products, a simple Choice field works fine and doesn’t require a paid plan that Lookup fields need. Once you’re managing dozens of items, prices that change often, or multiple order forms pulling from the same catalog, inventory tracking saves far more time than it costs to set up.
Cognito Pay includes built-in support for Apple Pay, giving customers a faster way to check out. Once your Cognito Pay account is connected to your form, Google Pay and Apple Pay will appear as a payment option automatically.
Cognito Pay is available on every plan level. There is an additional convenience fee for organizations on the Individual or Pro plans (2% on the Individual plan, 1% on the Pro plan). Learn more about Cognito Pay.