Set a maximum number of submissions that automatically prevents new submissions once reached, eliminating manual tracking.
Build Time & Skill
10-15 min
Beginner
What you'll learn
How to configure your form to automatically stop accepting submissions after reaching a specific number of entries
When you need to cap form submissions at a specific number, manually tracking entries and closing your form creates unnecessary work. Whether you’re managing limited-capacity events, first-come-first-served promotions, or daily order volumes, automatic submission limits handle everything for you. With Cognito Forms, you can set a maximum number of entries on a form and let the system enforce your limit without constant monitoring.
Setting a maximum number of form submissions helps you:
- Stop tracking entry counts manually. The system automatically monitors submissions and enforces your limit without you checking constantly.
- Prevent over-registration for limited-capacity events. When your workshop reaches 50 attendees, the form stops accepting new registrations immediately.
- Maintain professional customer experience. People see clear messaging when capacity is reached instead of submitting forms you can’t accommodate.
- Reopen slots automatically when needed. If someone cancels and you delete their entry, the form automatically allows one more submission without any action from you.
Setting Your Form Submission Limit: Step-by-Step Setup
Configure your form to automatically stop accepting submissions after a specific number of entries by adding a hidden Calculation field with a Quantity Limit. This takes just five steps and works immediately once configured. The form tracks each submission against your limit and enforces it in real-time without any manual monitoring required.
Step 1: Add and configure a Calculation field
The Calculation field will track and enforce your submission limit behind the scenes. Users never see this field, but it does all the work.

- Open your form in the Build page
- Add a Calculation field to the form
- Label the field “Entry Limit”
- In the Calculation box, type any static text value.
- This serves as a unique identifier for tracking submissions across all entries. The actual value doesn’t matter, it just needs to be consistent.
- Common examples:
="limit"or="tracking"or="count"
- Set Show This Field to
Never. This will hide the field so it doesn’t clutter your form, since it exists only for tracking purposes.
Why this works: Every submitted entry will have this same calculation value. Cognito Forms uses this to count how many times this specific value appears across all submitted entries, which gives you your total submission count.
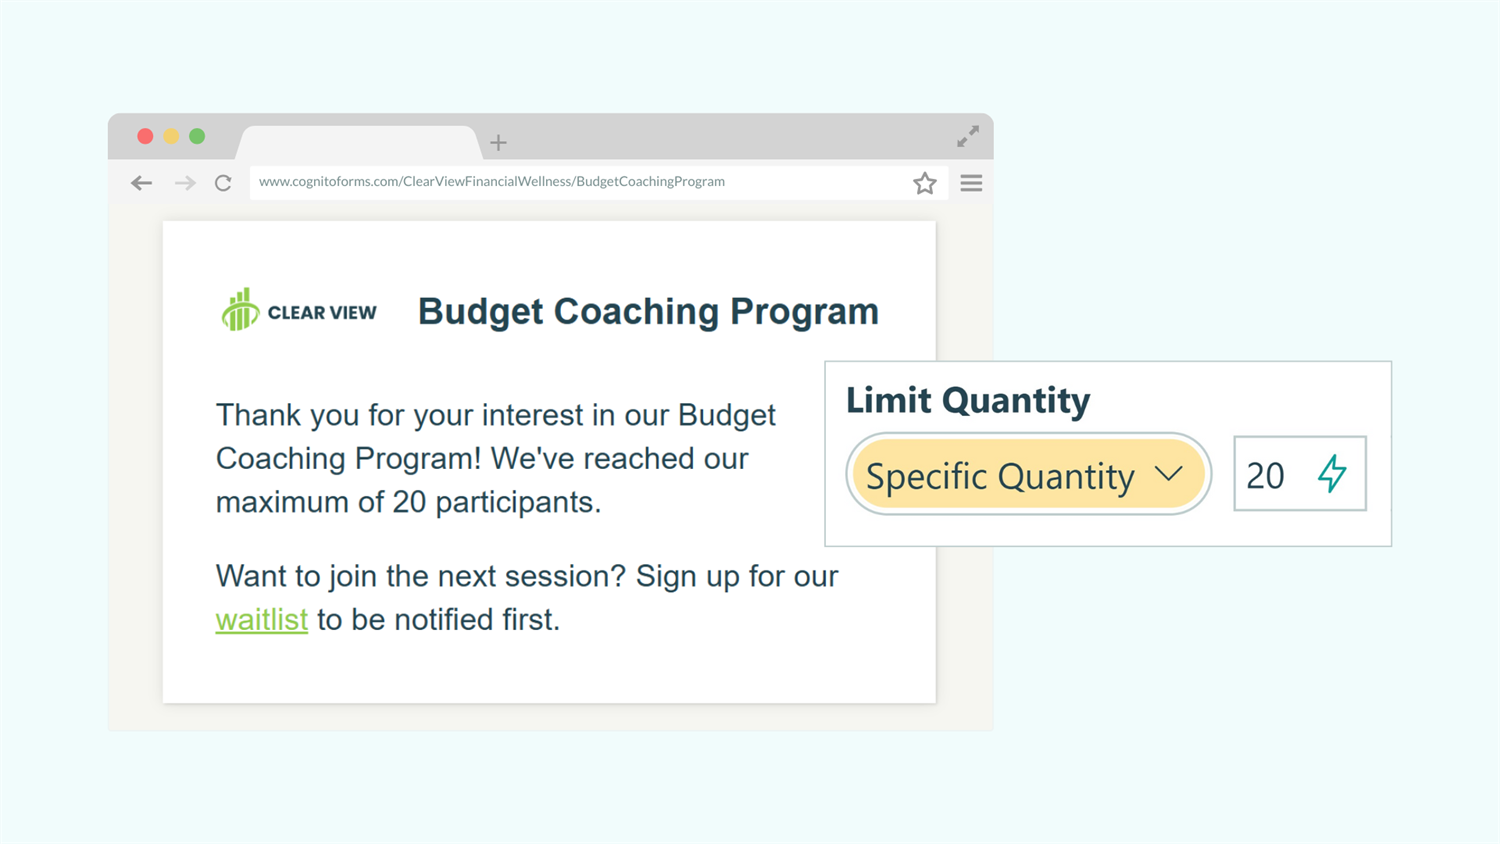
Step 2: Set the quantity limit
Configure the maximum number of submissions you want to allow.

- Find Limit Quantity in the Calculation field settings
- Select Specific Quantity
- Enter your desired submission limit (for example,
50for a workshop with 50 seats) - Click into the Custom Error box and write a message that displays when the limit is reached
- For example: “Registration is full!” or “We’ve reached capacity for this event.”
Please Note: If you already have entries submitted before setting up this limit, those existing entries will not count toward your limit. Only entries submitted after you configure this field will be counted. To account for existing entries: subtract them from your desired total. Want 50 total entries but already have 10? Set your limit to 40.
Step 3: Configure Public Links to automatically close the form
Instead of just showing an error message when users try to submit after the limit is reached, you can make the entire form unavailable and display a custom “form closed” message. This creates a cleaner experience since people immediately see that registration is full without attempting to fill out the form first.

To do this:
- Navigate to Workflow at the top of the Build page
- Click Public Links
- Find Allow Links and select When
- Enter the following condition:
EntryLimit_QuantityRemainingis positive or zero - Scroll down to Not Available Message
- Write a message that explains the form is closed
How this works: The condition checks if any submission slots remain. When QuantityRemaining reaches zero, the Public Link becomes unavailable. Instead of seeing your form, visitors see your Not Available Message.
Now your form will automatically stop accepting submissions once the limit is reached. When someone tries to submit after the limit is hit, they’ll see the custom error message you wrote.
Use the formatting toolbar in the Not Available Message box to add links, images, or formatting. This lets you redirect people to other resources, like a waitlist form or alternative events.
What is the difference between showing an error message and closing the form?
You have two options to let users know the form’s limit is reached, each with slight differences that work well in different situations:
| Approach | When it appears | User experience | Best for |
|---|---|---|---|
| Error Message (Step 3) | When someone is viewing or filling out the form | Users can still see all available form fields, along with your custom error message, but they are prevented from submitting | Forms where you want to allow viewing but prevent submission |
| Close Form (Public Links) | When someone navigates to the form URL | User immediately sees a message that the form is unavailable and cannot see the fields on the form | Events or promotions where there’s no reason to view the form once full |
Step 4: Test your submission limit
Always verify your limit works correctly before sharing the form with others.

- In the Calculation field’s Specific Quantity limit, temporarily change it to a small number (like 2 or 3).
- Go to the form’s Entries page.
- Submit test entries until you reach your limit.
- Try submitting one more entry. You should see your custom error message.
- Now delete one test entry and return to the form. Verify you can now submit one more entry.
This confirms that deleted entries automatically reopen submission slots.
Important Note: Don’t forget to delete all entries and reset your specific quantity limit after testing and before sharing your form.
Real-World Examples: How Teams Limit Form Submissions
Businesses across industries use submission limits to manage capacity, control workload, and enforce limits for time-sensitive offers. These two scenarios show how automatic submission limits can solve real business challenges while improving customer experience and reducing manual work.
- Event registration with limited seating: The registration forms for a professional workshop is limited to 25 attendees for optimal engagement. When the workshop fills, late registrants see a message offering them priority access to the next session.
- First-come-first-served promotion: A limited-time offer’s registration form is limited to the first 100 submissions. As spots fill up, the form creates urgency by displaying the number of spots remaining. Once all 100 submissions are made, the form automatically closes and displays information about standard (non-promotional) services.
Additional Features to Enhance Submission Limits
Layer additional Cognito Forms capabilities with your submission limits to build powerful automated workflows that handle complex business scenarios while keeping everything under control.
- Combine with date/time availability settings. Set your form to accept submissions only during specific hours or date ranges while also enforcing quantity limits. For example, accept up to 50 registrations, but only between January 1st and January 31st.
- Display quantity remaining on your form. Add a visible Calculation field showing
=Calculation_QuantityRemainingto create urgency by displaying “Only 12 spots left!” This real-time counter updates automatically as people submit. - Track multiple quantity limits simultaneously. Use Lookup fields or Choice fields with quantity limits to manage multiple sessions, products, or time slots all from one form. Each option can have its own independent limit.
- Send notifications when approaching capacity. Set up email notifications triggered when quantity remaining drops below a certain threshold, alerting your team that the event is nearly full.
Start Controlling Your Form Submissions Today
Manually tracking submission count creates extra work and risks over-registration. By setting automatic limits, you ensure your forms stop accepting entries exactly when you need them to, whether you’re managing event capacity, promotional offers, or daily workload. The setup takes less than 15 minutes, and once configured, the system handles everything automatically, even reopening slots when entries are deleted.
FAQ
No. Only successfully submitted entries count toward your limit. If someone starts filling out your form but doesn’t click the submit button, or if they use Save & Resume to save their process, the Status is Incomplete and it will not count against the quantity limit. Likewise, if you change an entry from Submitted to Incomplete, it will add the quantity used amount back to the limit.
Yes. Open your form’s Build page, find your Calculation field with the quantity limit, and change the number in the Specific Quantity setting. The new limit takes effect immediately. This is useful if you add extra capacity to an event or want to extend a promotion.
Add a second Calculation field to your form and use this calculation: =FieldName_QuantityRemaining. To display this to customers in real-time, leave Show This Field set to Always. To hide this field from customers, but keep it visible to you, set Show This Field to For Roles → Internal.