Person Forms are a special form type where each entry represents a person. Use them to build a reusable list of people (employees, clients, volunteers, or anyone involved in your processes) that you can reference across your other forms using a Person field.
Creating a Person Form
- Click + New at the bottom of the sidebar and select Person Form.
- Enter a name for your Person Form and select a Person Type:
- Contact
- Guest
- User
- Click Create.
Your Person Form is created with fields pre-mapped (Name, Email, Phone, etc.) based on the selected Person Type. See Person Form settings to adjust these fields and other settings.
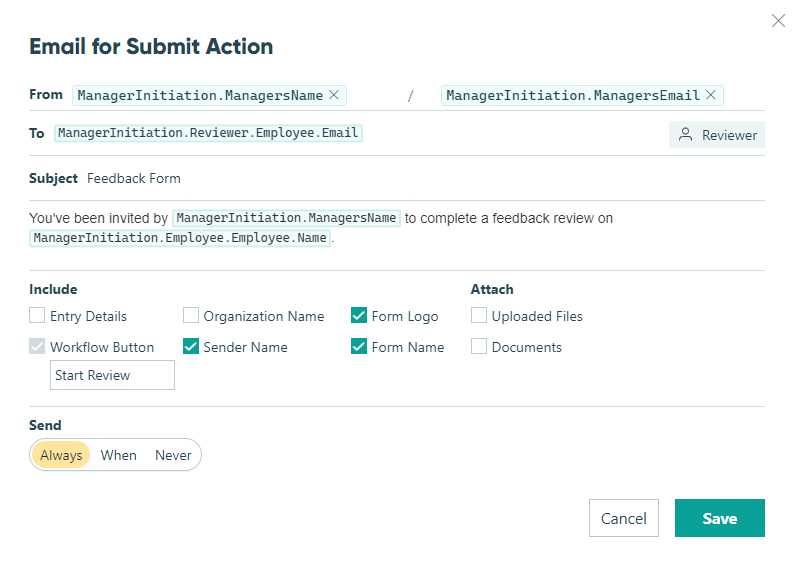
Click the icon next to Form Settings to convert a Standard Form to a Person Form, or a Person Form back to a Standard Form. A Name field and an Email field are required to convert to a Person Form.
Managing Person Form profiles
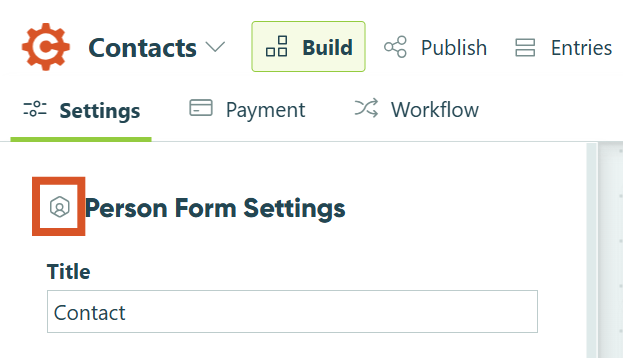
Each entry on a Person Form represents a person. You can add people manually on the Entries page, bulk import entries, or even add them through AI using our MCP Connector.
Submissions
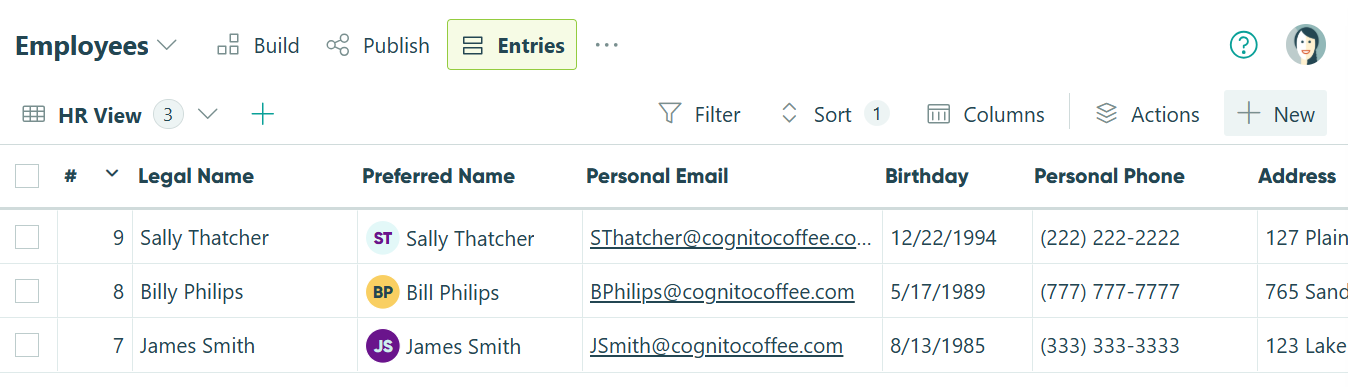
The Submissions tab shows a person’s full submission history across forms. Submissions appear here when Track Submissions By Person is enabled on another form and a submission is matched to that person by an Email field or a Person field.
- Submissions are sorted newest first and can be filtered by form, entry status, and date range.
- The sub-heading under the form name (e.g., “Sally Thatcher” in the example below) comes from the Entry Summary in the form’s settings.
- Click a submission to preview it, then click the chevron icon at the top to open the full entry on that form’s Entries page.
Orders
Similar to the Submissions tab, the Orders tab shows a person’s payment history across forms when Track Submissions By Person is enabled.
- Orders are sorted newest first and can be filtered by date, status, form, account, total, and amount due.
- Click an order to preview it, then click the chevron icon at the top to open the full entry on that form’s Entries page.
- Any cards the person has saved on file appear in the Cards on File section. Click a card to view its details. If you have edit access to the entry, you can click Delete Card to remove it.
Learn more about managing entries with payment.
Person Form settings
Configure your Person Form settings under Person Type in the settings menu on the Build page.
Person Type
Select the type of person this form represents. Field mappings and available settings update based on your selection.
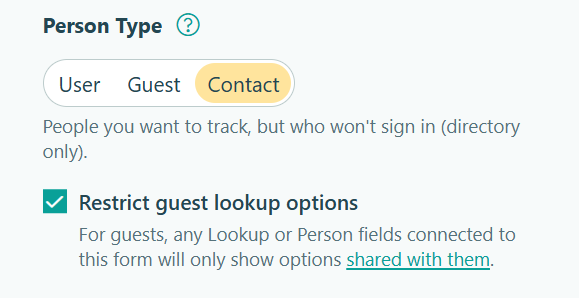
- Contact – People you want to track who won’t sign in to Cognito Forms as users or guests.
- Guest – External people who may sign in to your organization’s portal to submit forms and view their submissions. Learn more about Guest Access.
- User – People who may sign in to your Cognito Forms organization as users.
Settings
- Restrict guest lookup options – When this option is selected, any Person or Lookup fields connected to this form will only display dropdown choices for entries that have been shared with the guest. Entries that the guest doesn’t have access to won’t appear in the dropdown.
- Enable registration for guest users (Guest only) – Designate this form as a registration form so new guests can sign up directly with your organization. Once approved, new guests can log in immediately and will be taken into the portal or redirected to the authenticated form they were trying to access.
- Allow guests to edit their profile (Guest only) – Let guests update their own profile information. When enabled, guests can click their profile image in the top-right corner of the portal and select Profile to update any fields in their profile entry that are visible to the Public role.
- Invite new users (User only) – Automatically invite people added to this form to join your Cognito Forms organization as users with Limited Access permissions. If an Active field is mapped, only people marked as active will receive invitations. Otherwise, all people will be invited. You can adjust individual user permissions after they join. Add people manually on the Entries page or bulk import entries. You can send up to 1,000 pending invitations per form per day.
Contact Fields
The following fields are pre-mapped on your Person Form to capture key details about each person.
- Name – requires a Name field.
- Email – requires an Email field.
- Phone – optionally requires a Phone field.
- Address – optionally requires an Address field.
- Photo / Avatar – optionally requires a File Upload field.
- Is Active – optionally requires a Yes/No field or a Calculation - Yes/No field.
Connect a Person field to your Person Form
Once your Person Form has entries, you can reference that information on other forms using a Person field.
- Make a new form from scratch or open an existing form.
- On the Build page, click on an empty placeholder to add a Person field. Give the field a label, like “Name”.
- In the Person field settings, find Look Up People From and select your Person Form.
- Save your changes.
When you open your form, the Person field will display a list of names from your Person Form entries. Any changes you make to the Person Form entries (such as adding, updating, or removing people) are reflected automatically in the Person field. You can repeat the instructions above to reference the same list of people on multiple forms.
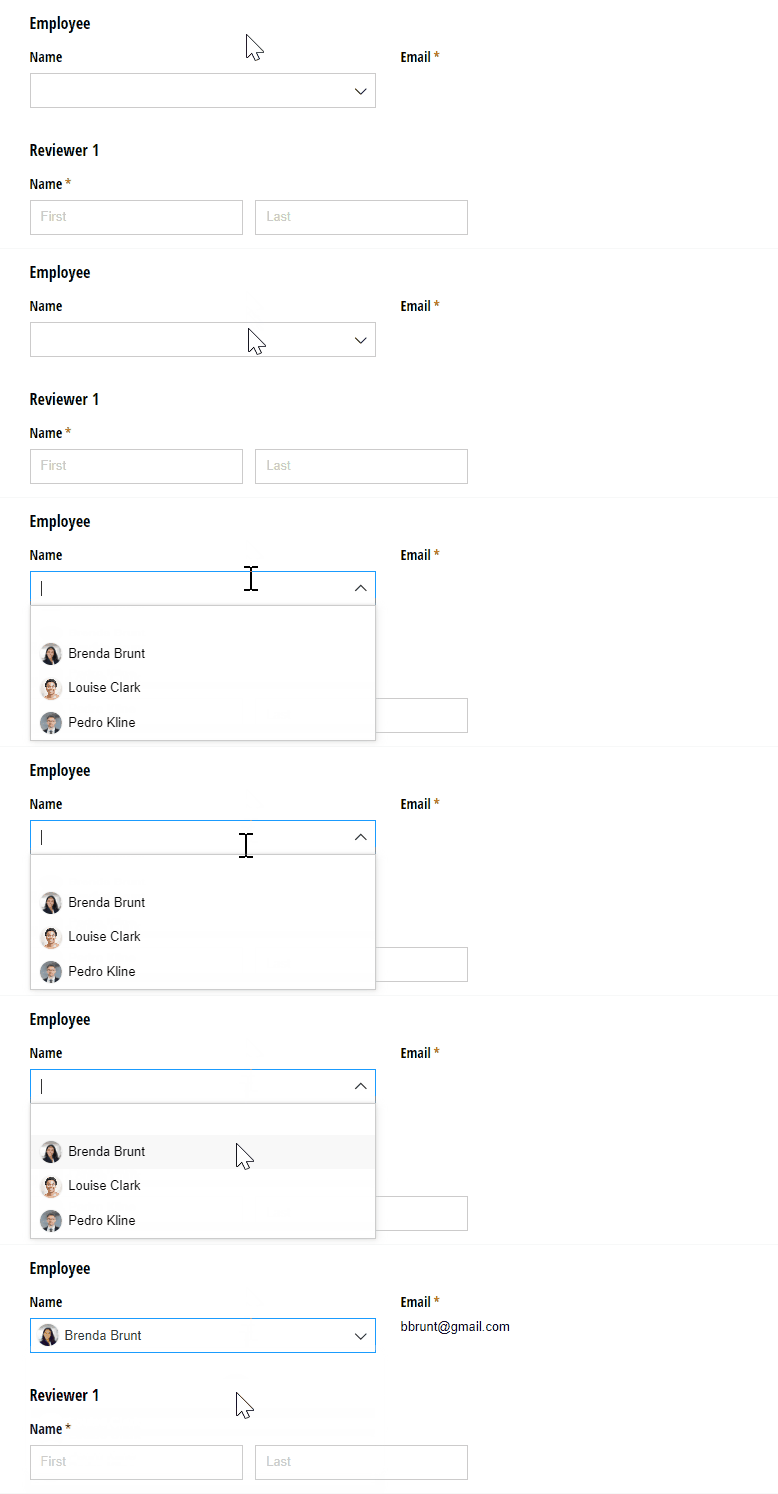
Refer to our help topic for more information about Person fields.
Working with Person fields
Reference Person field values in calculations
You can reference values from a Person field in calculations using dot notation. For example, if your Person field is labeled Name and your Person Form has a Department field, you can default a separate field to =Name.Department to automatically populate it based on the selected person.
Default fields to the current user
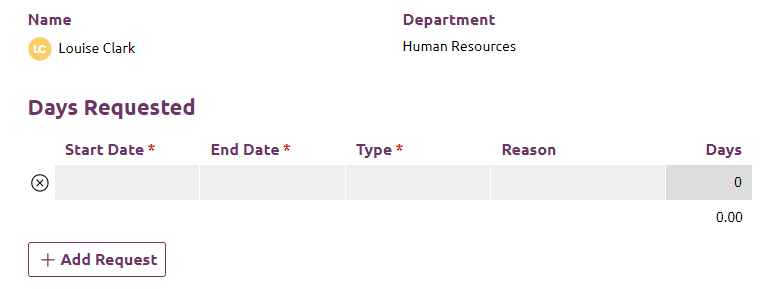
When a Person field defaults to the currently logged-in user, form fields mapped to that person (like Name or Department) populate automatically. This is useful for internal forms like PTO requests or timesheets, where you want to pre-fill details without asking the user to select themselves.
To set this up, open the Person field settings and set Default To to Current User. You can also set the field to Read-Only – Always to prevent changes.
Filter choices by active or inactive status
Use the Include option in the Person field settings to filter the list of available choices. For example, you can set a filter to only show people where Is Active is yes, so inactive records no longer appear as options without needing to delete them.

Route email notifications to the right people
Because a Person field provides access to the selected person’s email, you can use it to dynamically route workflow notifications. For example, you can set the To field of an email notification to =Name.Email to automatically send to whoever was selected in the Person field.