To identify who deleted an entry, check your organization’s audit log. Go to the Usage section in your organization settings and select Audit Log. Use the filters to narrow down to entry deletion events – you can filter by date range and event type. The audit log will show you which user deleted the entry, along with the timestamp and the form it was deleted from.

Note that only organization owners have access to view the audit log. If you need this information but don’t have owner access, you’ll need to ask an owner to look it up for you.
Learn more about using the organization audit log.
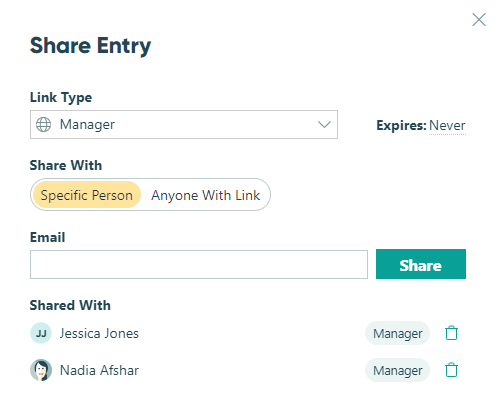
You can use the Share function to see everyone you’ve shared an entry with. From the Entries Page, open the entry and click Share in the top menu.
Learn more about Workflow Tasks.
Workflow task assignments make it easy to see the work that needs to be done. Regardless of the number of people involved in your workflow, every user will see what they need to do at each step in your process.
Start by creating a customized task view that assigns entries to workflow participants based on your criteria. Then, participants can log in to Cognito Forms to view and complete their pending tasks. As tasks are completed, they disappear from the task view and automatically progress to the next workflow status.
Learn more about assigning Workflow Tasks.
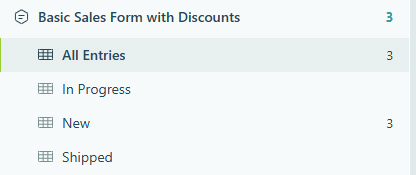
To view your form’s entry data, click the form name in the sidebar to open the Entries page. By default, a new form comes with a single view named All Entries. As you create new entry views, they will appear beneath the form name in the sidebar.
If you’re unable to locate a specific entry (or multiple entries), try the following steps:
- Verify that the entry or entries were not deleted by a member of your organization. Any user with Editor level permissions and above has the ability to manage (and delete) form entries.
- Check if your organization has exceeded its monthly storage limit for entries. When the number of new entries created in a given month exceeds the limits for the current plan, these additional entries are locked. To unlock these entries, simply upgrade to a plan level with the necessary entry capacity within the next 30 days. After 30 days, you’ll no longer have access to the locked entries. You can view your organization’s monthly usage from the Usage section on your organization’s settings page.
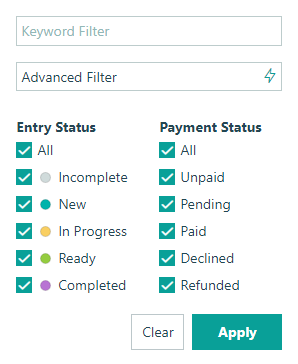
- Ensure that the entry or entries are not being filtered out. The Sort & Filter option on the Entries page allows you to filter entries based on entry status, payment status, keyword filter and more. If an entry is not included in the filtered settings, it will not appear in the current entry view. To see all entries, be sure your entry view is set to All Entries.
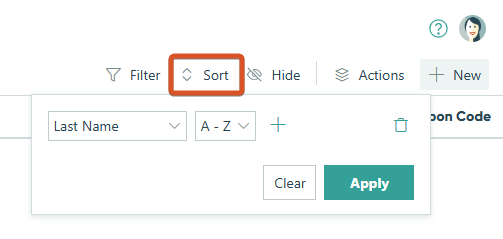
By default, the Sort option on the Entries page allows you to sort entries by first name from A-Z and Z-A. Using a simple calculation, you can sort entries by last name as well.
To sort entries by last name:
- Add a Calculation field to your form labelled ‘Last Name’. Make sure the field is set to internal view only.
- Set the field type to Textbox and set the default value to
=Name.Last - On the Entries page, use the Sort option to sort entries by the Last Name field.
Repeating section and table field data does not display in a column on the Entries page – to view this data, you must first select an individual entry. Similarly, when exporting entries to Excel, the repeating data appears on a secondary worksheet rather than the main worksheet.
To export entries (including the repeating section or table data) to Excel:
- Click the Actions tab at the top of the Entries page and select the Export option.
- Select the All Fields option.
- The export will contain any repeating section or table data on its own worksheet within the Excel file.

Learn more about exporting entries to Excel.
Learn more about working with repeating data.
Absolutely! When dealing with multiple entries, you can use the Sort and Filter options on the Entries page to bucket your entry views by date, name, or other criteria. For example, you can create an entry view that will only display entries from the last month.
To filter entries by date:
-
Go to your form’s Entries page.
-
Select the Filter option and select Advanced Filter.
-
Use the Advanced Editor to add the following calculation:
=Entry.DateSubmitted > DateTime.Today.AddDays(-30) -
Make sure to click the Save button to save the filtered view, and set it as your default view. This view will only display entries submitted in the 30 days. Similarly, create an entry view for each of the filters that you regularly use.
Yes! Organizations on the Pro, Team, and Enterprise plans can take advantage of the ability to download uploaded files in bulk from the Entries page.
Simply select the entry or entries containing the files you want, then go to Actions > Download > Uploaded Files. When your download is complete, you will receive an email notification containing a zipped folder with your files.
Organizations on the Pro, Team, and Enterprise plans can attach the uploaded files to email notifications to receive copies as they arrive. Or, they can use integrations such as Make, Microsoft Power Automate, or Zapier to push uploaded files into a cloud storage service as they arrive.
Learn more about downloading files in bulk and integrating your forms with other applications.
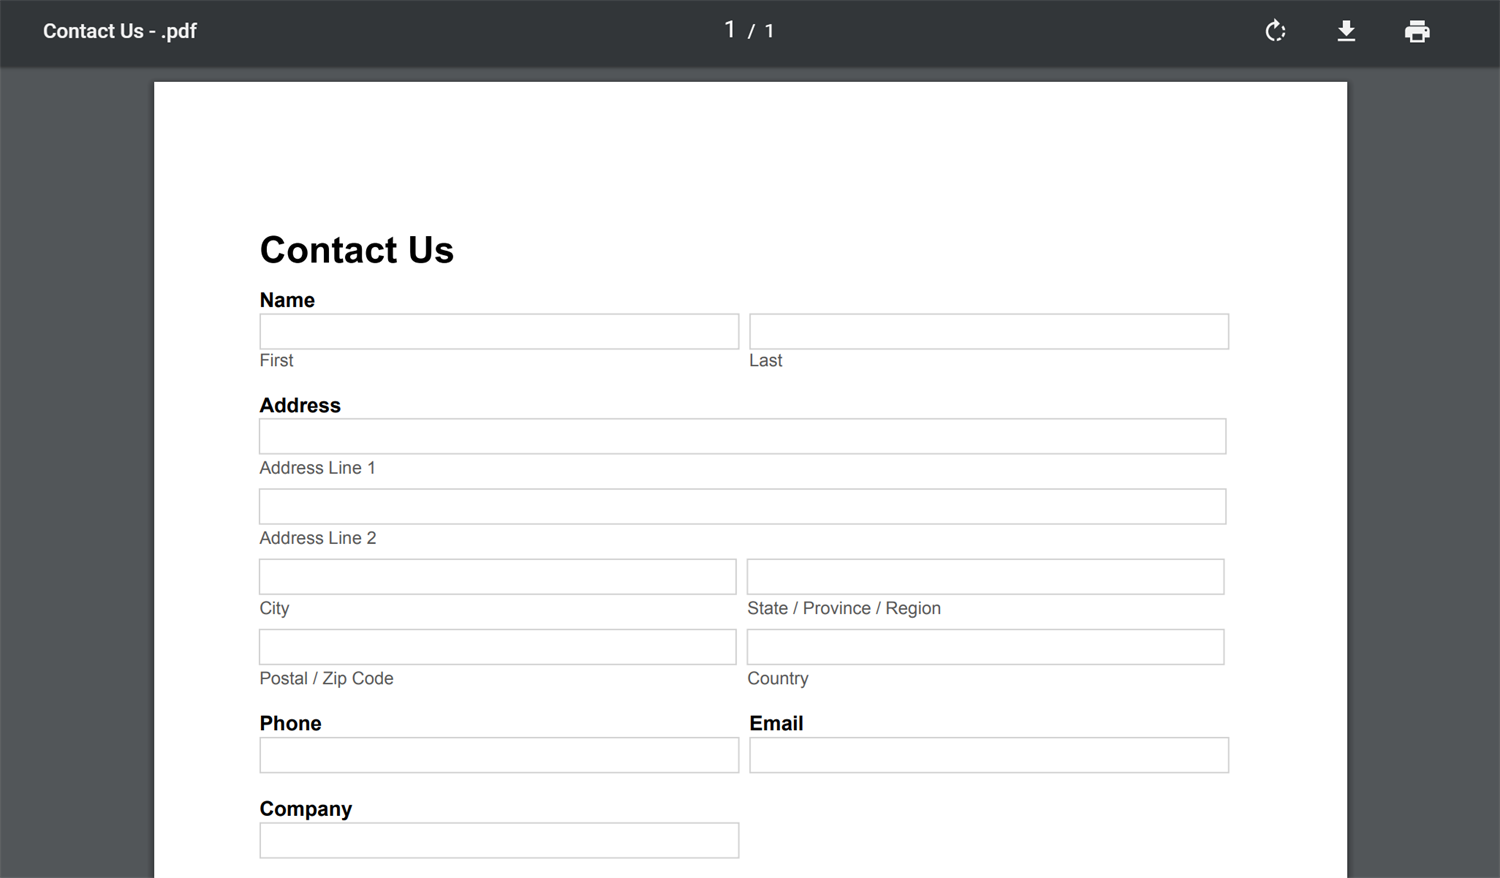
To create a blank PDF copy of your form:
- Click the form name in the sidebar to open the Entries page and click + New in the top right corner to create a new entry.
- Click Create Document at the top of the entry, and select the document template that includes form controls. If you do not see an option with form controls, click the Manage Templates link and select the Form Controls option from the Manage Document Templates dialog. Be sure to save your changes.
- This will generate a blank PDF copy of your form, which you can download and print out.
Technically, a form’s entry ID number cannot be reset because it’s a unique id assigned to each entry. Once used, the same number cannot be used again.
As a workaround, however, you can simply make a copy of your form to create a new form with the entry count set back to 0.
All Cognito Forms entries automatically have their own unique ID number based on the order that they were submitted in.
You can reference this number in calculations and in other places on your form (such as the form confirmation page) using the expression: =Entry.Number
If, however, you want to create a custom unique ID - you can do that too.
Learn how you can use the form entry number to generate unique IDs.