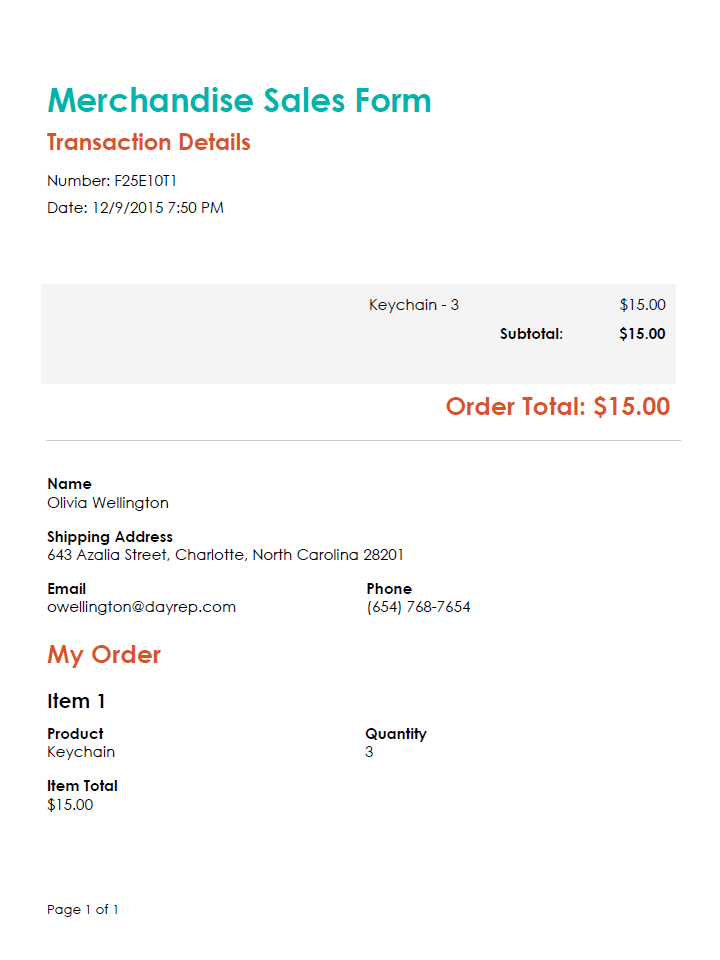
Our newest feature has arrived: document merging! Last year, we released our Save As PDF option as a starting point for saving your entries as basic PDF files.
Now, we’ve expanded the capabilities of this feature to allow you to fully customize your documents, export them as both PDF files and Word documents, then share them with your customers in form confirmations, email notifications/confirmations, and more!
Available as a paid add-on feature to organizations on our Pro, Team, and Enterprise plans, custom document merging takes your business’s workflow to the next level.
1. Manage Templates
After we launched our Document Merging Beta last month, you may have noticed the new Documents option that appeared in your submission settings, email templates, and on your Entries page.
Selecting this option will display all of your document templates in a drop-down list, as well as give you access to the Manage Document Templates dialog. Here, you can easily add and delete standard templates, edit file names and descriptions, and include details such as blank fields, form logo, form title, etc. The standard templates you create here (without using the Customize option) are completely free of charge.
2. Customize Documents
Here’s the fun part: to completely customize your document (including the appearance, formatting, and even calculated expressions), select the Customize option to download a Word document containing your default template. In Word, your form’s field names and field data will appear as titles with tokens underneath:
You can change field names, adjust font size/type/color, and much more. In addition to appearance and formatting, you can even write calculations using Cognito calculation syntax.
When you’re finished customizing your document, upload it back into Cognito. Now, you can choose your output format: PDF file or Word document. If you used any custom fonts, be sure to upload the font file as well.
Your organization will be charged for each custom merge (a combination of a specific custom document with a specific entry) according to our pricing guidelines.
3. Merge Entries
To merge your documents with individual entries, simply go to the Entries page and open up the entry to expand its details. Then, select the Create Document option at the top and choose which template you want to use to merge it with. Or, share multiple documents with all of your users on your confirmation page:
Plus, merged documents can be included in email notifications and confirmations. After submission, users can easily download their document/s from either the confirmation page, or their confirmation email:
Check out our help topic to learn more about document merging.