Replace paper clipboards and manual sign-in sheets with a form that resets after every submission, and triggers a complete business workflow the moment someone taps Submit.
Build Time & Skill
10-15 min
Beginner
What you'll learn
How to set up a self-resetting kiosk form on any tablet, and connect it to the workflows, notifications, and records that run your business behind the scenes.

A tablet kiosk station does more than replace a paper form. When built in Cognito Forms, it becomes the entry point to a complete workflow that routes data to the right staff member, triggers additional actions, or even generates a document the moment someone taps Submit. The tablet resets automatically for the next person, and your team gets everything they need without chasing anyone for information.
This guide covers both the kiosk setup and what to build behind it, because collecting the response is only the beginning.
This setup for tablet kiosk stations works well for:
- Patient and client intake. Replace paper clipboards with a tablet in your waiting room or lobby.
- Event and class check-in stations. Greet attendees at the door with a fast, self-resetting check-in station.
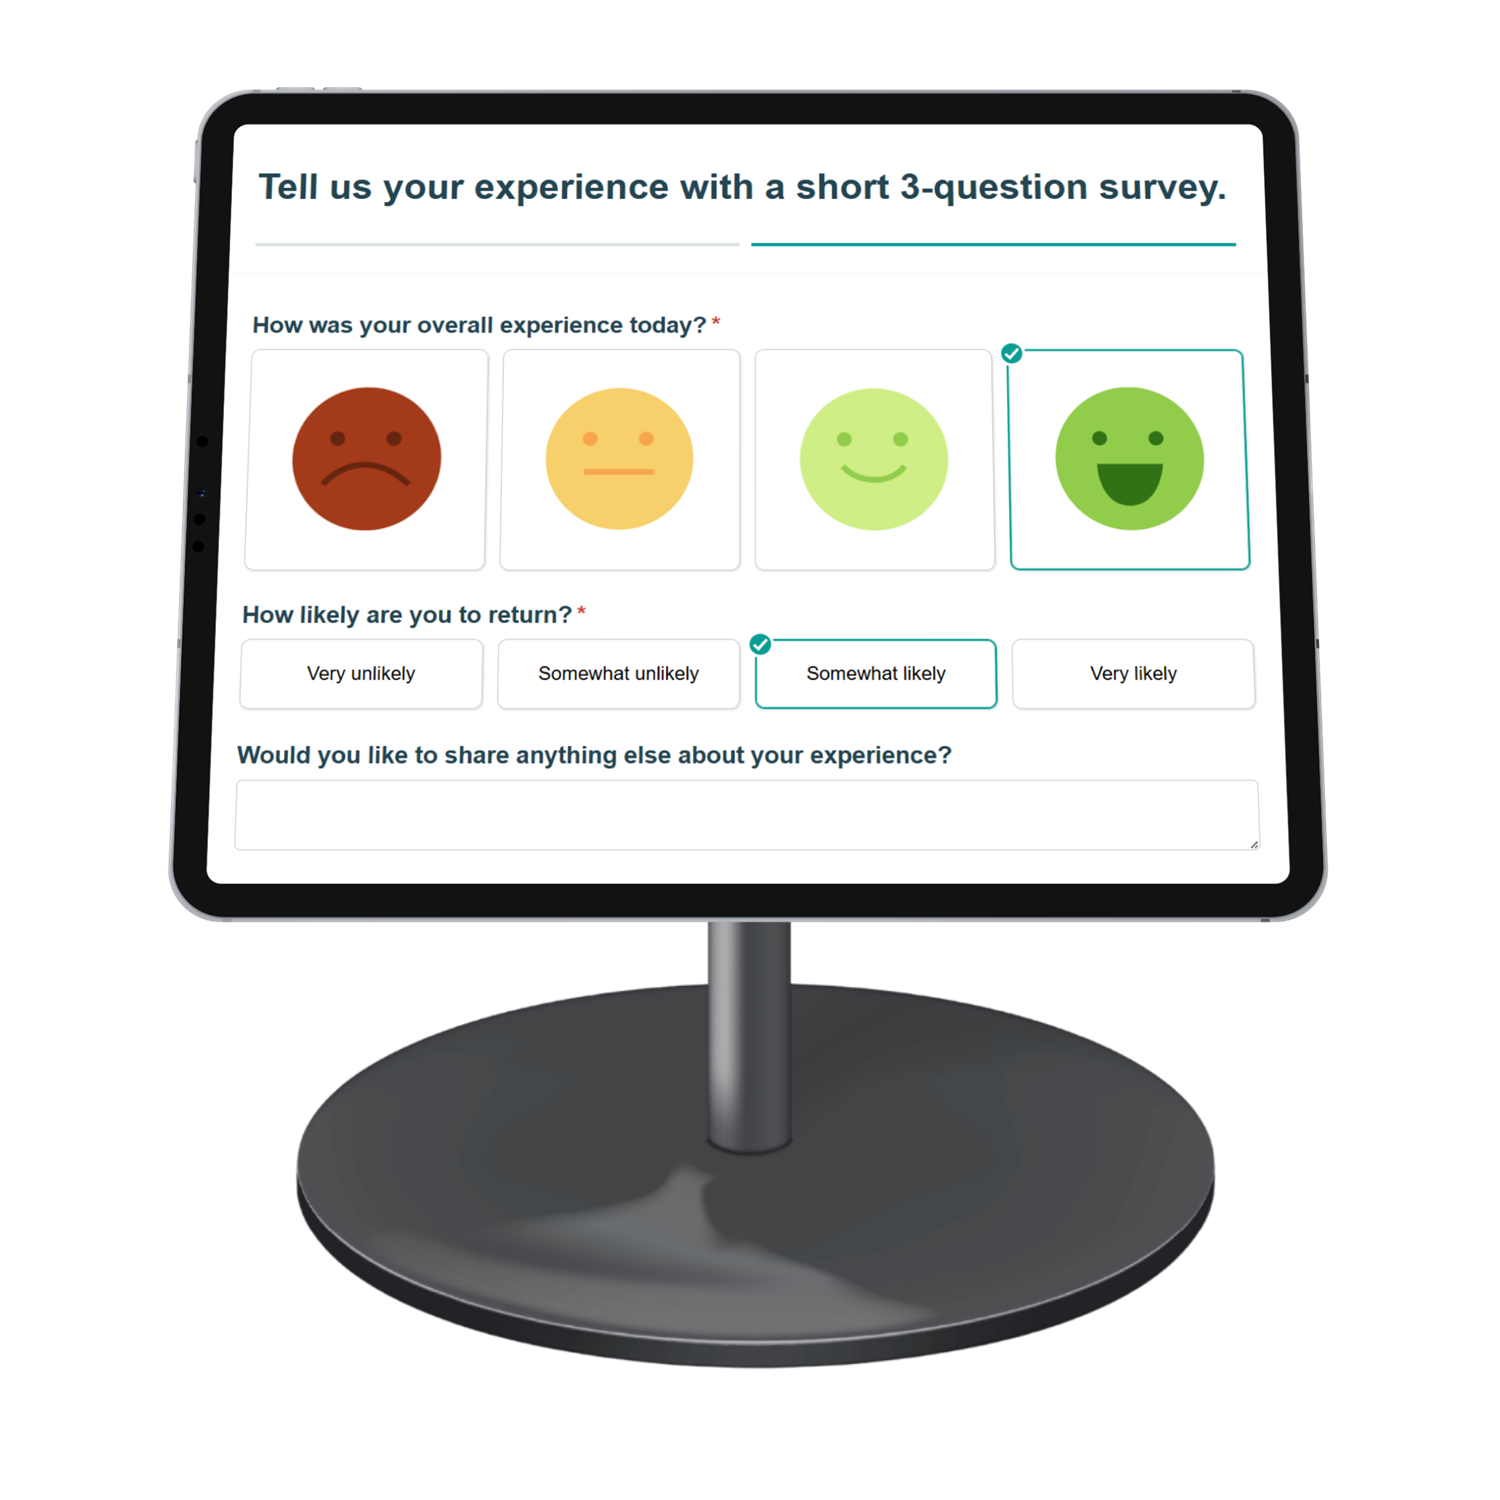
- Survey kiosks for post-service feedback. Capture responses right after an appointment while the experience is fresh.
- Appointment sign-in kiosks. Let clients or patients sign in for appointments without needing staff assistance.
What is Kiosk Mode?
“Kiosk Mode” is essentially referring to how you set up a tablet to lock to a single app or webpage, preventing users from navigating away, accessing other apps, or changing device settings. For form-based setups, it means your form stays front and center. Every person who walks up sees a clean, blank form, and nothing else on the device is reachable.
Combined with Cognito Forms’ built-in redirect setting, your tablet’s internal settings can give you a self-resetting tablet kiosk station that runs all day with no staff intervention between submissions.
Before You Set Up a Tablet: Consider a QR Code
A shared tablet isn’t always the best tool for walk-up data collection. For many service businesses (especially medical offices, retail shops, or any setting where hygiene or device management is a concern) a QR code approach is simpler, more flexible, and requires no dedicated hardware at all.
Here’s the difference:
| QR Code Approach | Shared Tablet Kiosk | |
|---|---|---|
| Device needed? | No; users scan with their own phone | Yes; requires a dedicated tablet |
| Device management | None | Requires setup, charging, and monitoring |
| Hygiene concerns | None; no shared touchscreen | Screen cleaning needed between users |
| Works best for | Waiting rooms, printed materials, signage, receipts | Walk-up stations where users don’t have phones handy |
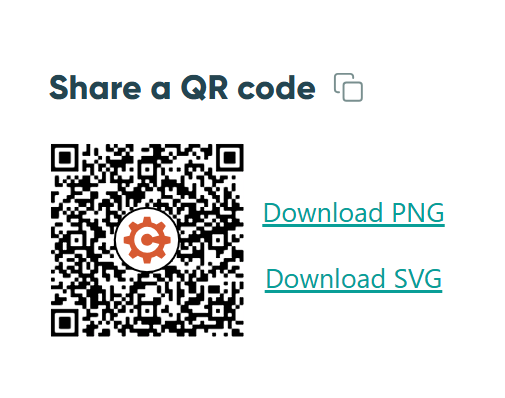
Cognito Forms generates a QR code for every form automatically. To access it, go to the Publish page for your form, click on the Publish Code tab, and download the QR code as a PNG or SVG. You can print it on signage, add it to a countertop display, or include it on appointment reminders. Patients or clients can scan it with their phone and fill out the form on their own screen.
You can also do both. Place a printed QR code sign next to your kiosk tablet, or add the QR code image to a Content field at the top of your form with a message telling them they can scan it to fill it out on their device if they want.
People who prefer to use their own phone can scan it, while the tablet remains available for anyone who doesn’t.
Setting Up Your Tablet Kiosk Station: Step-by-Step
Before anyone walks up to your kiosk, two things need to be true: your form resets automatically after every submission, and your tablet is locked so users can’t navigate away. The steps below set up both, along with a few design tips to make the form easy for anyone to complete on their own.
Step 1: Configure your form to reset after each submission
Set your form to redirect back to itself the moment someone submits. This is what makes the kiosk self-resetting; the next person always sees a blank form without anyone touching the device.

To do this:
- Go to the Publish page and copy your form’s Public Link.
- Now, click over to the Build page.
- Select the Workflow settings option and open the Submit Action.
- Find the Confirmation option and change it to Redirect.
- Paste the form’s Public Link into the redirect URL field.
- Save your changes to the form.
Use Conditional Logic to personalize the form for each person. Show different follow-up questions based on early answers. A patient who selects “New Patient” sees a longer intake set, while returning patients skip directly to their reason for visit.
Step 2: Lock your tablet to the form
Lock the device so users can only interact with your form, and make sure nothing else on the tablet is accessible. Here’s how to do it on both iPad and Android.
iPad: Enable Guided Access
Guided Access is Apple’s built-in kiosk feature. It locks the device to one app using a passcode.
- Go to Settings > Accessibility > Guided Access and toggle it on.
- Tap Passcode Settings > Set Guided Access Passcode and enter a code only your team knows.
- Open Safari, navigate to your form’s Public Link, then triple-click the Side button (or Home button on older iPads).
- Tap Start to begin the Guided Access session.
- Tap Session Settings (or Options) to adjust what buttons can be used while in Guided Access, such as the Side, Top, Home, and Volume buttons.
For more guidance on setting up Guided Access, visit Apple’s help guide.
Android: Use Screen Pinning
Screen Pinning locks an Android tablet to a single app, no additional software needed.
- Go to Settings > Security > Other Security Settings and turn on Screen Pinning (sometimes called “Pin Windows” depending on your device).
- Enable Ask for PIN before unpinning for added security.
- Open Chrome, navigate to your form’s Public Link, tap the Recents button, tap the Chrome icon in the app card, and select Pin.
For more guidance on Screen Pinning, visit Google’s help guide.
Step 3: Build the workflow behind the kiosk
This is where Cognito Forms separates itself from most other form tools. Most kiosk solutions stop at the submission. Cognito Forms treats every submission as the starting point for whatever needs to happen next in your business, running automatically without anyone on your team lifting a finger.
Here are four ways to put that automation to work behind your kiosk.
Send automatic email notifications
The moment someone submits your form, Cognito Forms can send an email notification to anyone who needs to know, like a staff member, a manager, or the person who just submitted. You control who gets notified, when, and what the email says.
Use Conditional Logic to send different emails based on what was submitted. A new patient intake might notify the front desk. A service request might route directly to the technician on duty. A post-visit survey might send a follow-up to the submitter while alerting a manager in parallel. All from the same submission, automatically.

To set up an automated email notification:
- Go to the Workflow settings on your form.
- Open the Action you want to trigger the email notification.
- Under Send Emails, click + Add Email.
- Customize the content in your email, using the Insert Field option to dynamically prefill the submission’s data into the email content.
- Use the Conditional Logic Builder to send emails only when certain conditions are met. To do this, set the Send option to When and then create your condition.
Assign tasks to the right people
Every kiosk submission can create a Workflow Task and assign it to the appropriate staff member or team automatically, based on whatever was submitted. The assignee sees the task in their Task Dashboard with the submission details available, so they have everything they need to act without digging through entries or emails.
This works well for any process where a submission needs a follow-up action from a specific person. An intake form creates a task for the provider. A service request assigns a work order to the right technician. A check-in flags a walk-in arrival for the front desk coordinator. Tasks disappear from the queue once resolved, keeping your team focused on what’s actually pending.
Learn more about setting up Workflow Tasks in our Help Topic.
Keep the team focused with a filtered Entries view
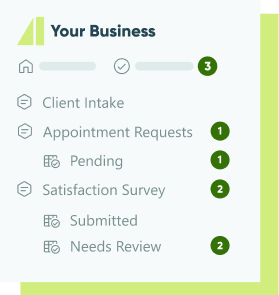
Every kiosk submission is stored in the Entries page in real time. Rather than having your team sort through every response, create filtered views that show each person only what’s relevant to their role and responsibilities (e.g. pending requests, unresolved items, submissions from a specific date range, or entries assigned to them specifically).
As your team works through submissions and updates their status, resolved entries drop off the view automatically. No spreadsheets, no manual tracking, and no responses slipping through the cracks. Just a live, focused queue that reflects exactly where things stand.

To set this up:
- Go to your form’s Entries page and click
+to create a New Grid View. - Set the Role to Internal so only your team sees this view.
- After creating the View, add a Filter to include entries under a certain rating threshold or when the entry is in a certain Workflow Status.
Automatically generate custom documents
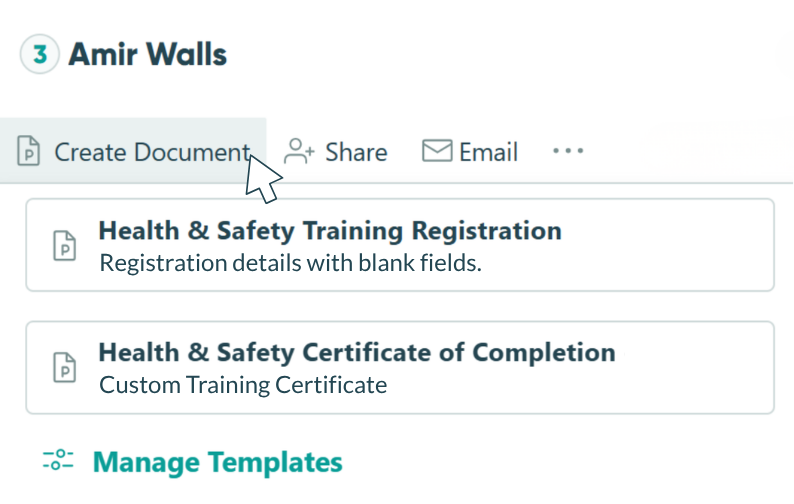
When a submission comes in, Cognito Forms can automatically generate a formatted document (a PDF summary, completed intake form, service agreement, or any other record your business needs) using the data from that submission.
With Document Templates, you design the layout once and Cognito Forms populates it with each submitter’s information at the moment of submission. A patient intake kiosk can generate a completed intake summary before the patient reaches the exam room, and a service request can output a work order ready for the technician. All without anyone formatting or copying a single field manually.
Learn more about creating custom Document Templates in our Help Topic.
Tips to Set Up Your Kiosk Station
It’s important to set up your tablet kiosk station appropriately. Here are a few best practices to consider:
- Use a dedicated stand or mount. A countertop stand works for most settings. For permanent or high-traffic locations, a wall mount or floor-standing enclosure is more professional and more secure.
- Keep the tablet plugged in at all times. Battery-only setups will run out mid-session. Always connect your kiosk device to power.
- Position it at a comfortable height. Desk height works for seated users; counter height for standing. Angle the screen slightly upward so it’s easy to read and tap without bending.
- Add a simple prompt or sign. A printed sign or on-screen message like “Tap here to get started” removes hesitation for first-time users.
- Clean the screen regularly. High-touch environments benefit from periodic wipes (especially medical offices, gyms, or event venues).
Start Running a Smarter Kiosk Today
A tablet kiosk station doesn’t require specialized hardware, expensive software, or a technical team. With Cognito Forms’ redirect setting and your device’s built-in kiosk tools, you can build a self-resetting form station in under 30 minutes. But more importantly, you can automate the workflow behind it. A workflow that routes, notifies, records, and acts on every submission automatically, so your team spends less time on intake and more time on the work that matters.
Start with a template
Want to start building your kiosk form? Check out our template gallery, filled with forms for any need. Each one is fully customizable to fit your business and workflow.
View templates→FAQ
Every response submitted through your kiosk form is protected by the same security standards as any other Cognito Forms submission. All data is transmitted over HTTPS and stored on Microsoft Azure, which is PCI-DSS Level 1 and HIPAA compliant. Cognito Forms also holds SOC 2 Type II certification and complies with GDPR and CCPA. For healthcare organizations collecting patient information, HIPAA-compliant forms with a Business Associate Agreement (BAA) are available on the Enterprise plan. On the device side, Guided Access and Screen Pinning ensure no submission data stays visible on screen after the form resets for the next person.
Cognito Forms performs very well in the latest version of most major browsers, enabling you to build and manage your own online forms and consistently display forms to users.
These browsers, however, are the ones we specifically support:
- Edge
- Firefox
- Chrome
- Safari
- Safari iOS